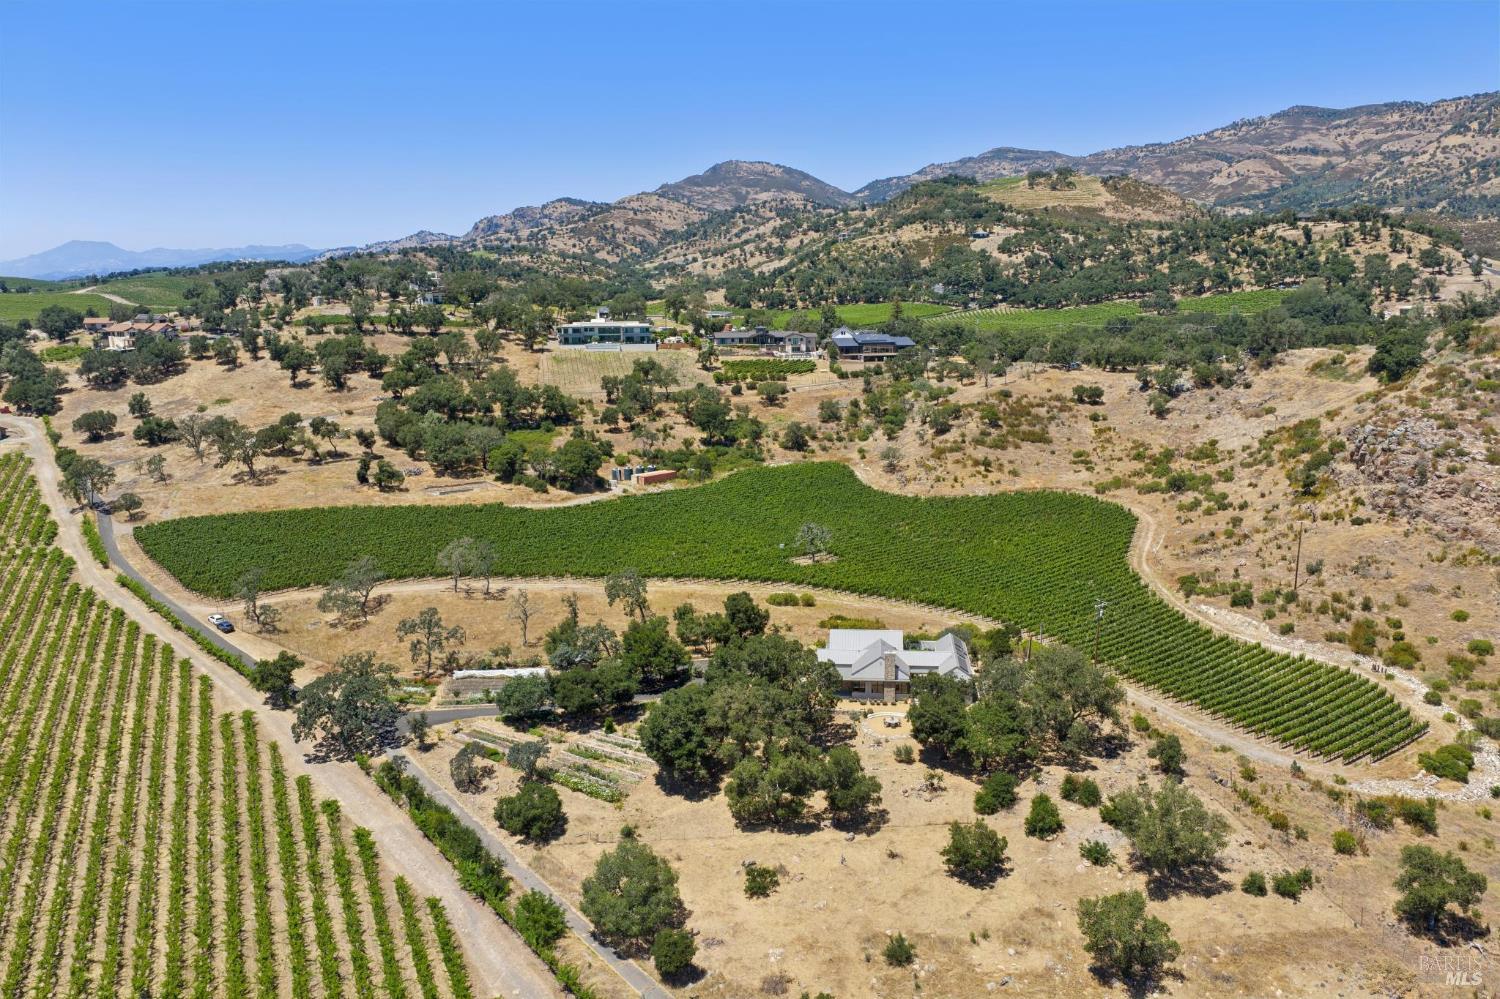
Designed for effortless indoor-outdoor living, this exceptional single-level modern farmhouse with ADU, completed in 2020, is privately sited on 3.37 acres on Napa's iconic East Side amid extraordinary gardens created by a local master gardener. Offering approximately 2,882 square feet of living space, the property includes 2,562 sq ft main residence offering 3 BR plus bonus room 2.5 BA along with beautifully appointed 320 sq ft detached ADU featuring 1 BR 1 BA with kitchenette ideal for guests, extended family, or potential rental income. Constructed with high-quality building materials, the home blends modern efficiency with timeless design. Exterior finishes include a standing seam metal roof, stucco, and batten board siding, complemented by owned solar and an impressive 22.7 GPM well. The heart of the home is an expansive great room featuring a gourmet kitchen with a large center island, counter seating, pendant lighting, abundant workspace & stainless steel appliances including double ovens & 5-burner gas cooktop. The adjoining family room is anchored by a gas fireplace and framed by spectacular vineyard, pastoral, and mountain views. The formal dining area opens seamlessly through a series of glass doors to multiple outdoor entertaining spaces, creating the perfect indoor-outdoor lifestyle. The spacious primary ensuite is a peaceful retreat with sliding glass doors leading to a private outdoor seating area. The luxurious primary bath features double sink vanity, soaking tub, stall shower & heated floors for year-round comfort. A versatile bonus room with barn door offers the flexibility to serve as a home office, art studio, fitness room, or guest overflow. Interior appointments include engineered hardwood & slate flooring, designer lighting with Lutron controls, and vaulted & elevated ceilings that enhance the home's light-filled, open ambiance. Outside, the grounds are truly exceptional. A thriving food forest, 18 fruit trees, raised garden beds, expansive p