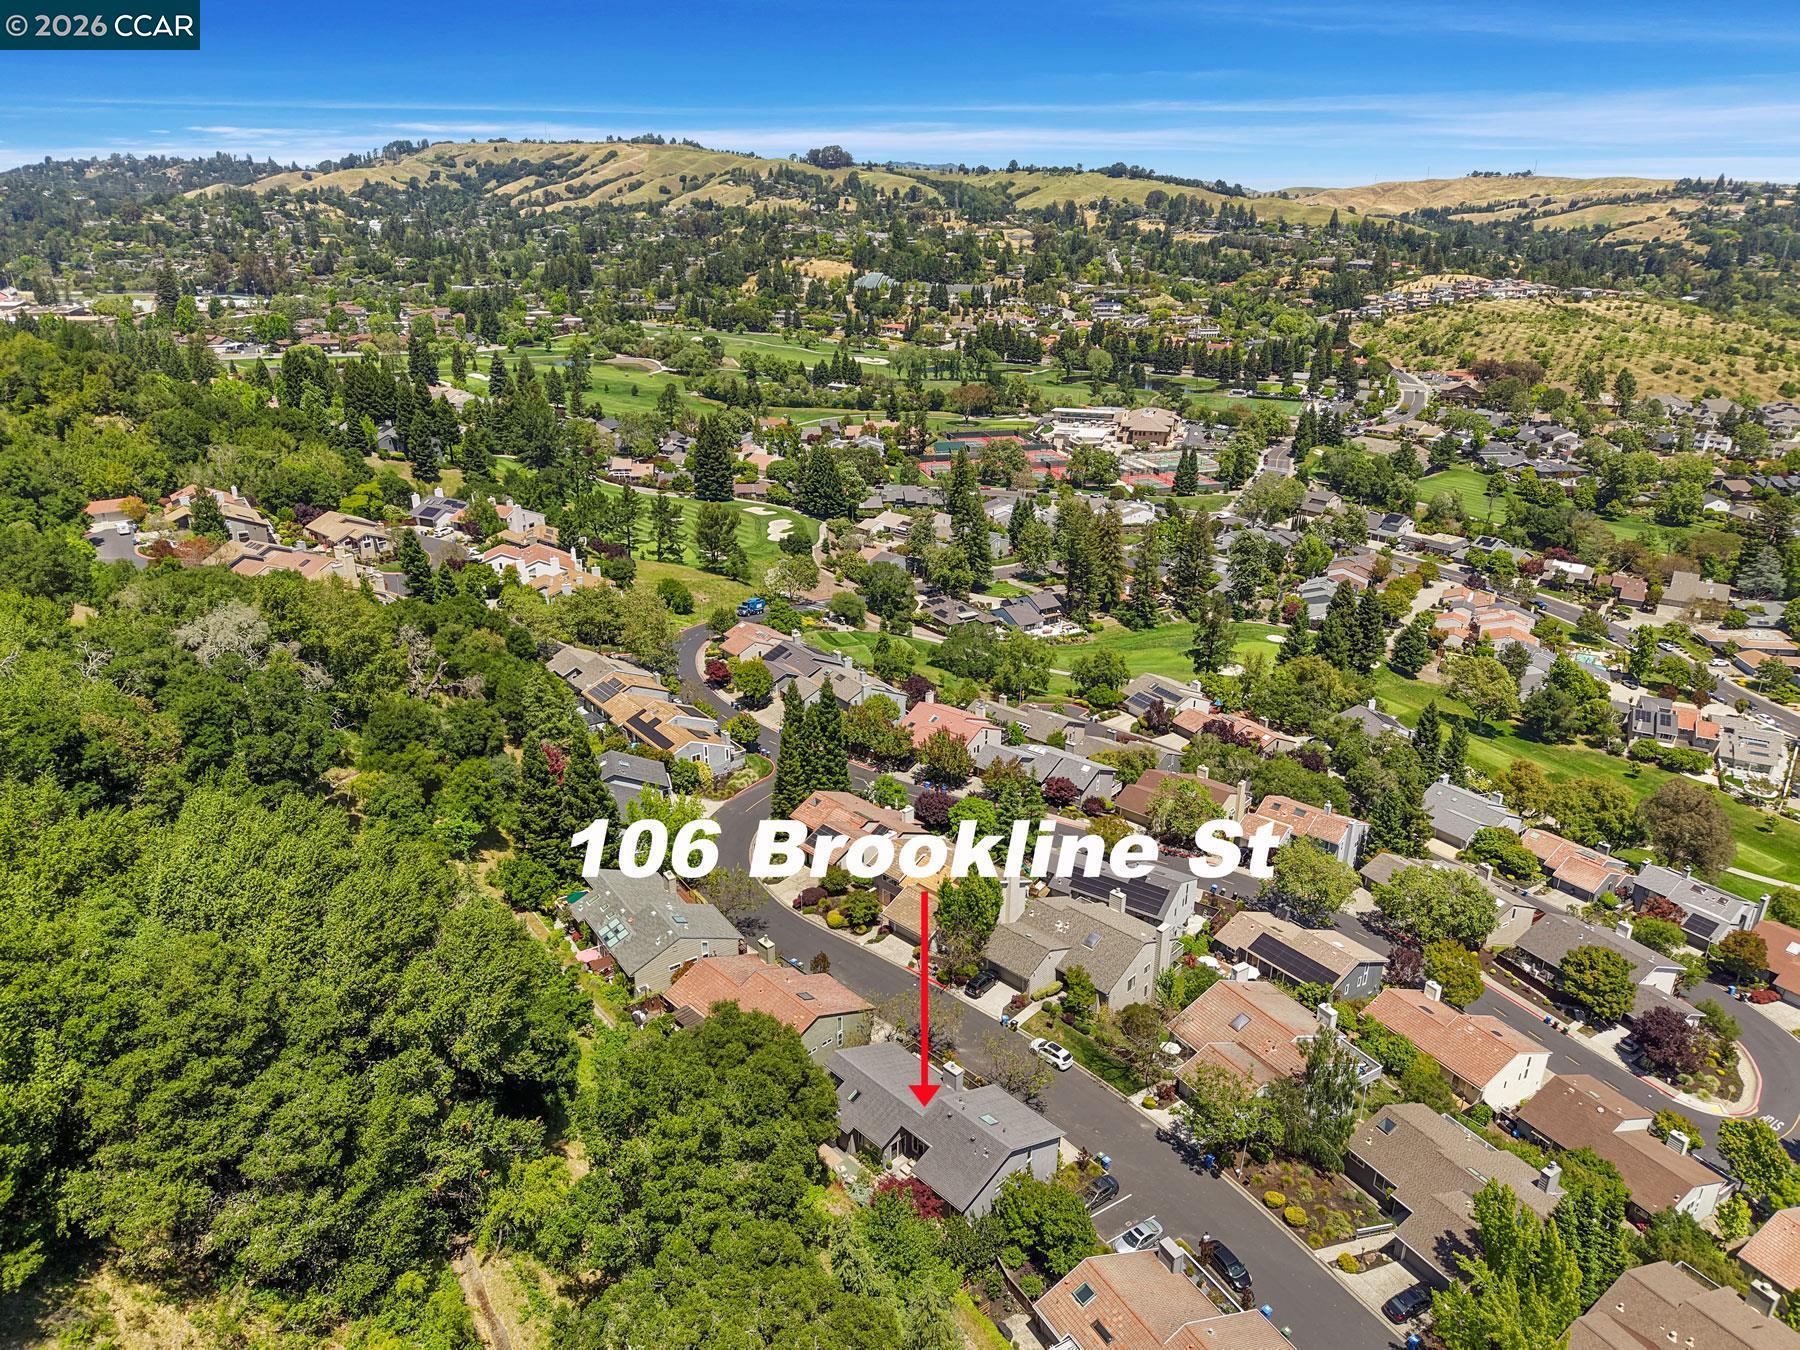
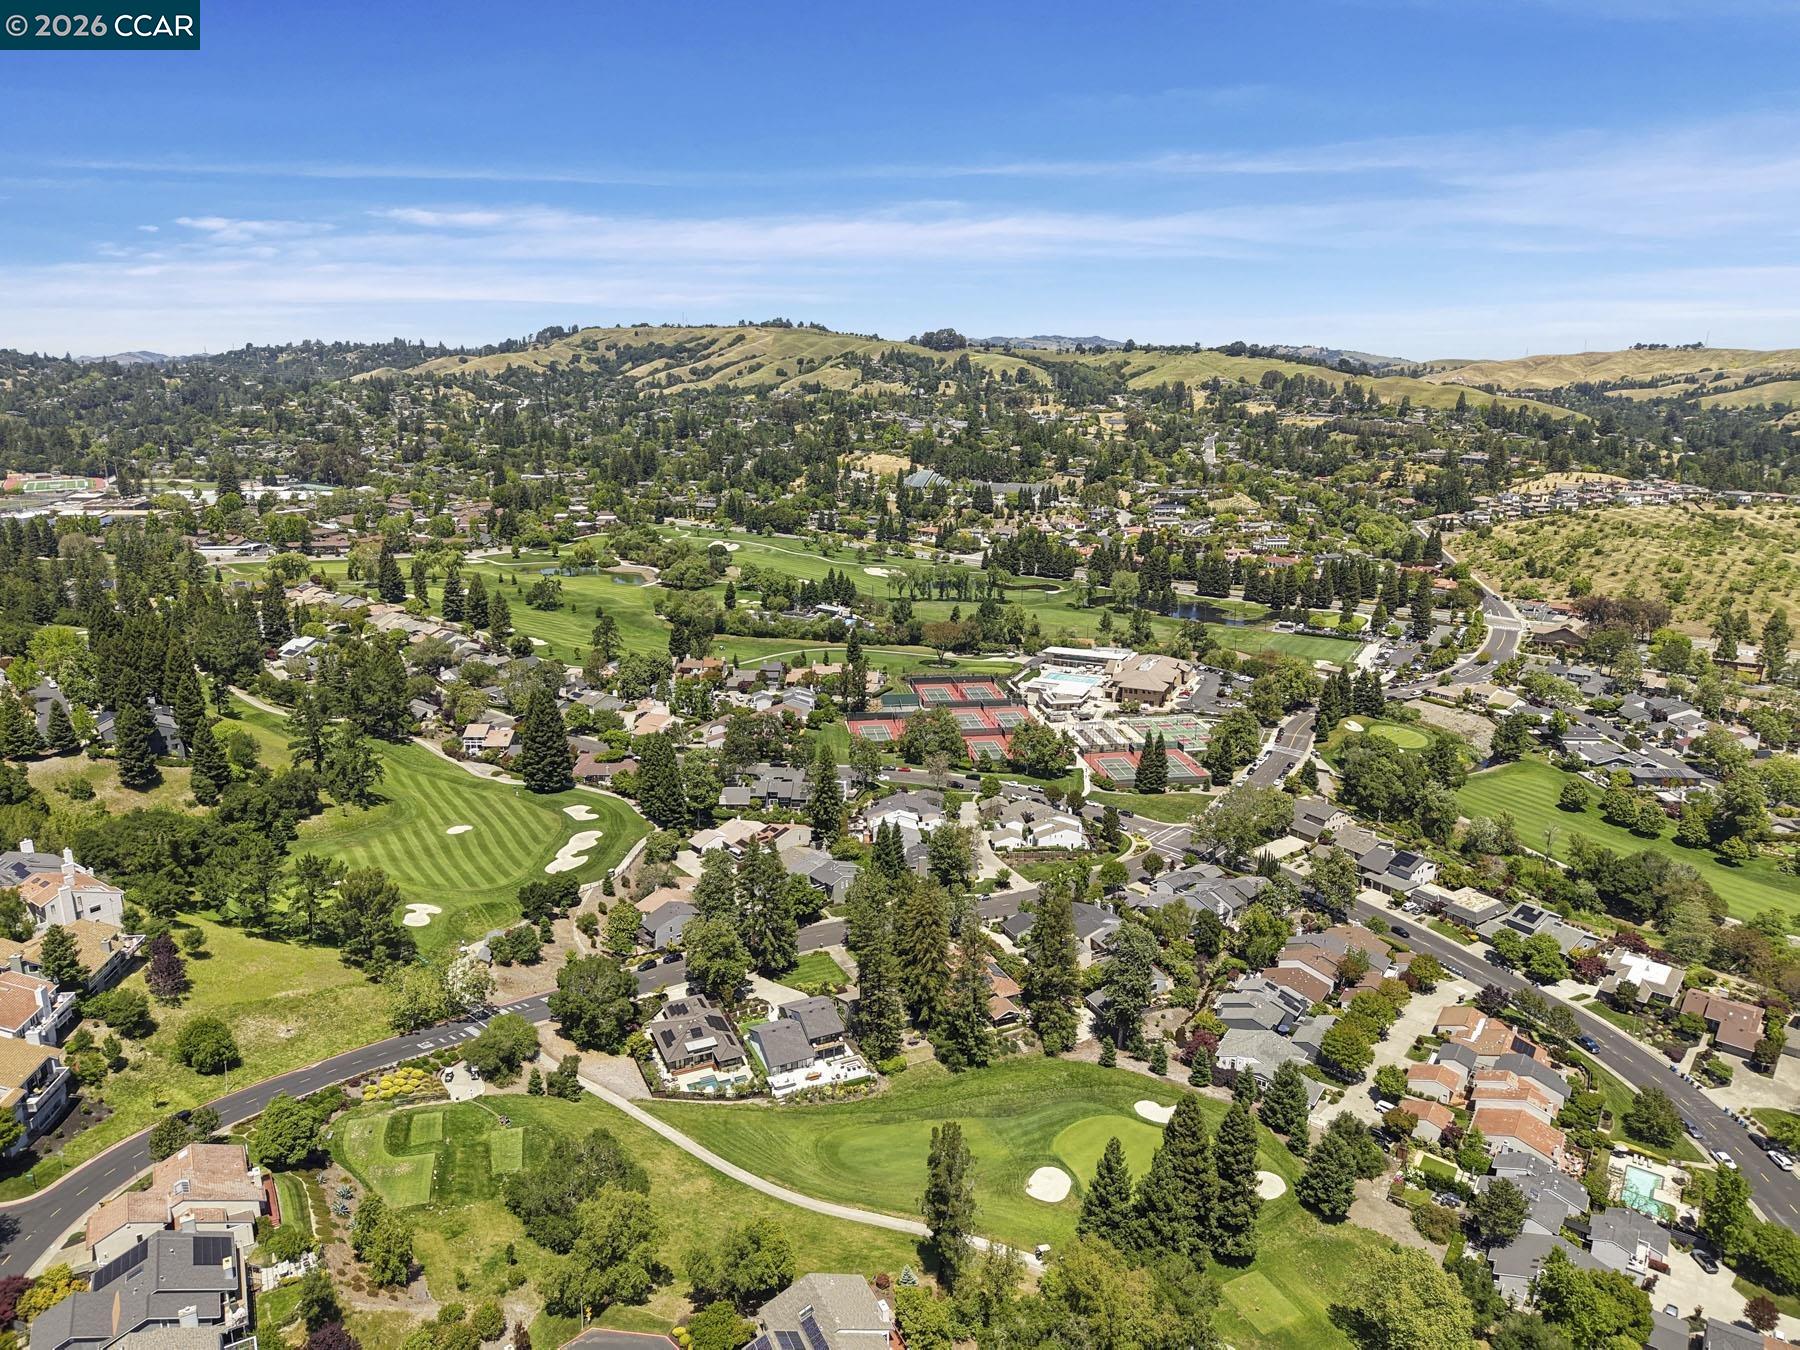
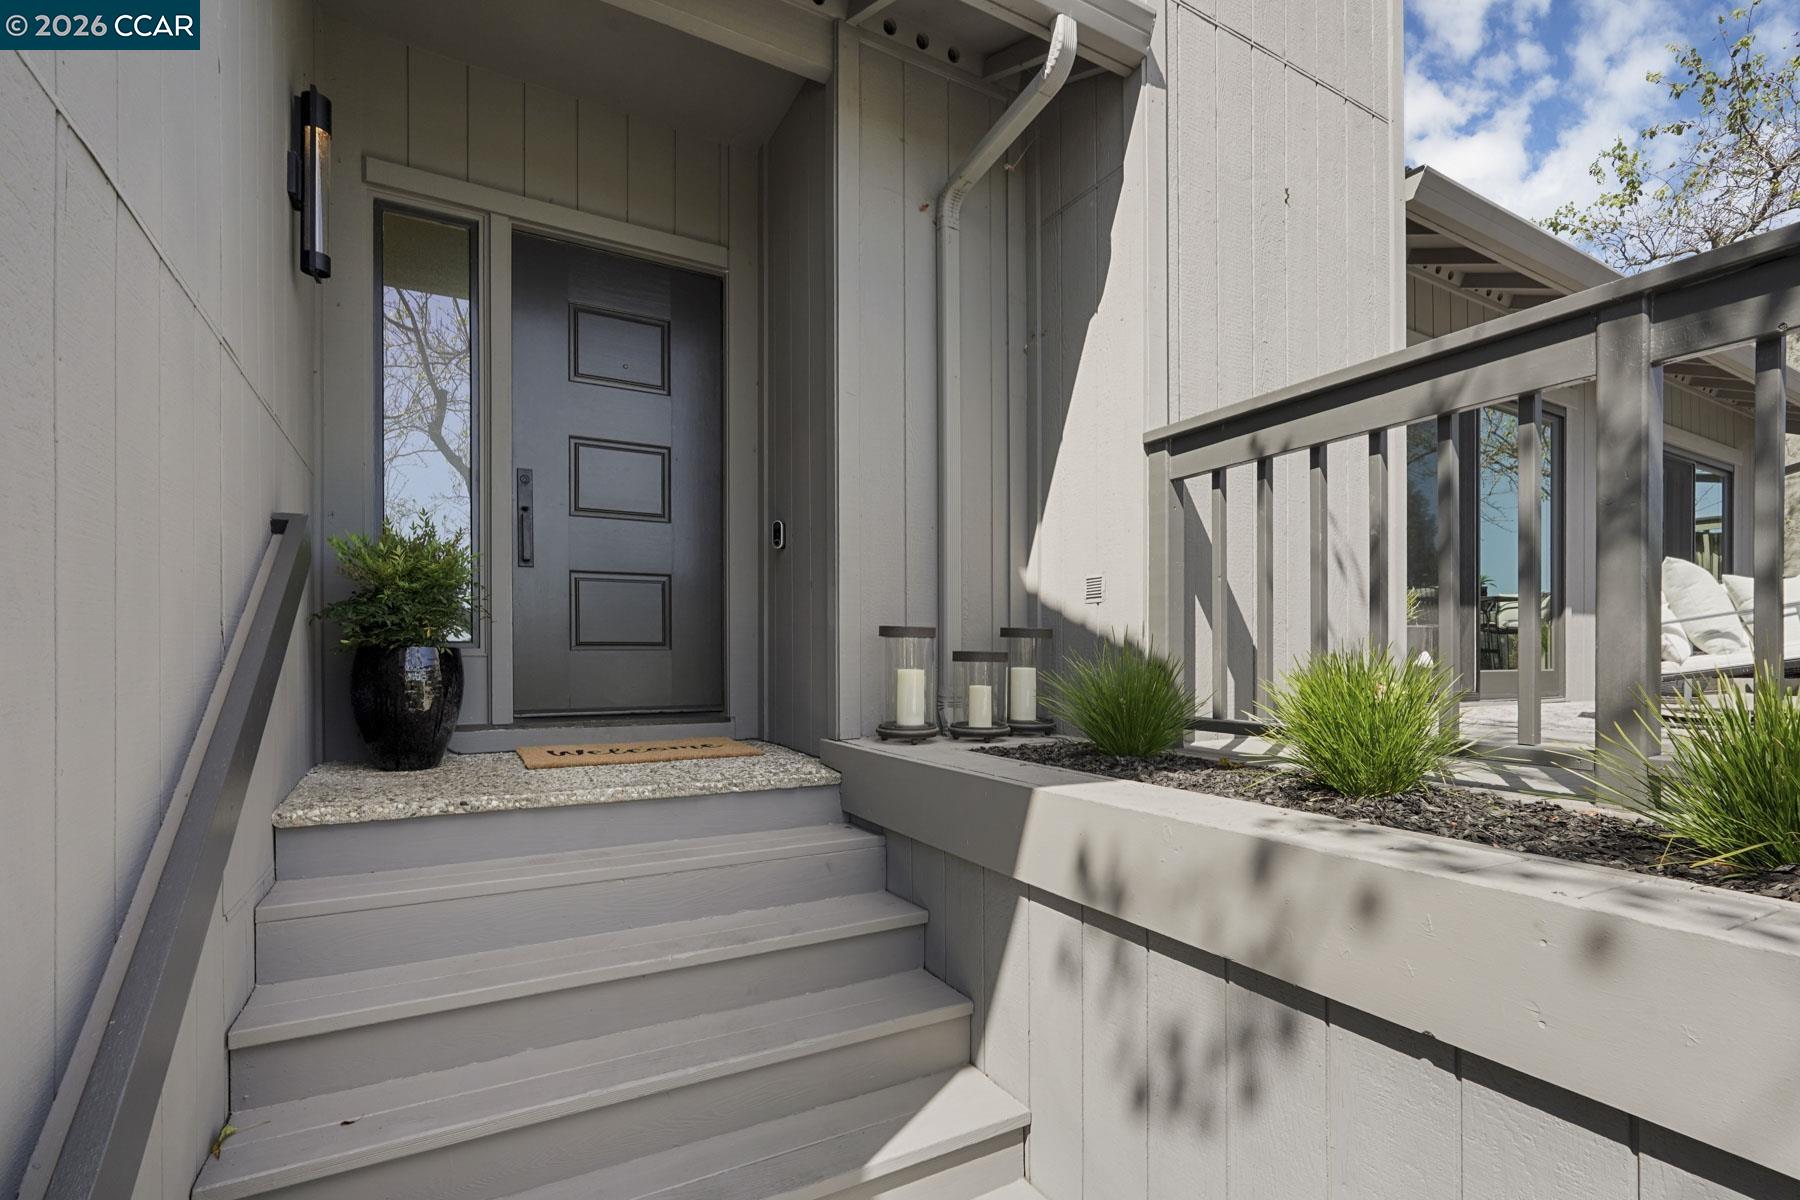
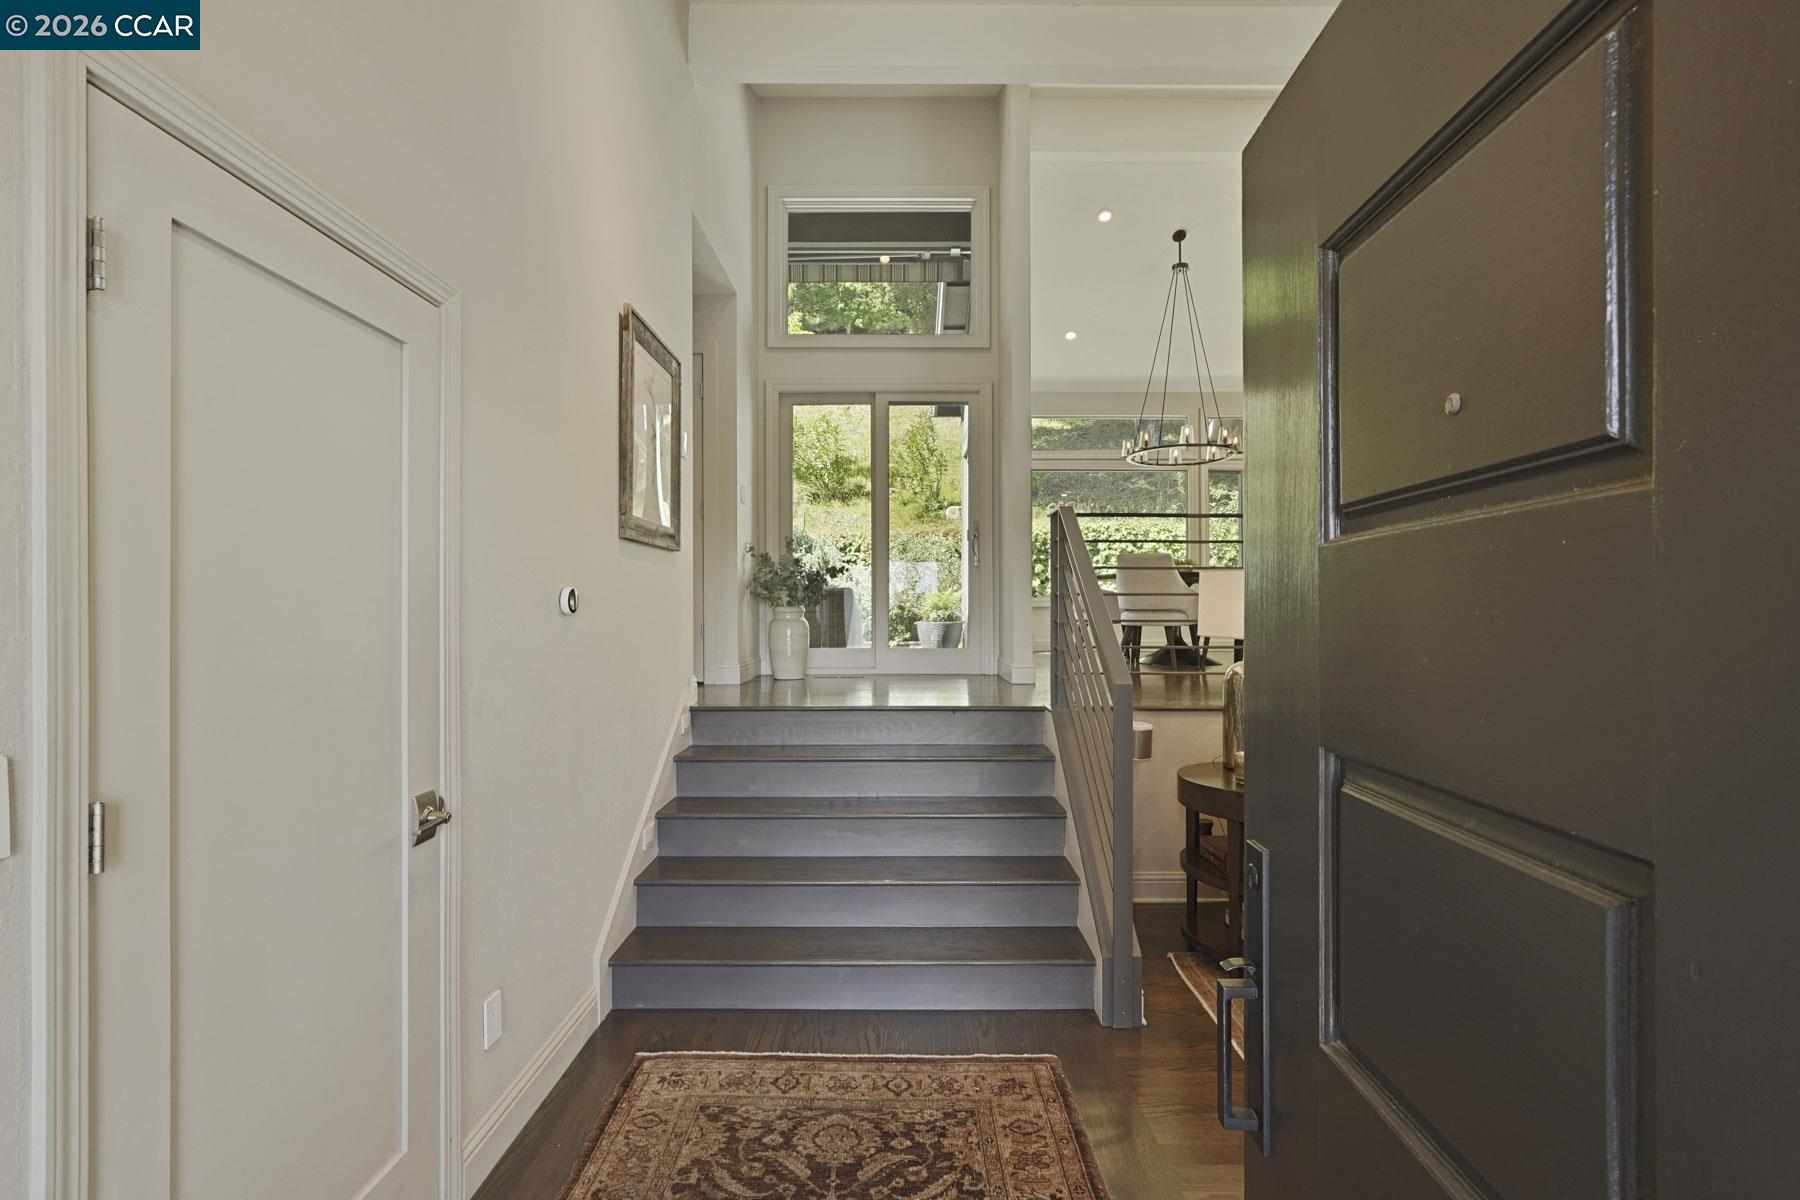
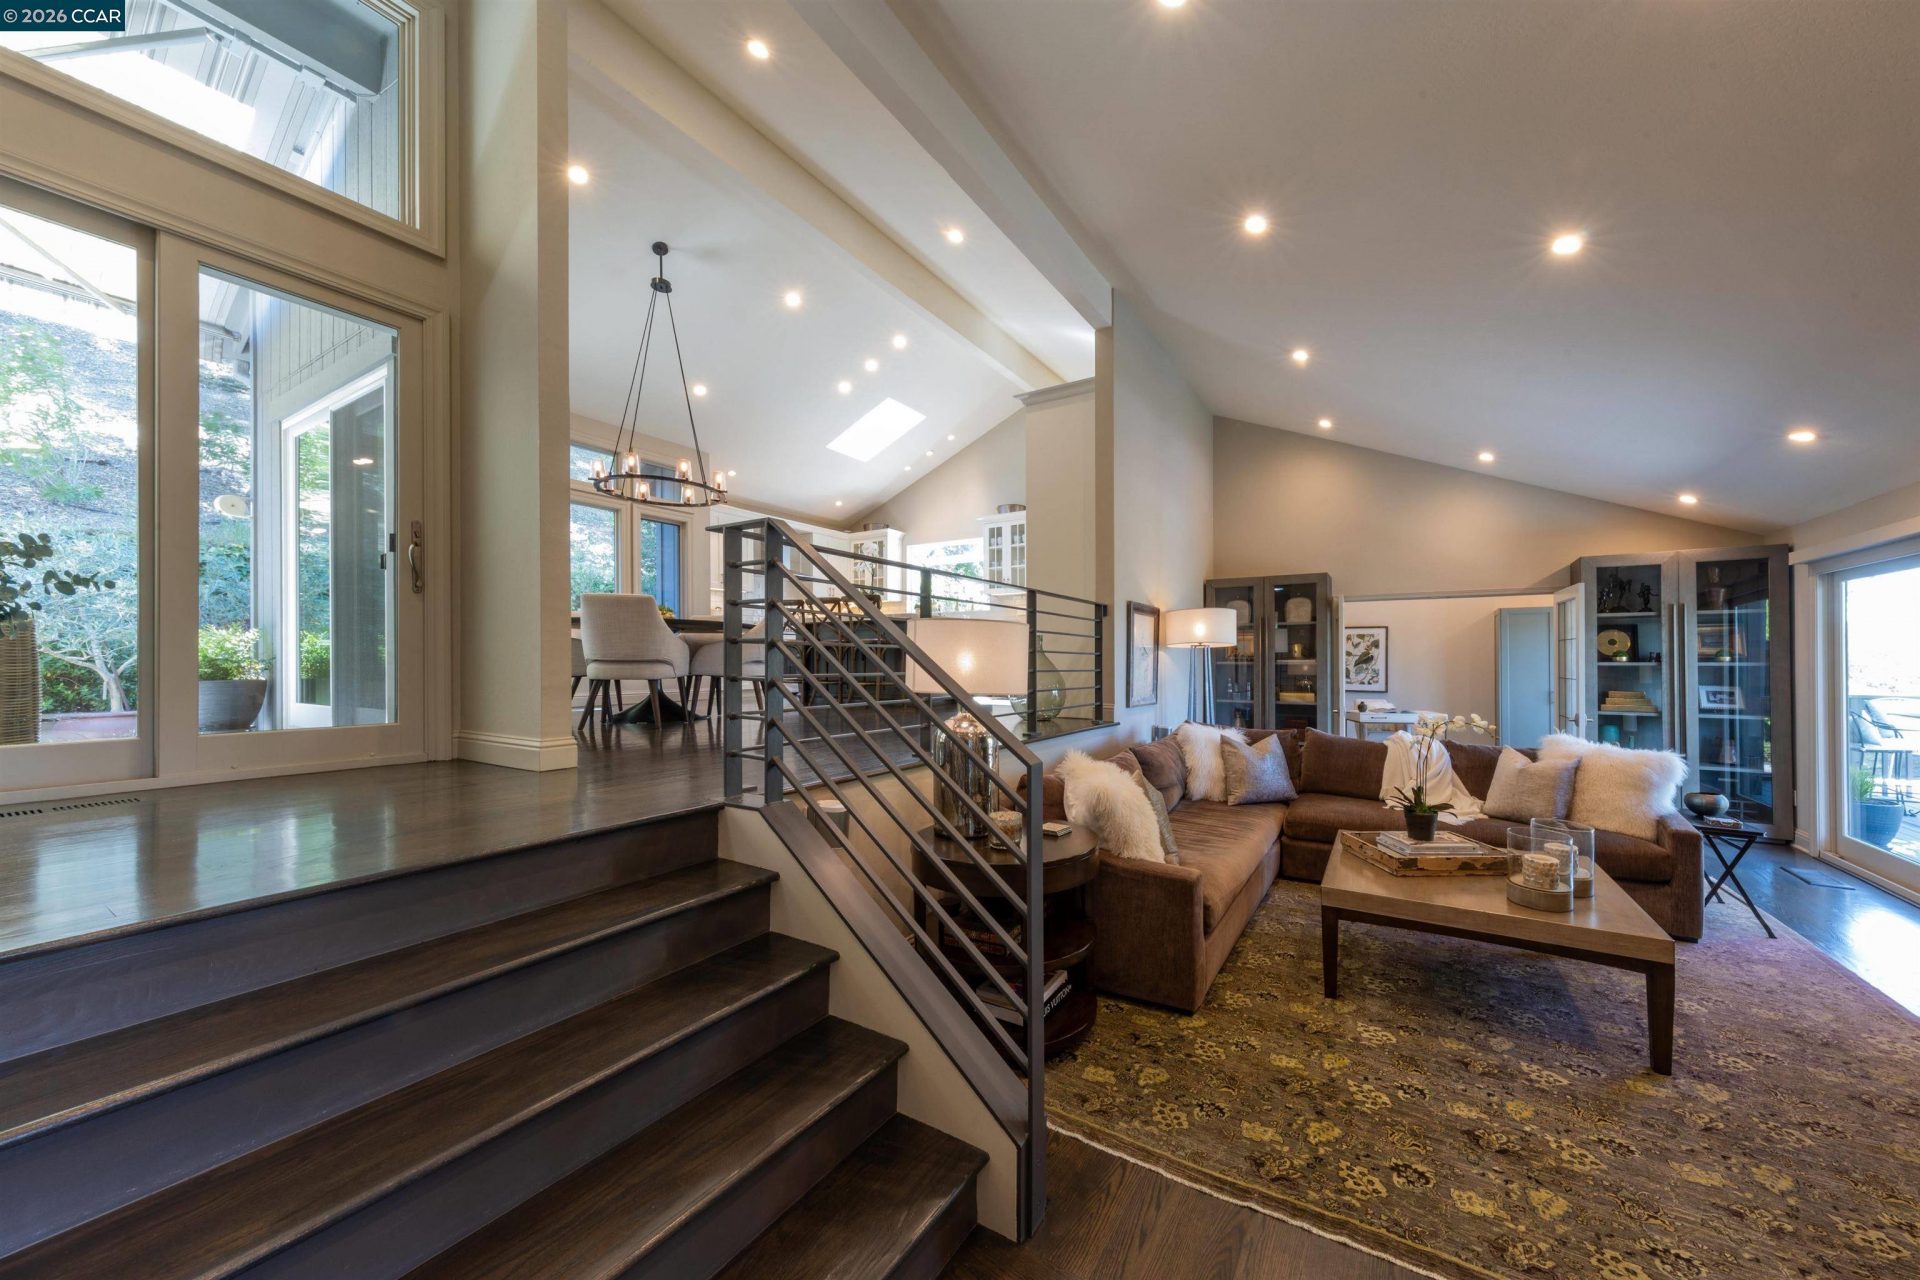
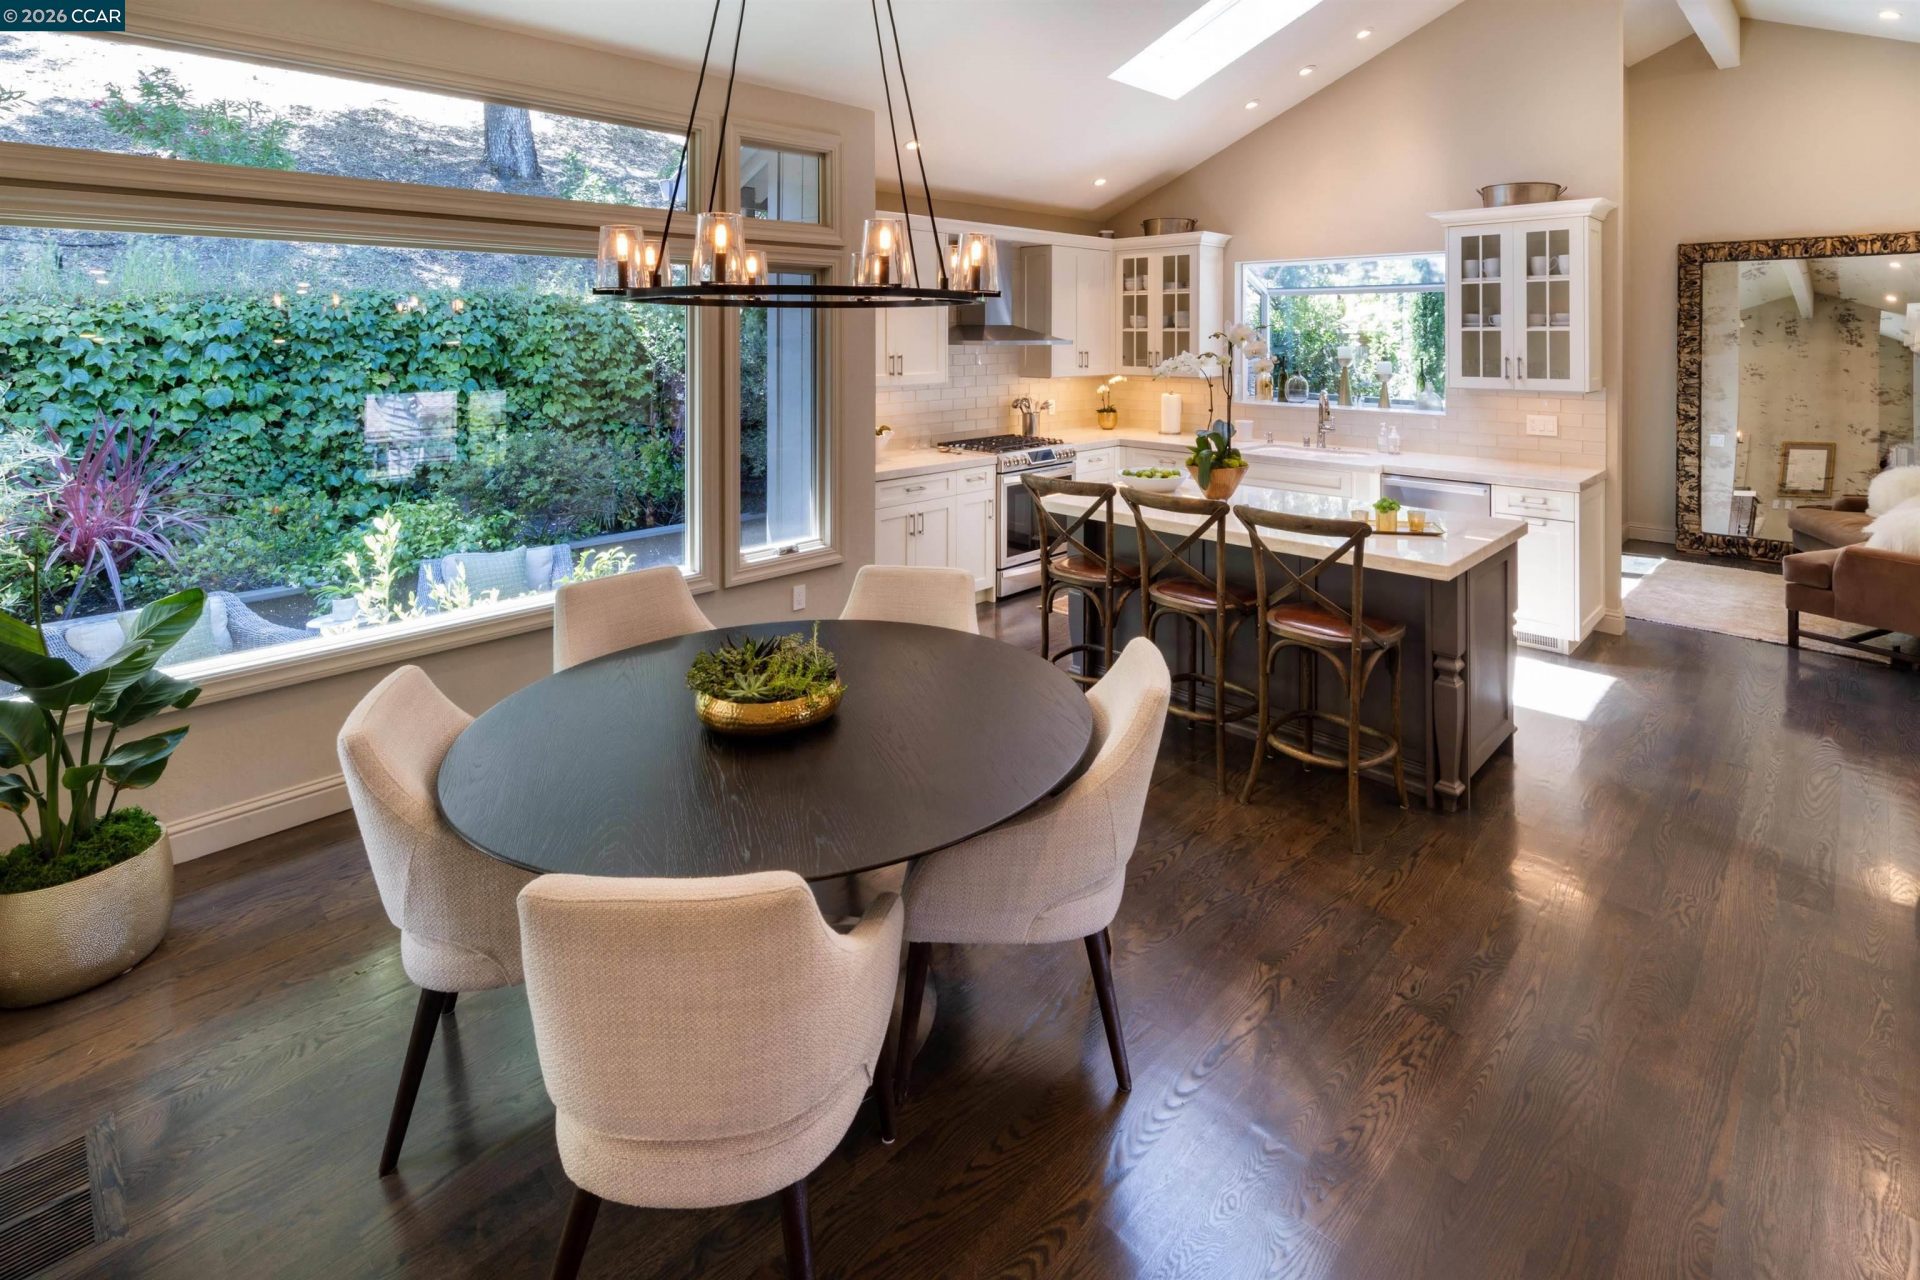
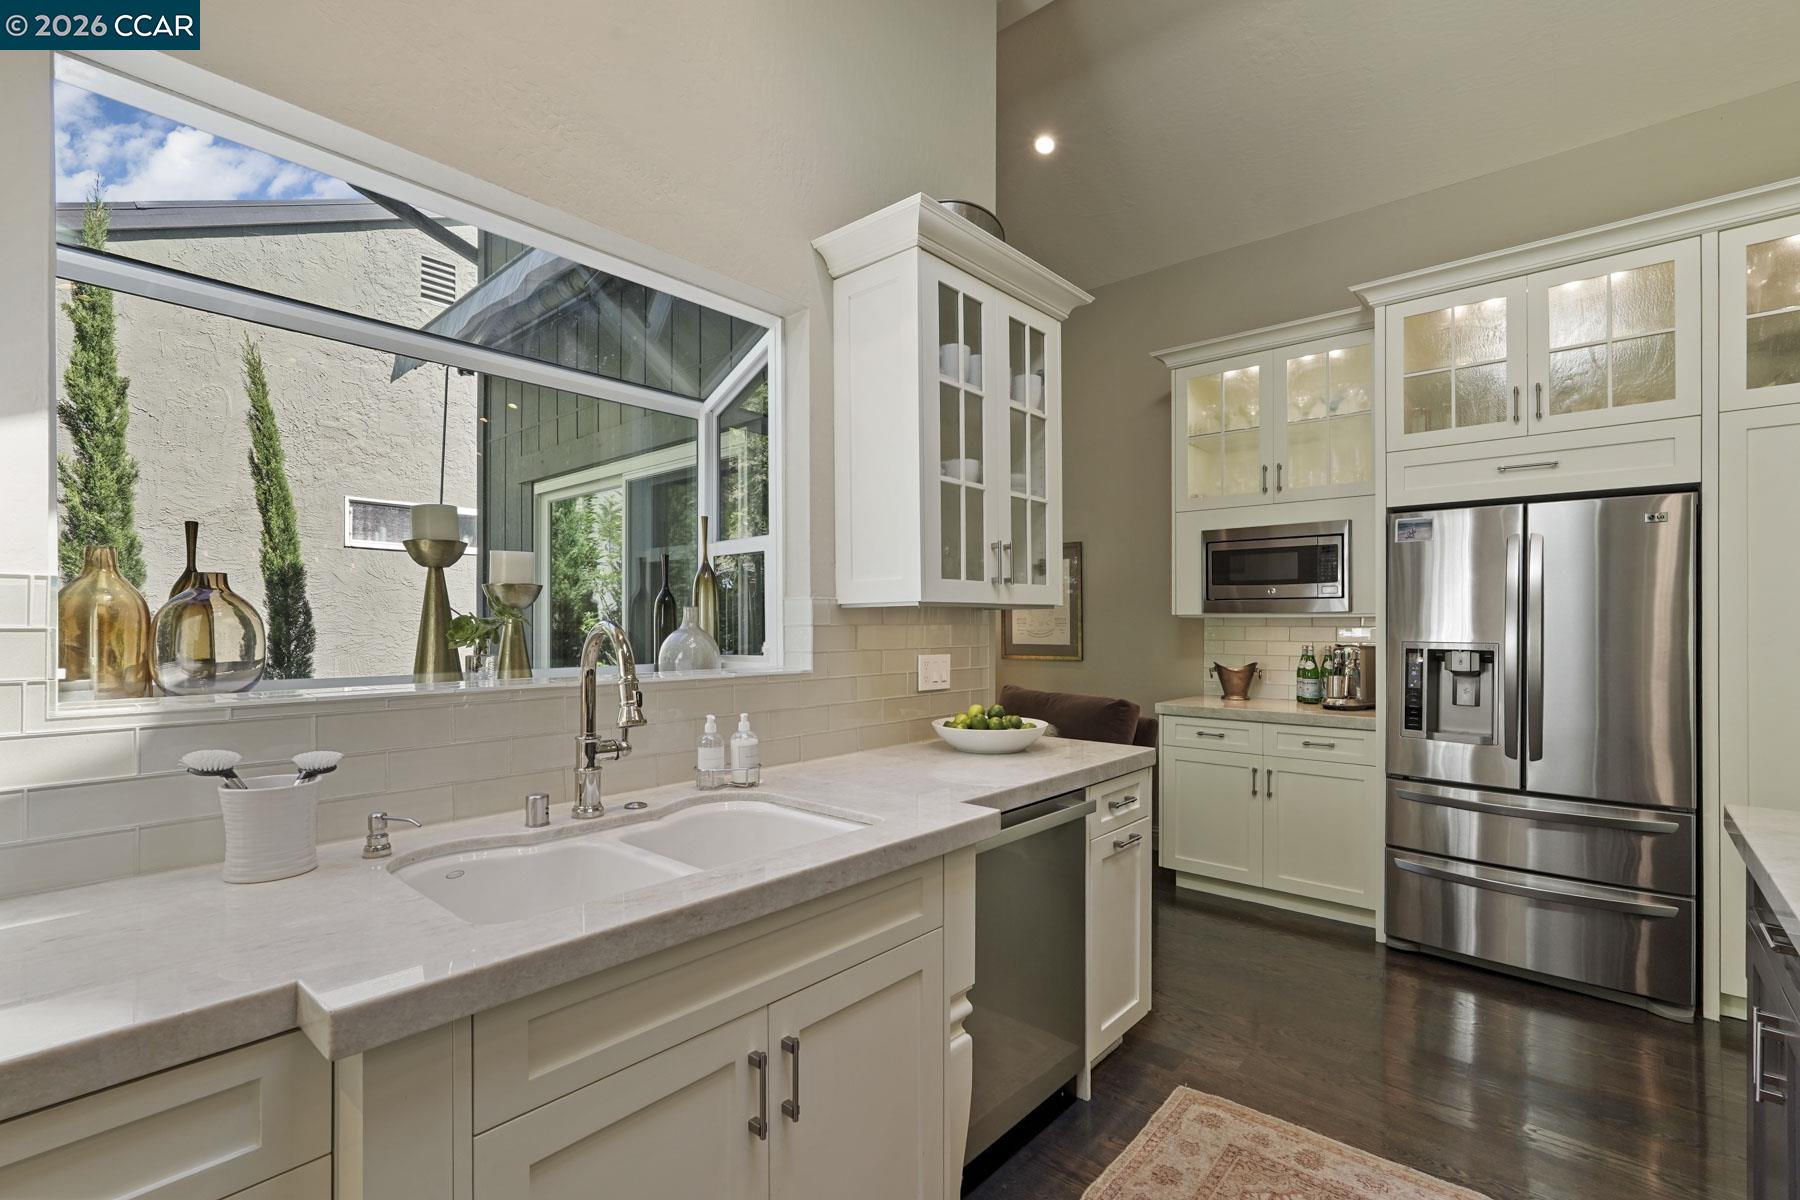
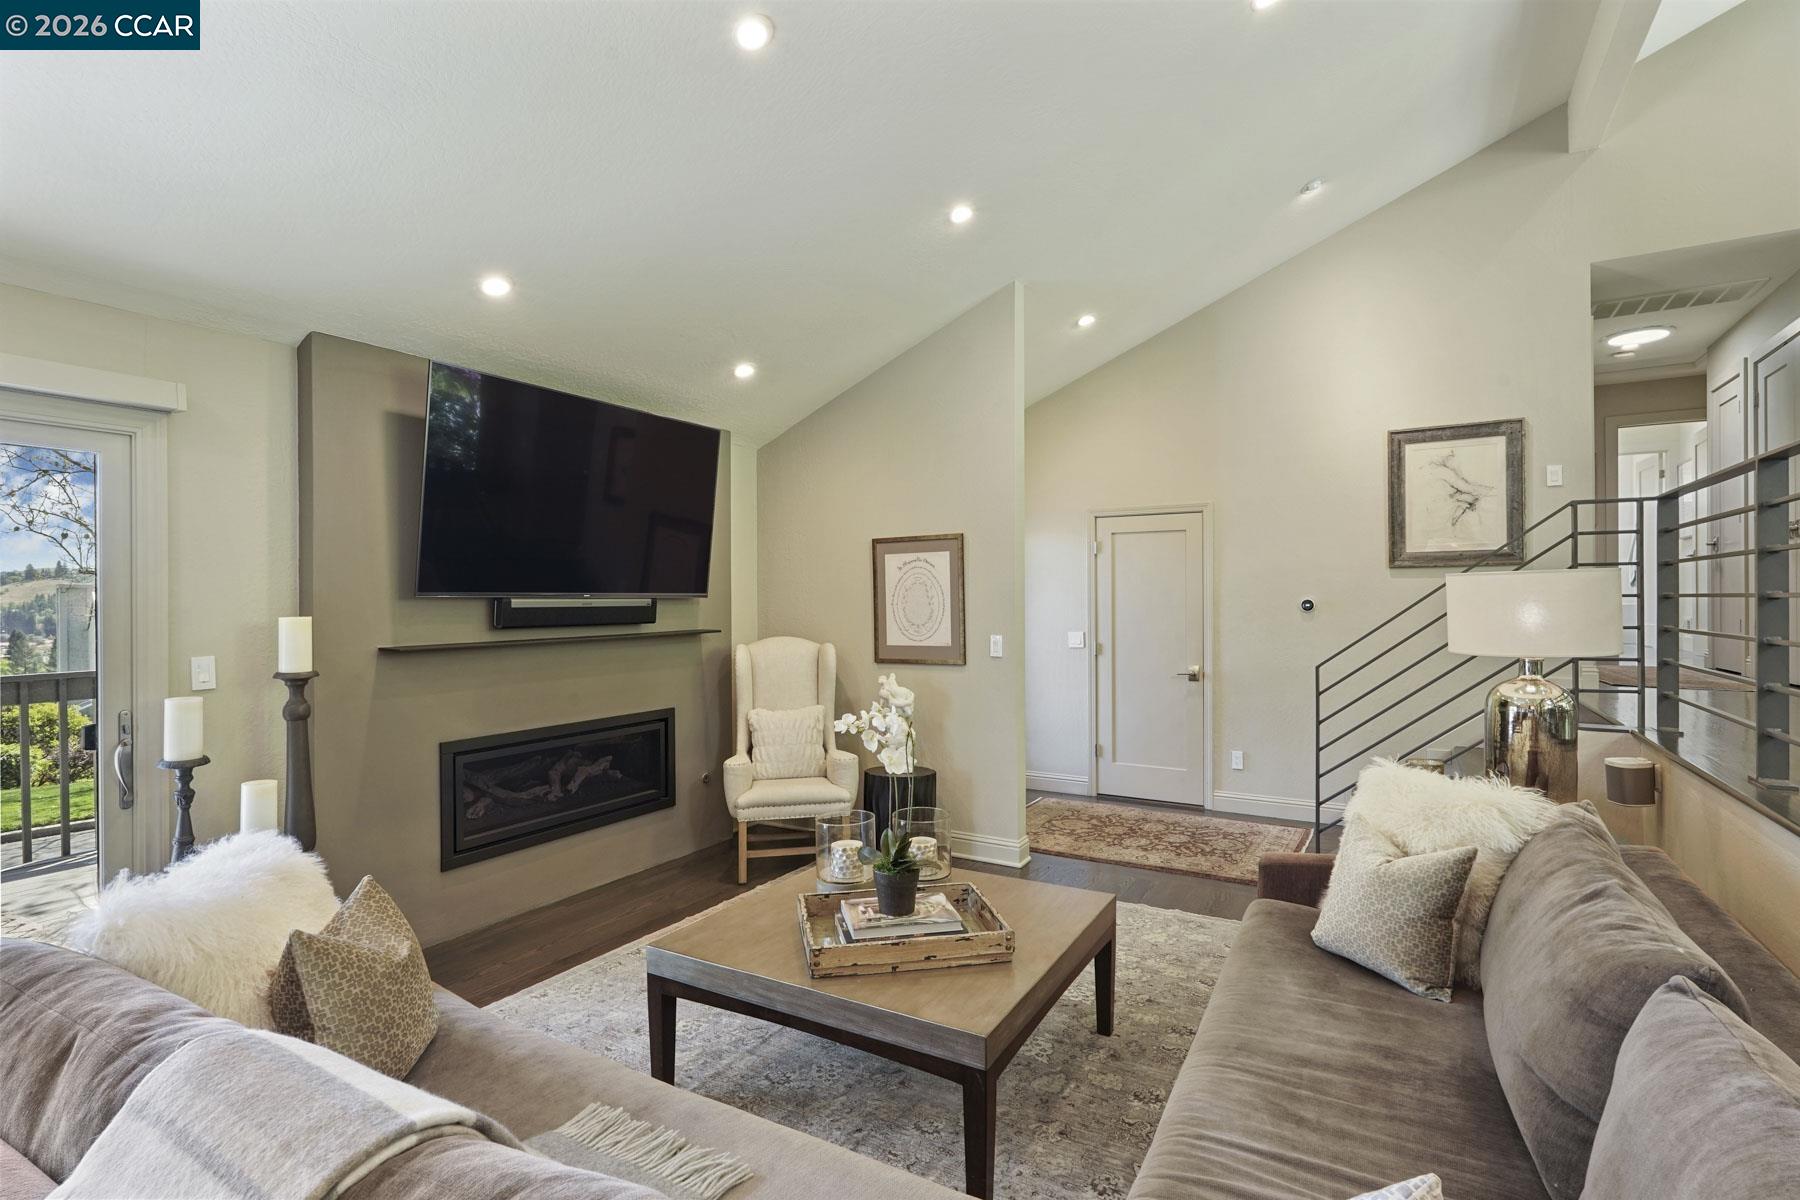
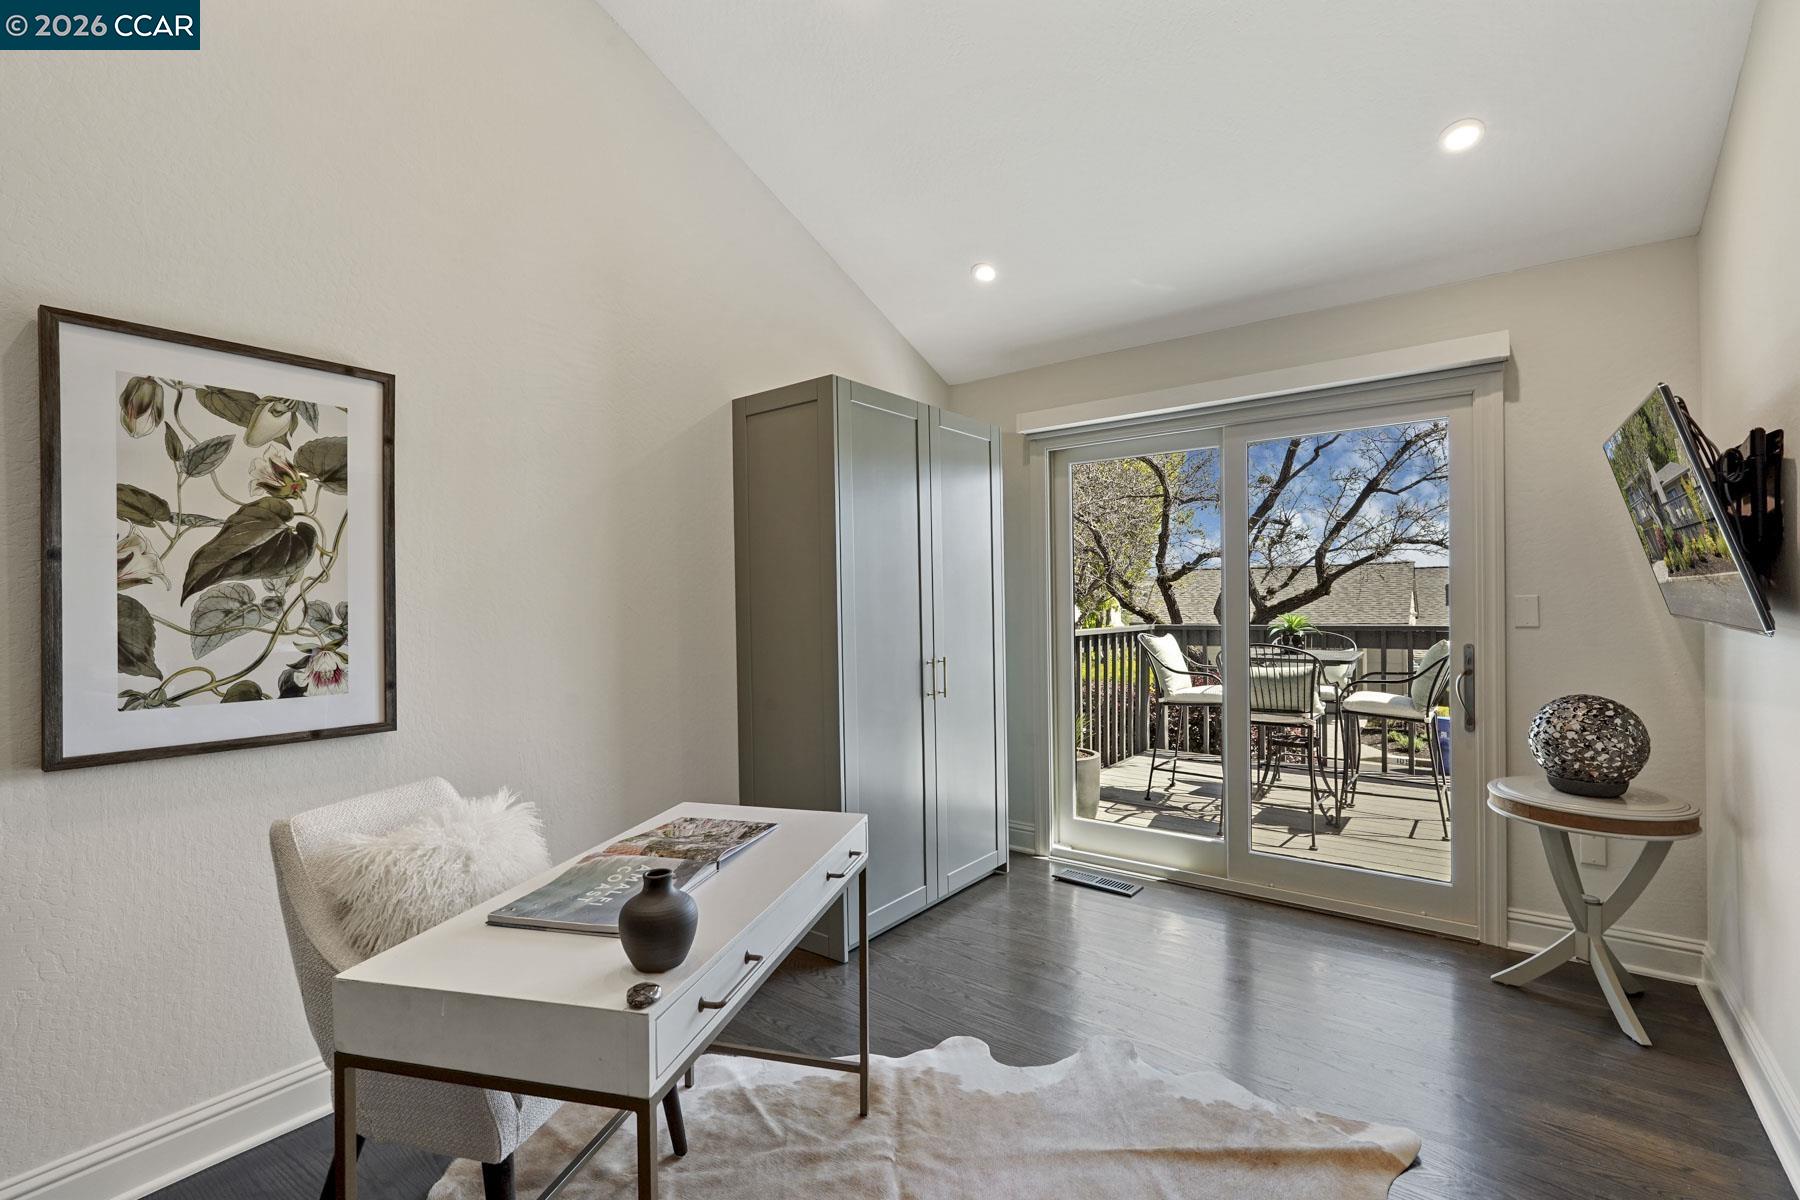
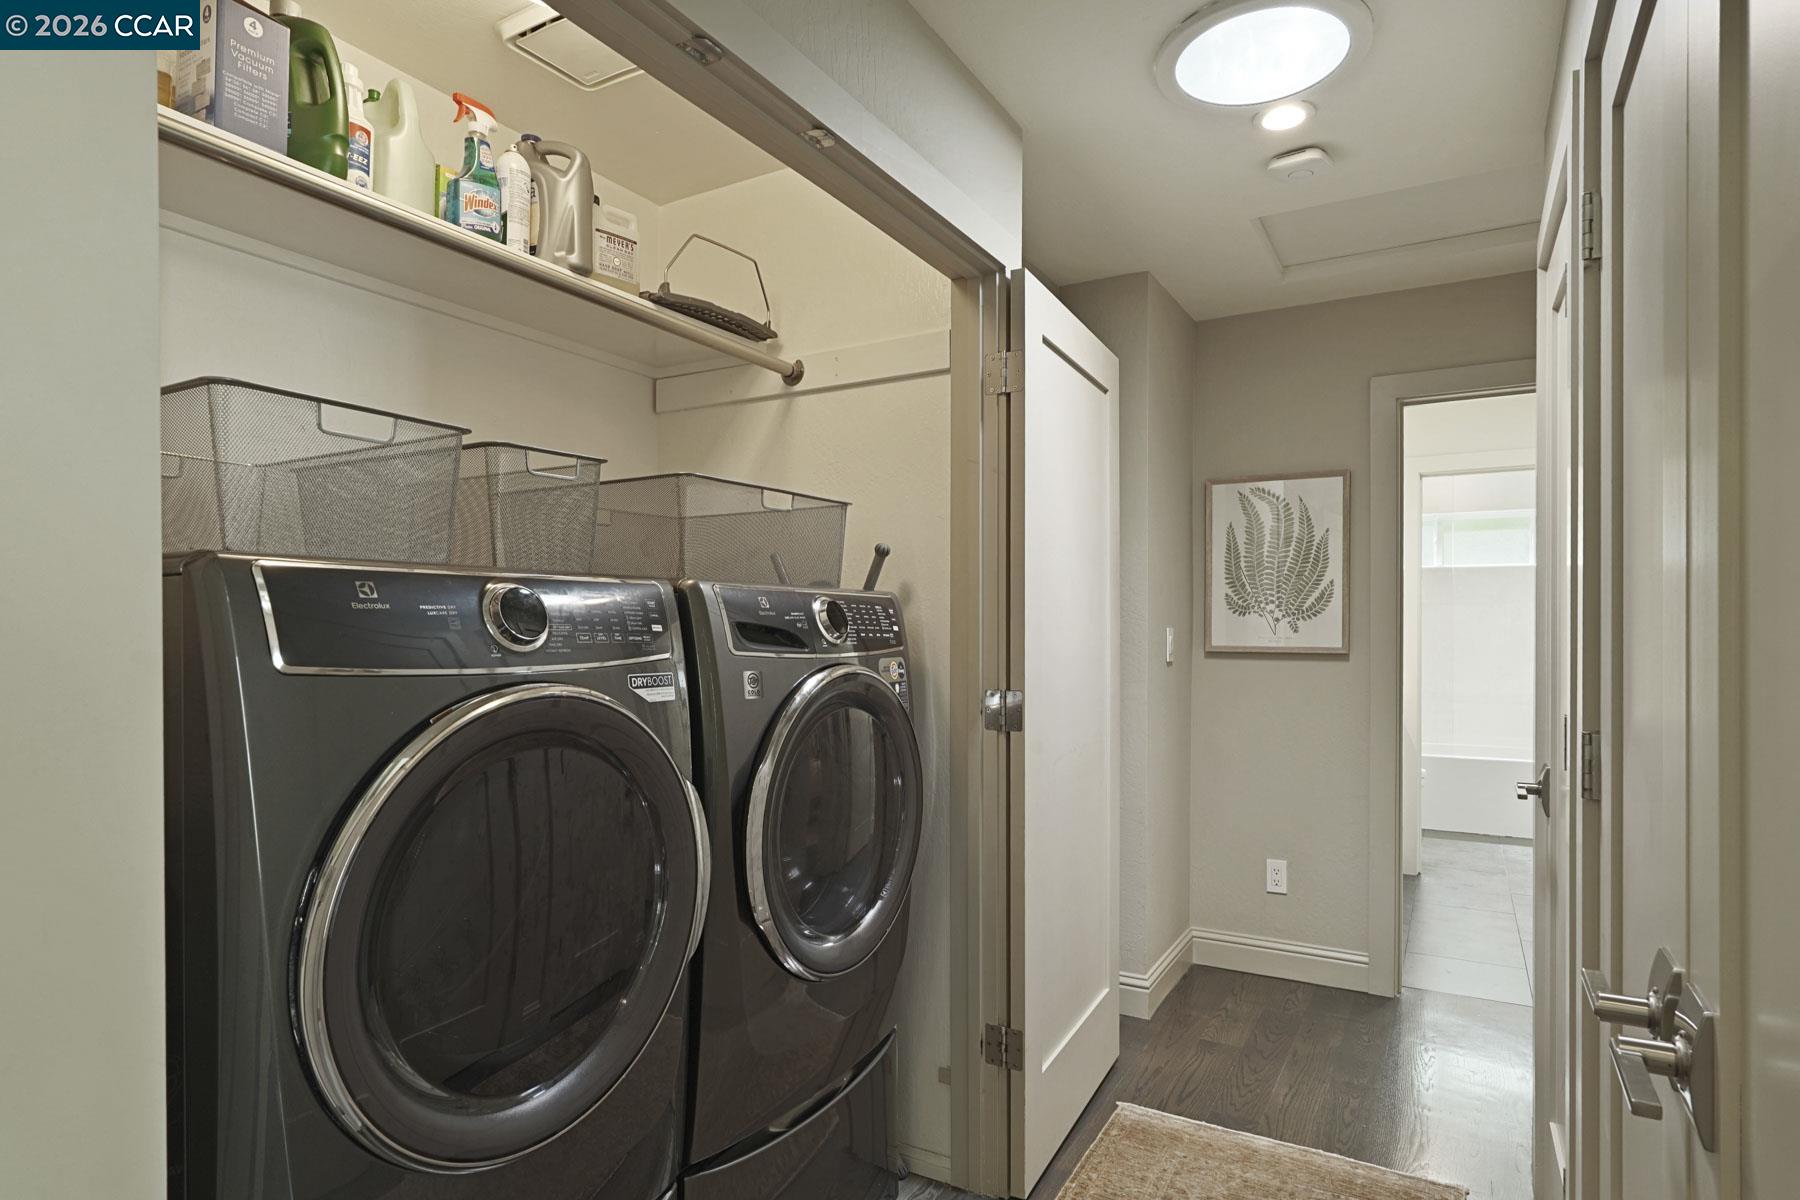
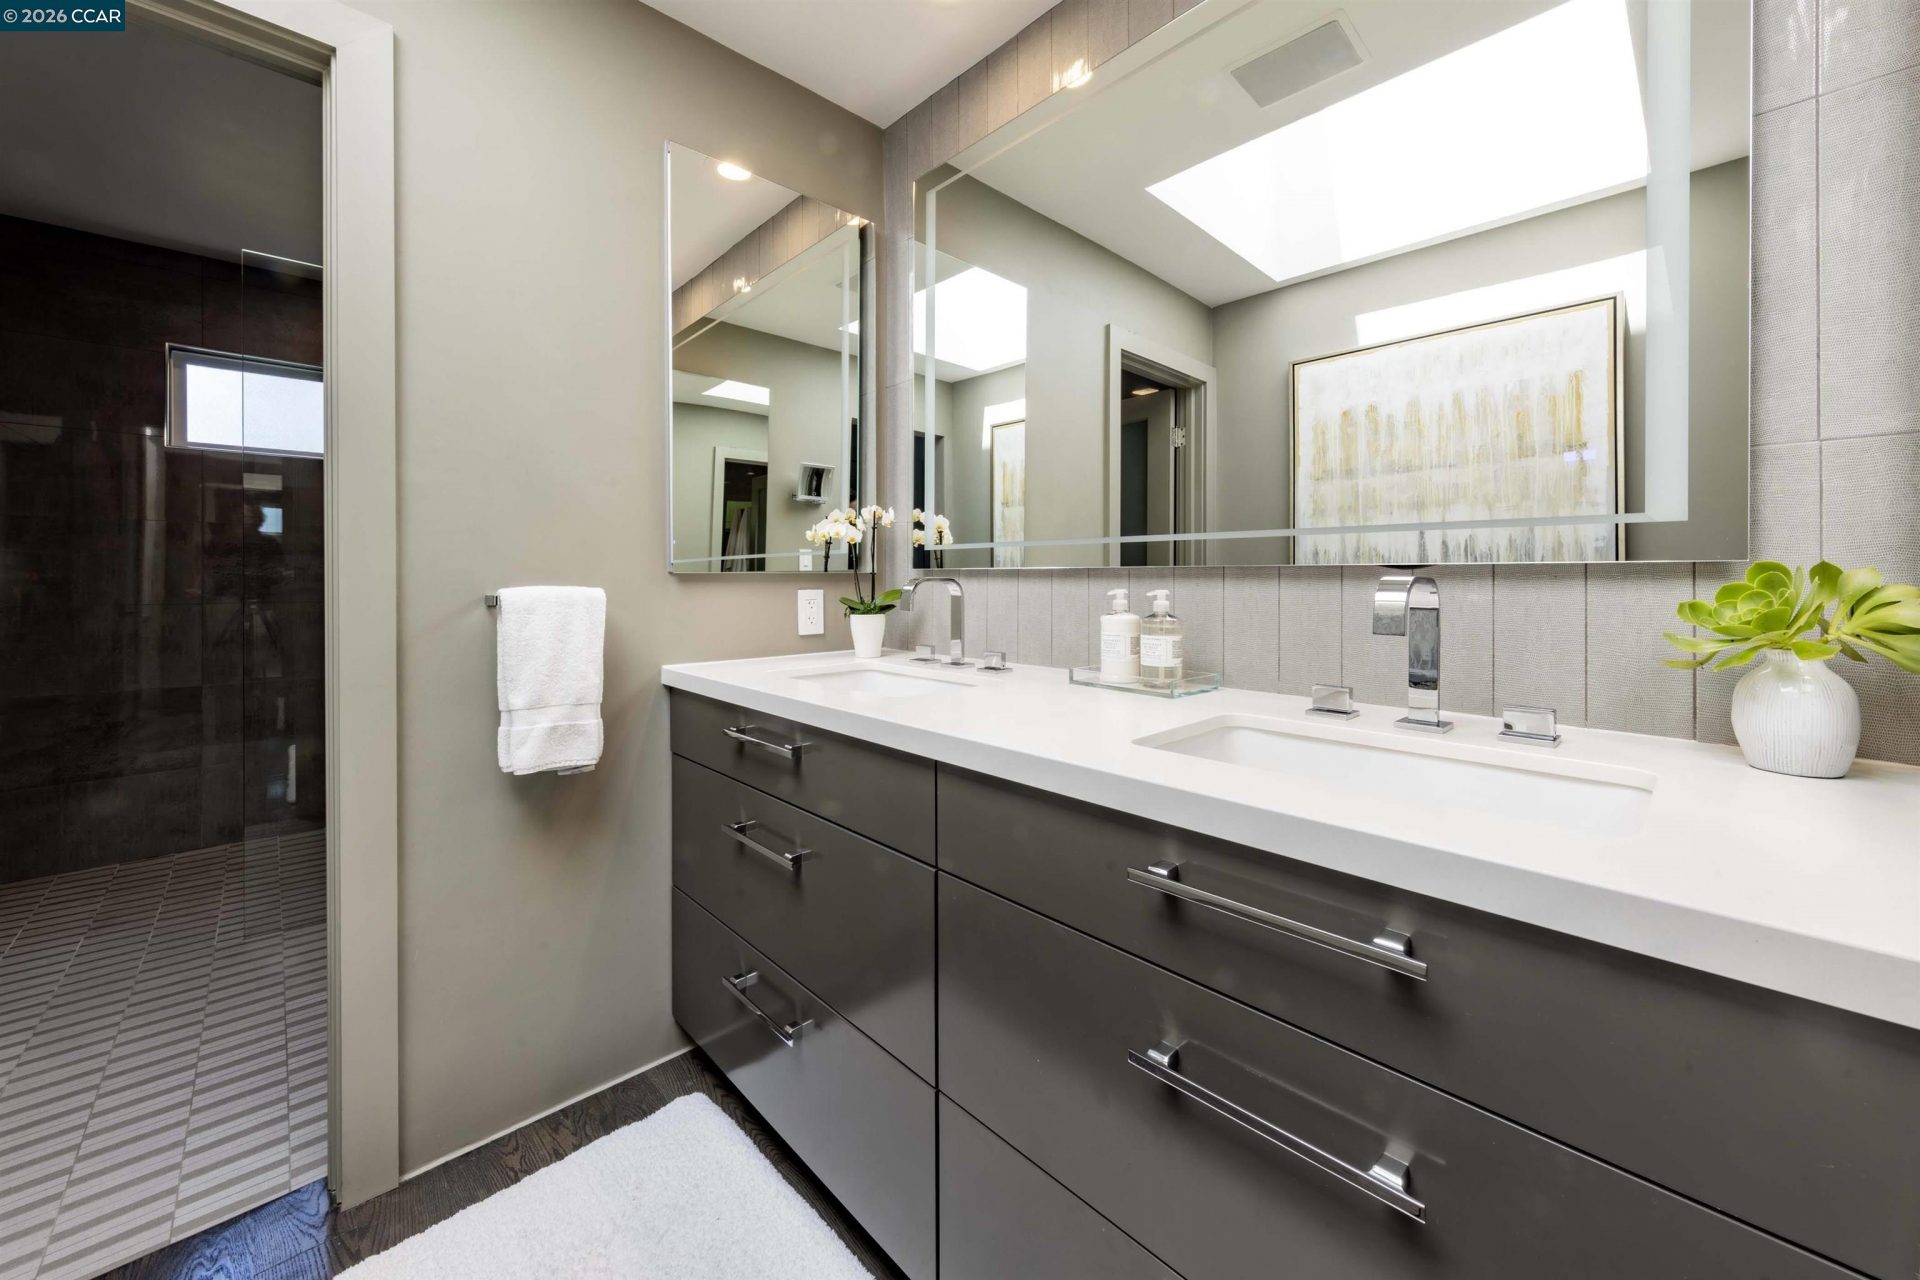
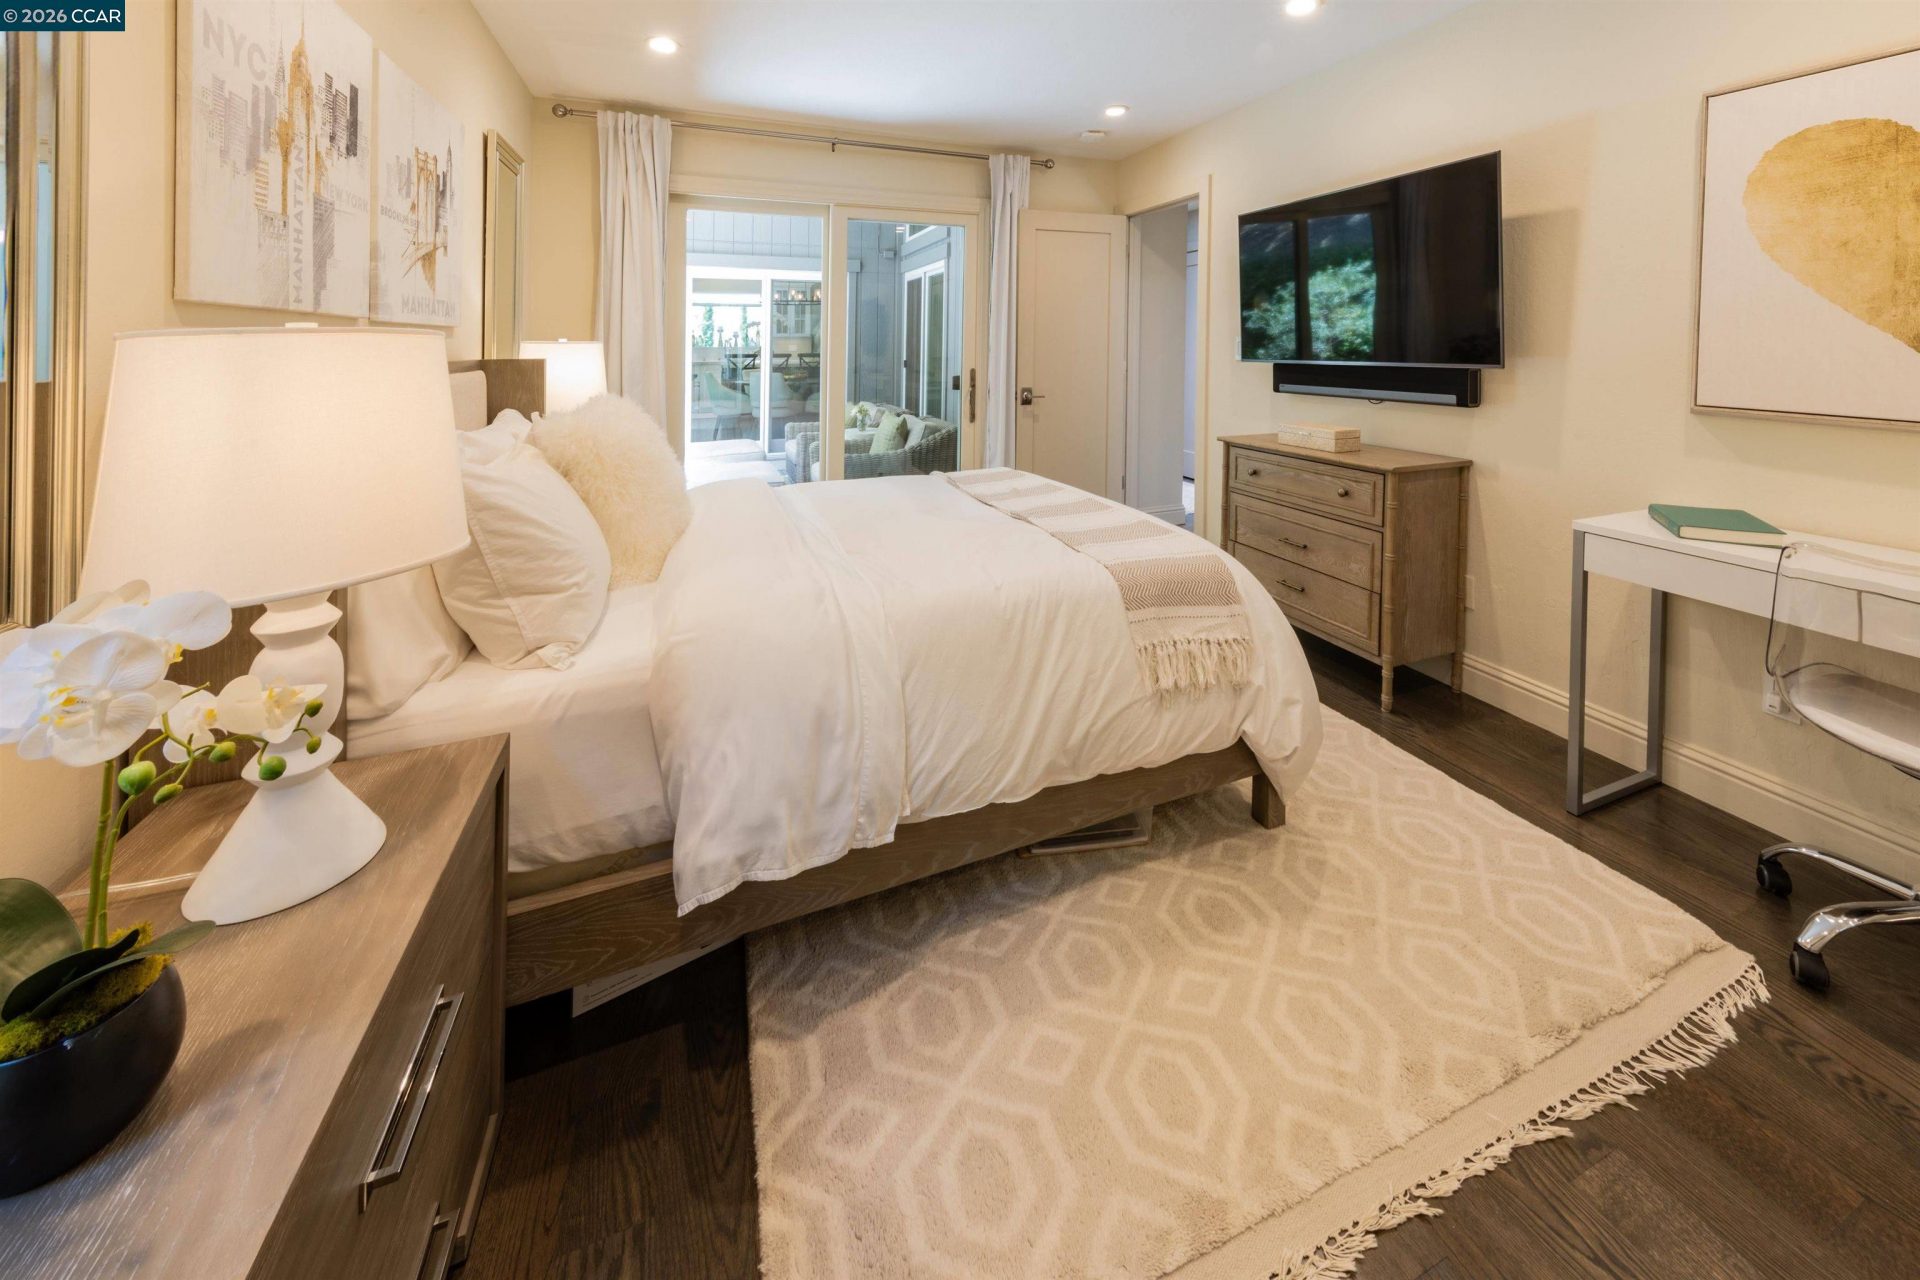
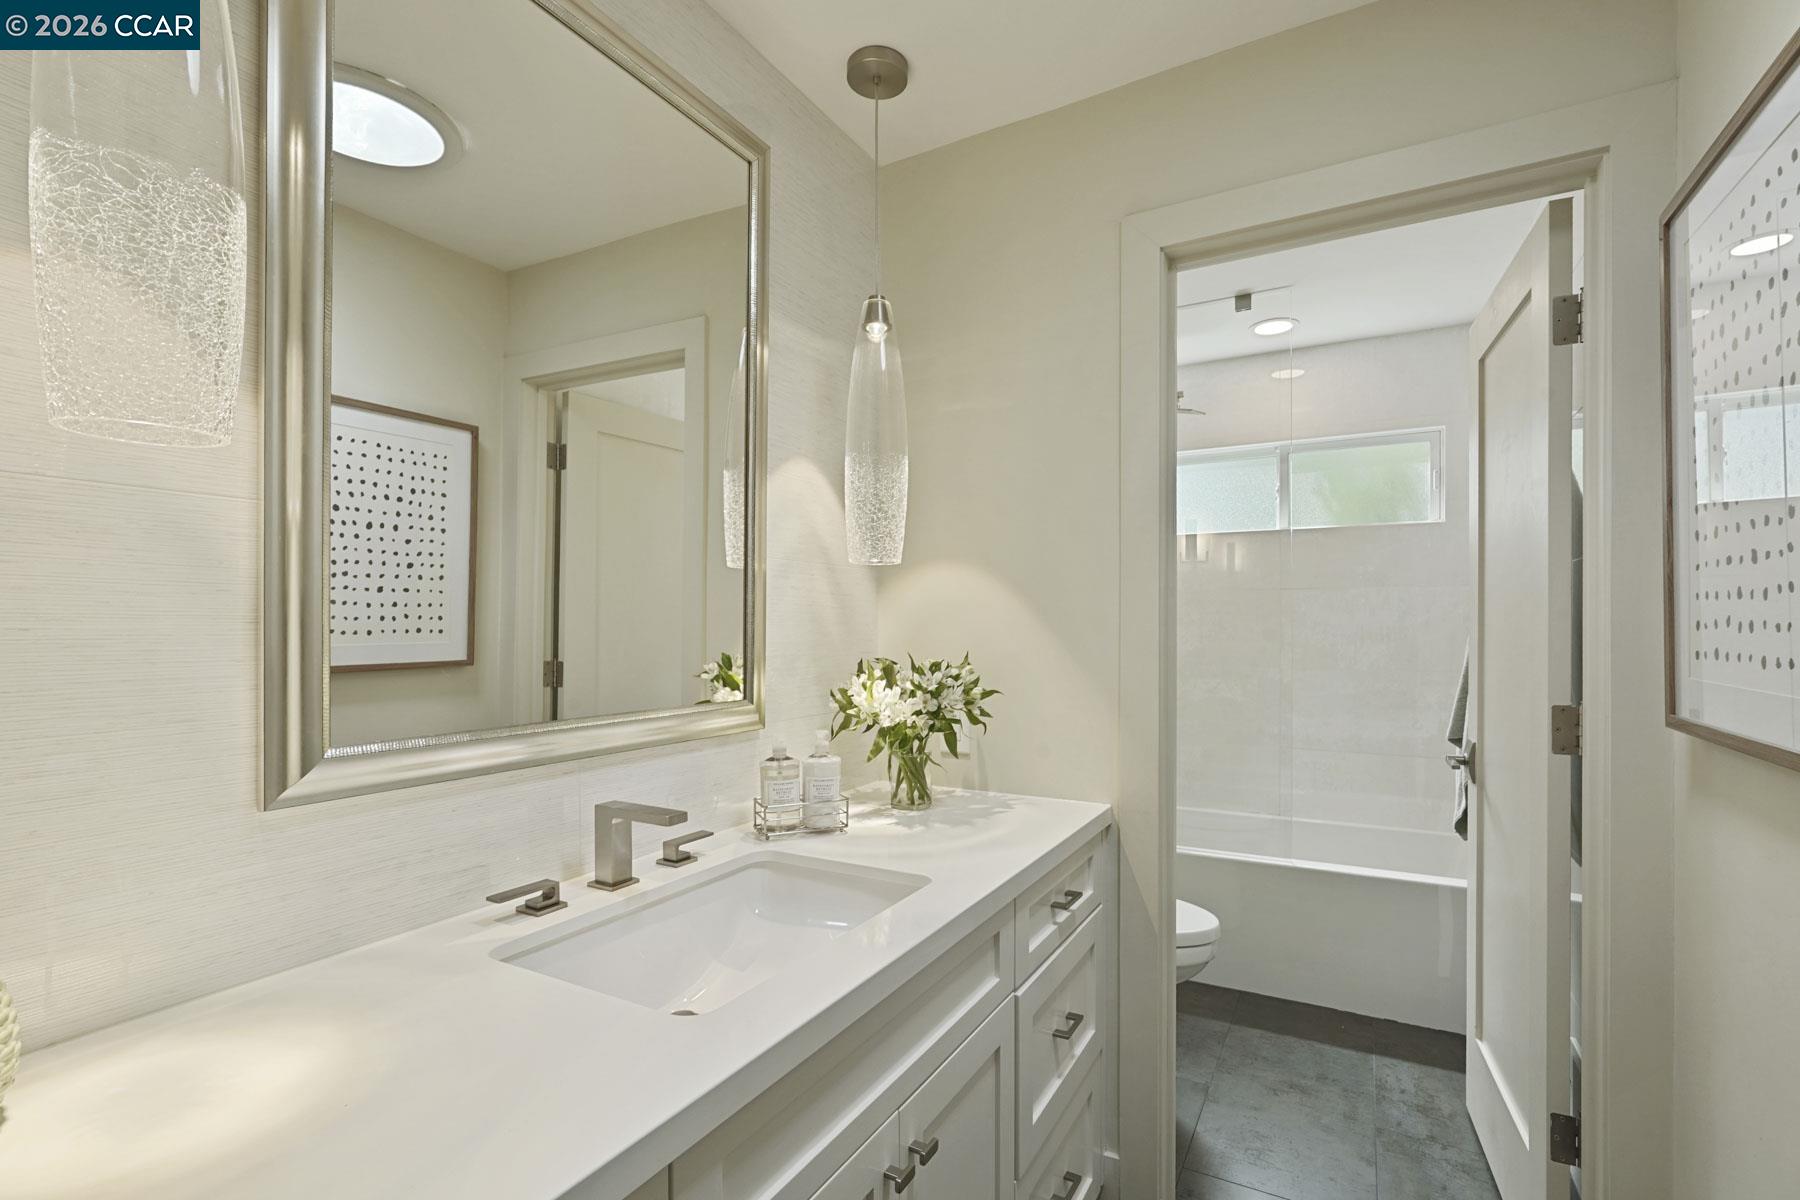
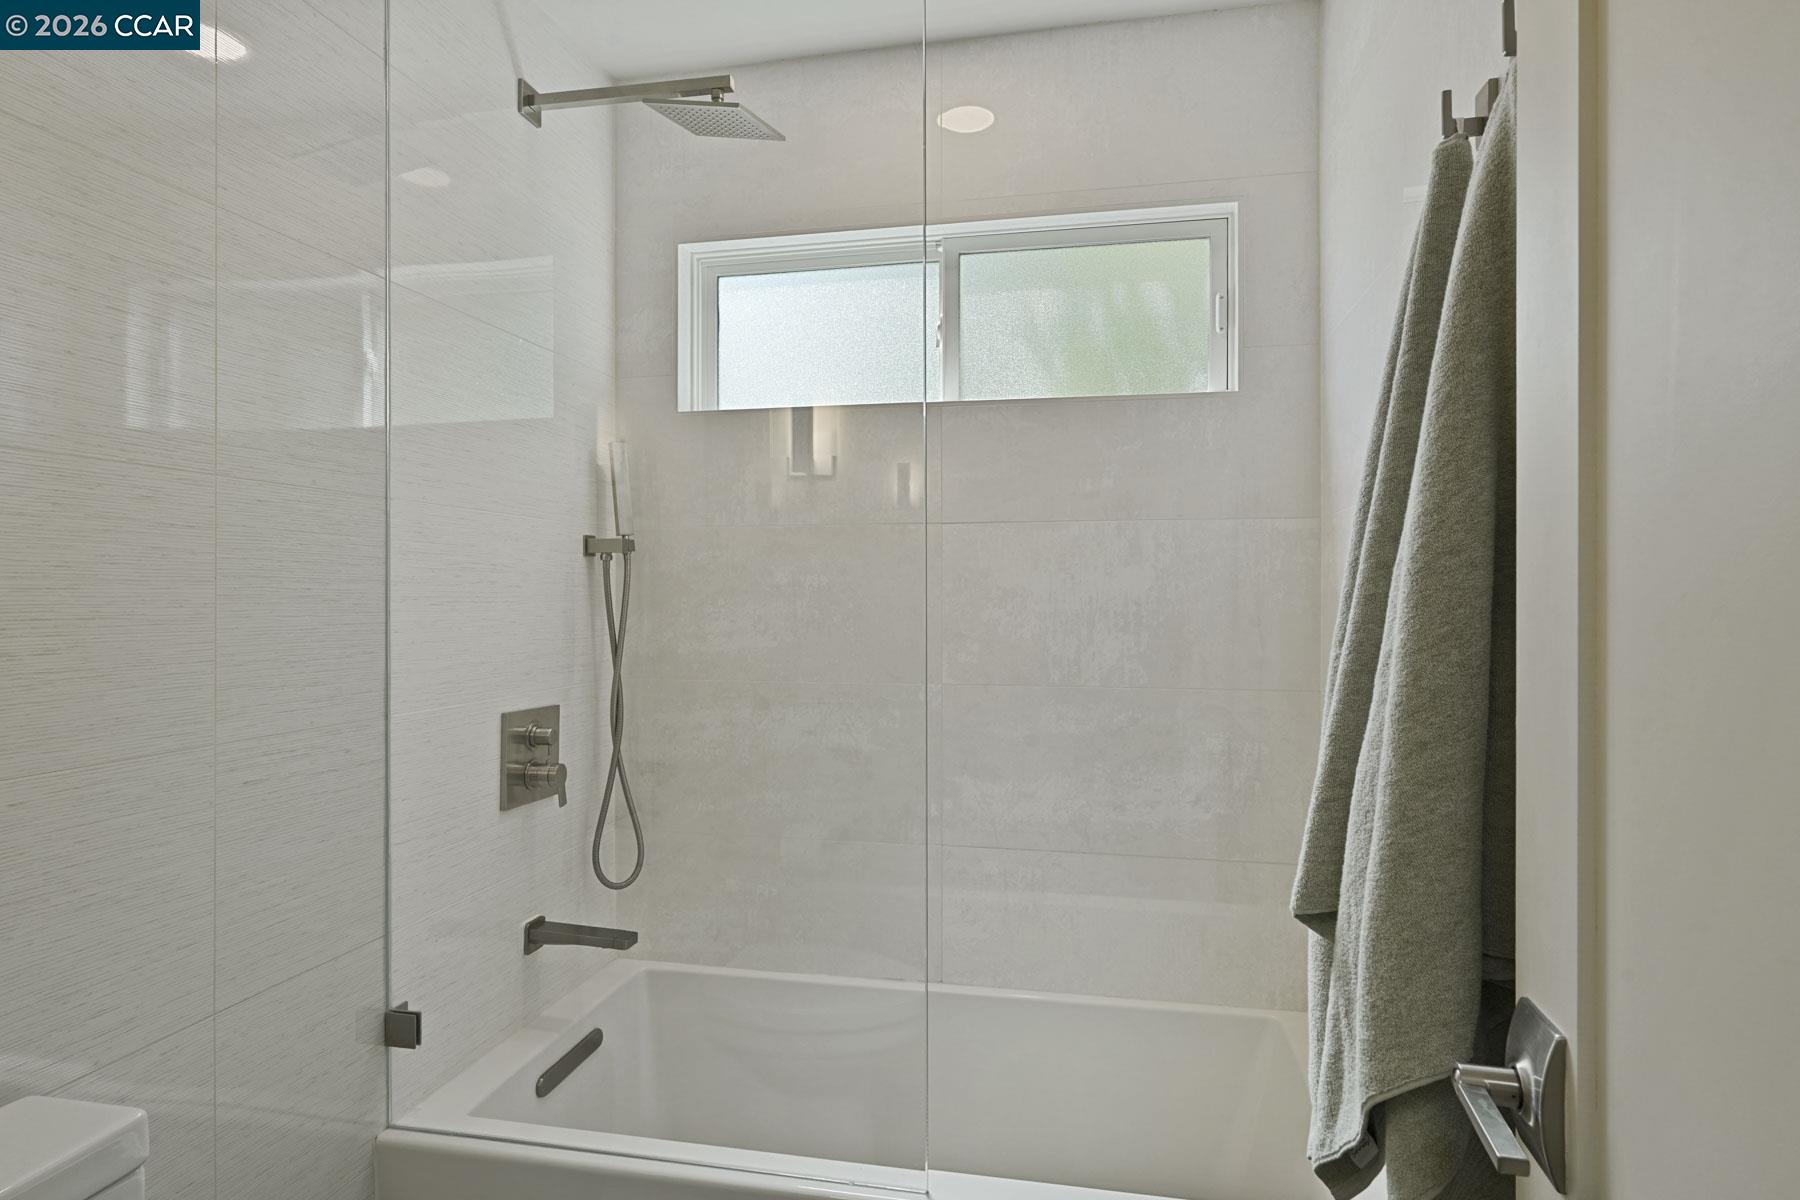
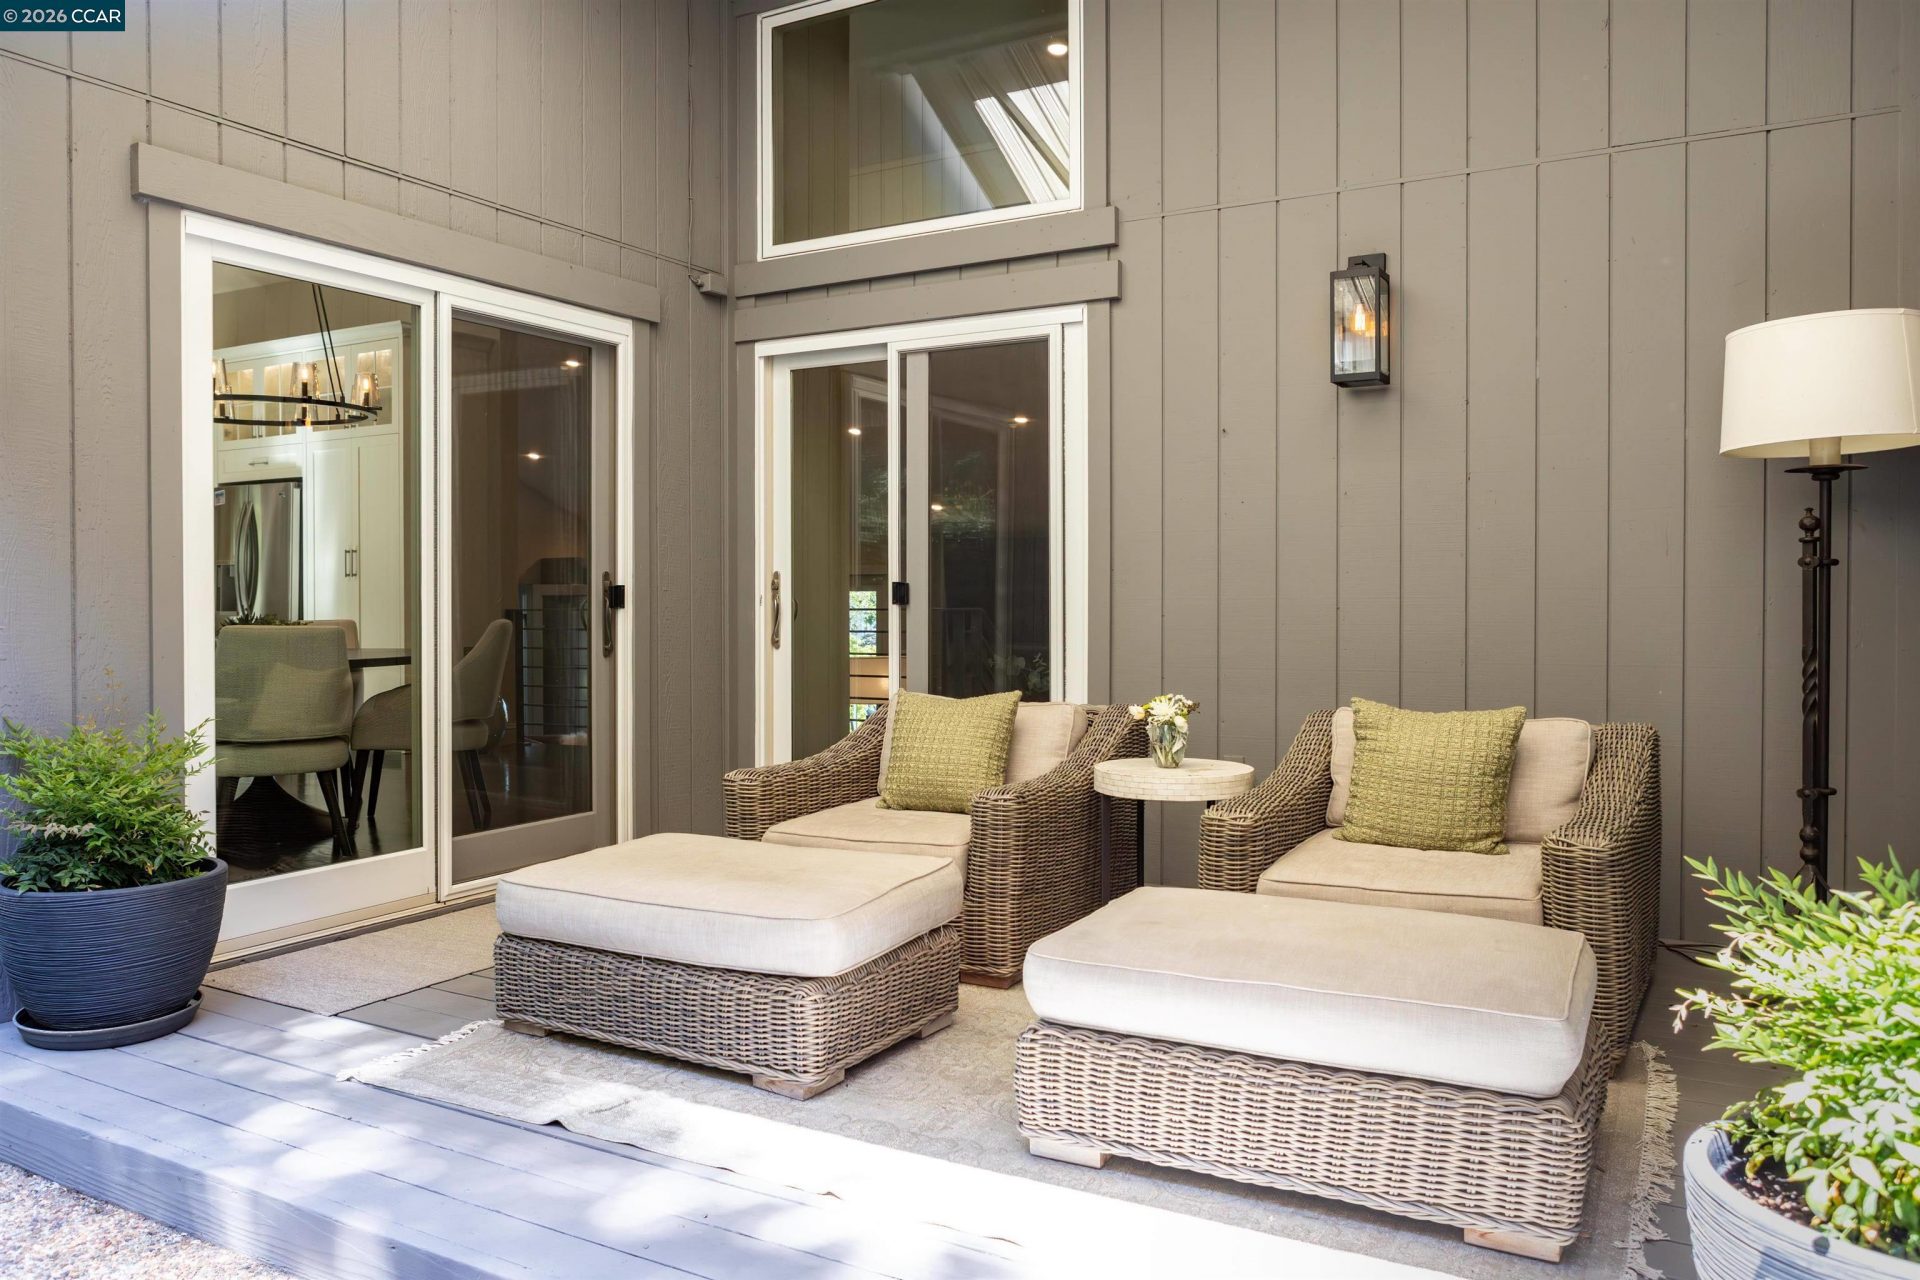
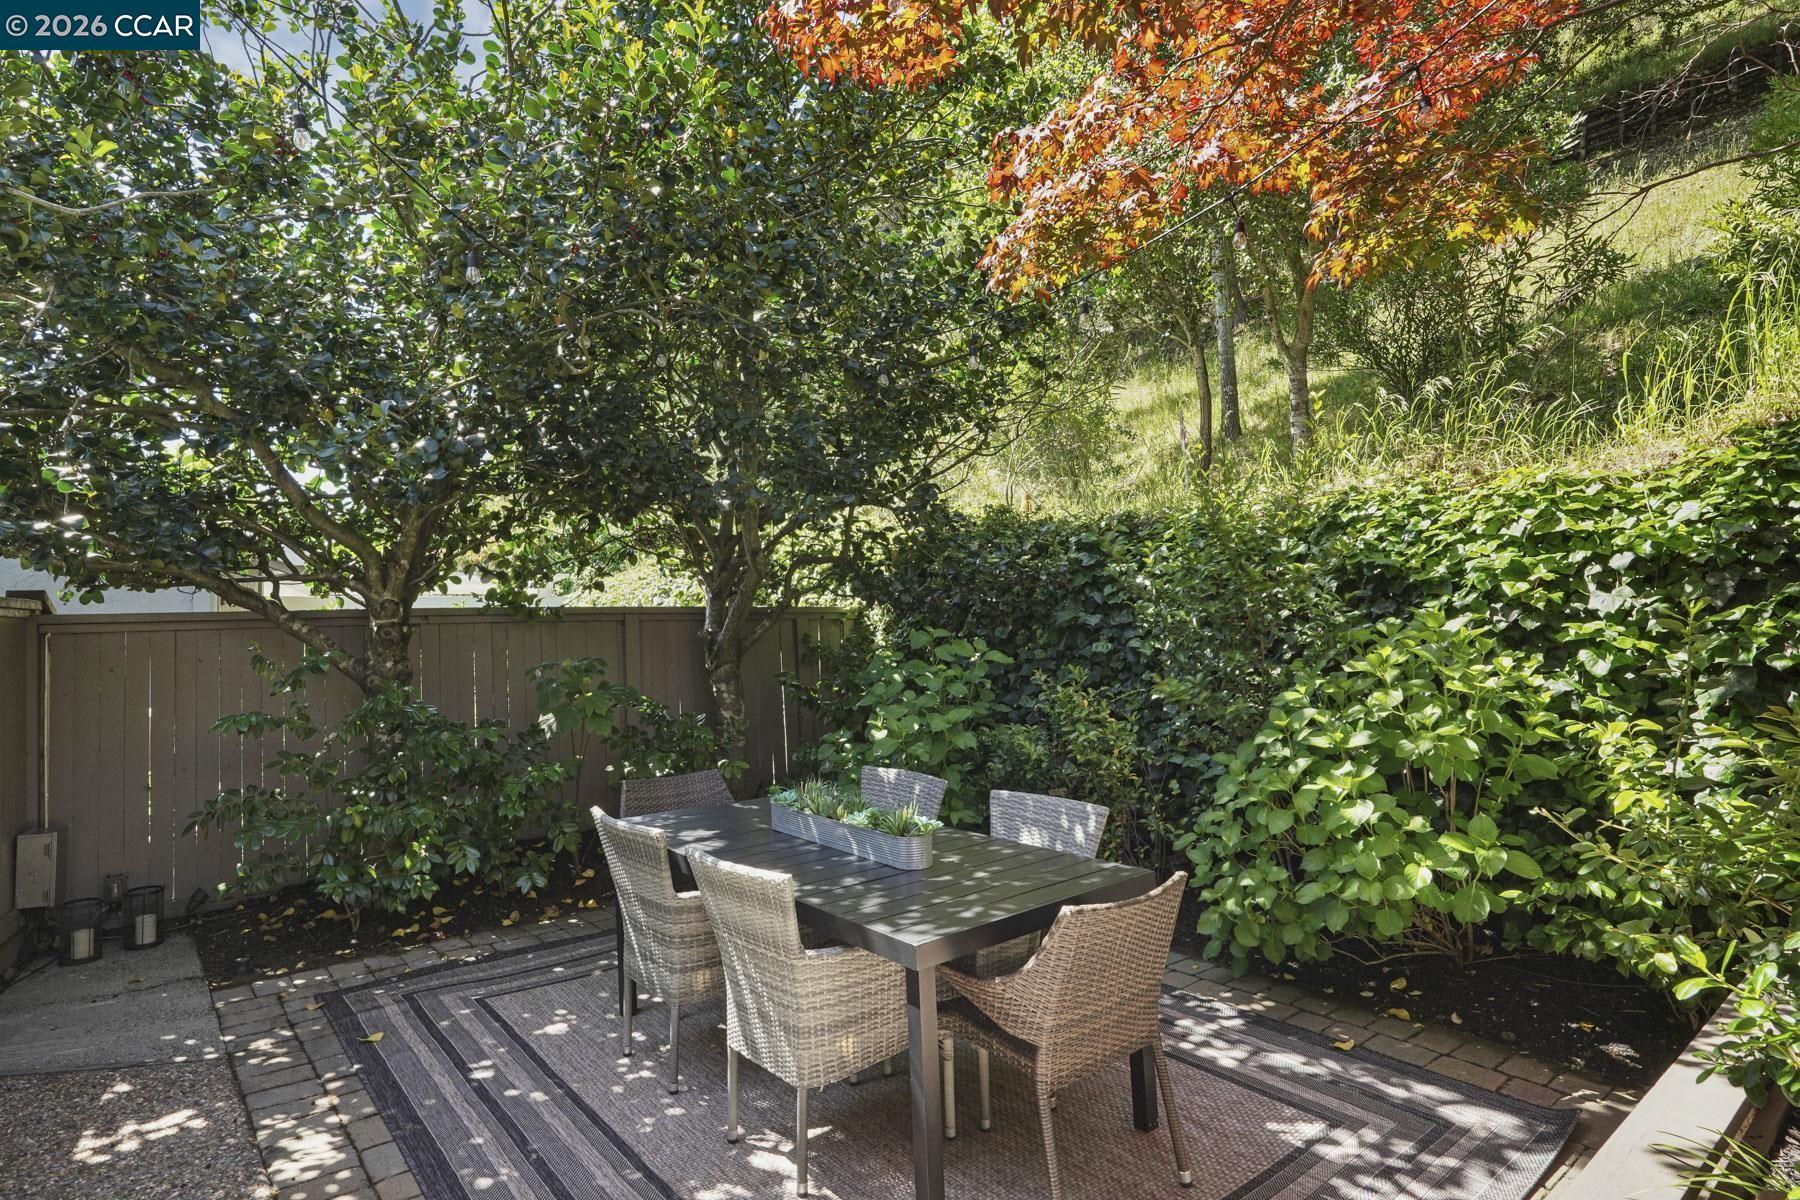
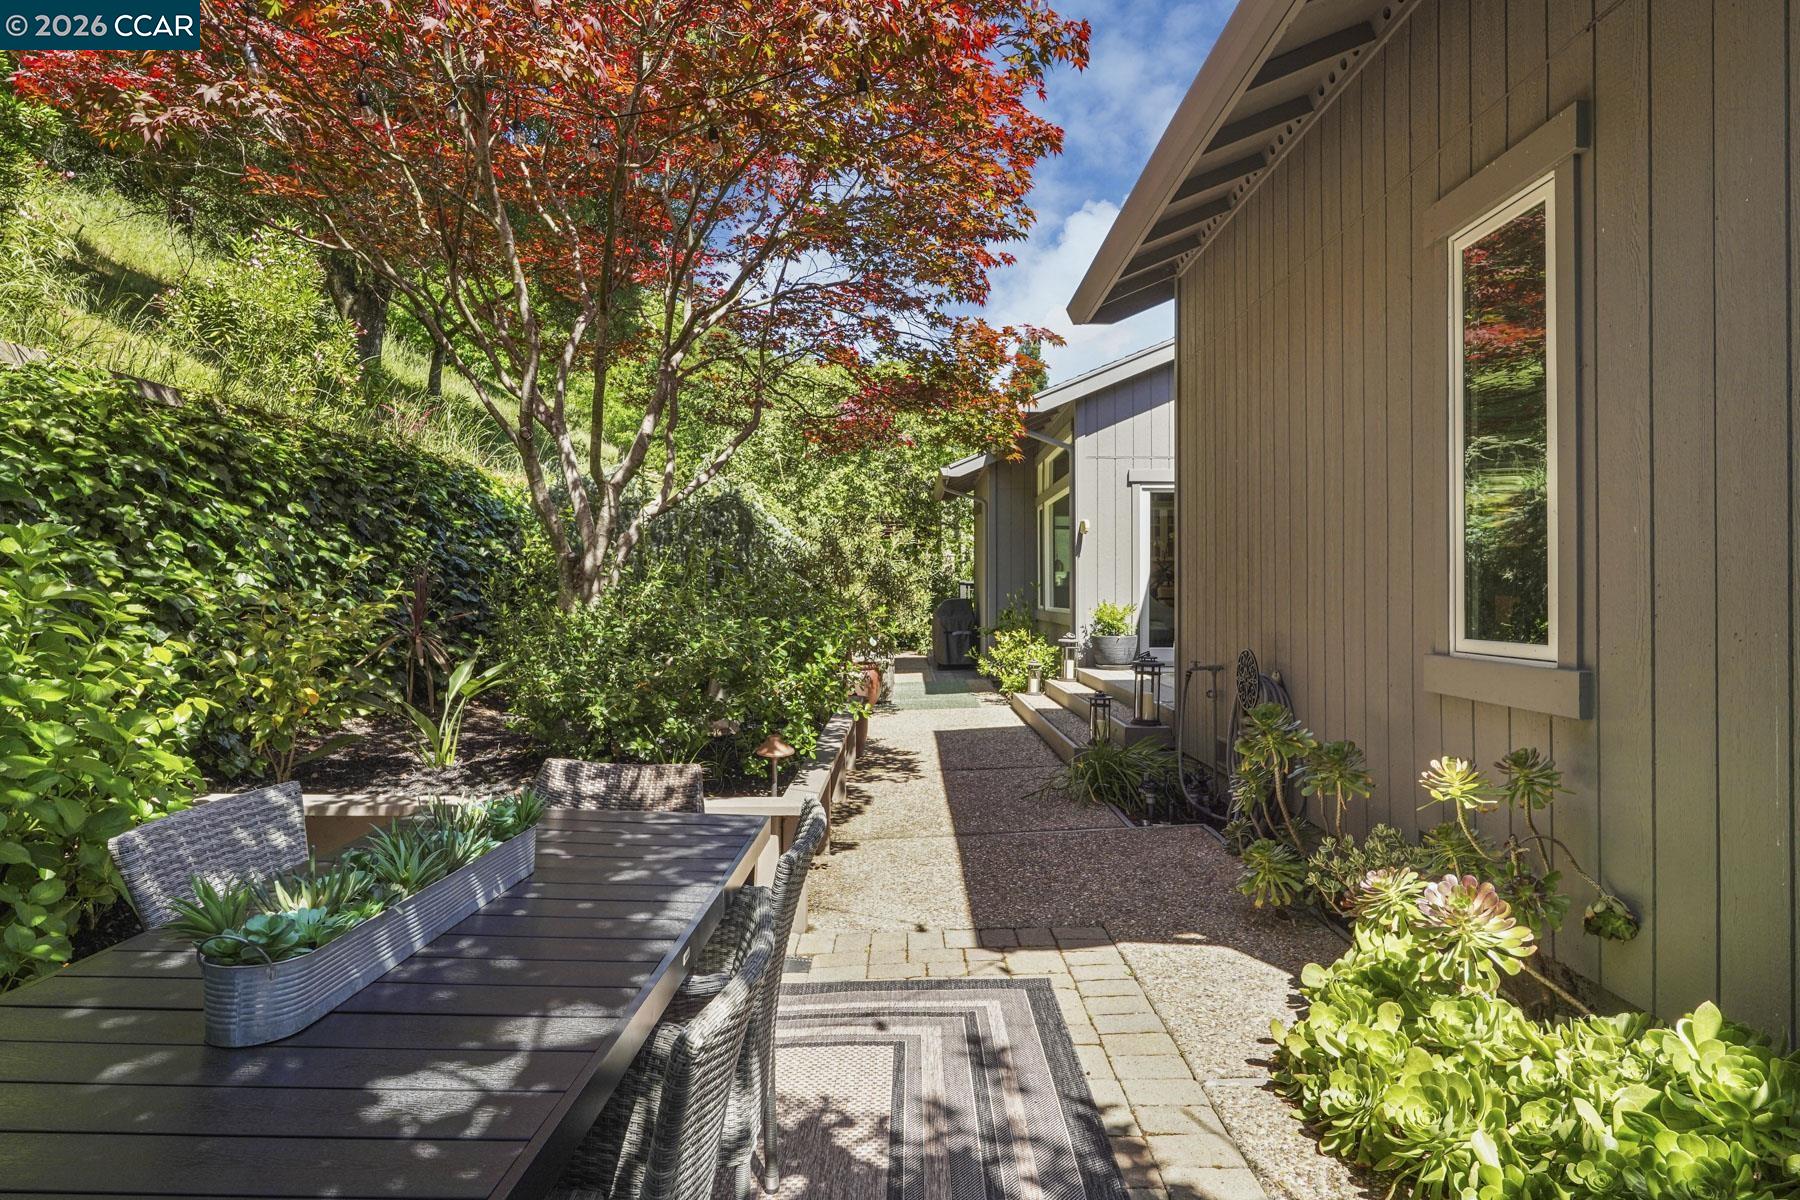
106 Brookline St, Moraga, CA 94556
$1,750,000Price
3Bedrooms
2Bathrooms
1,905Sq Ft
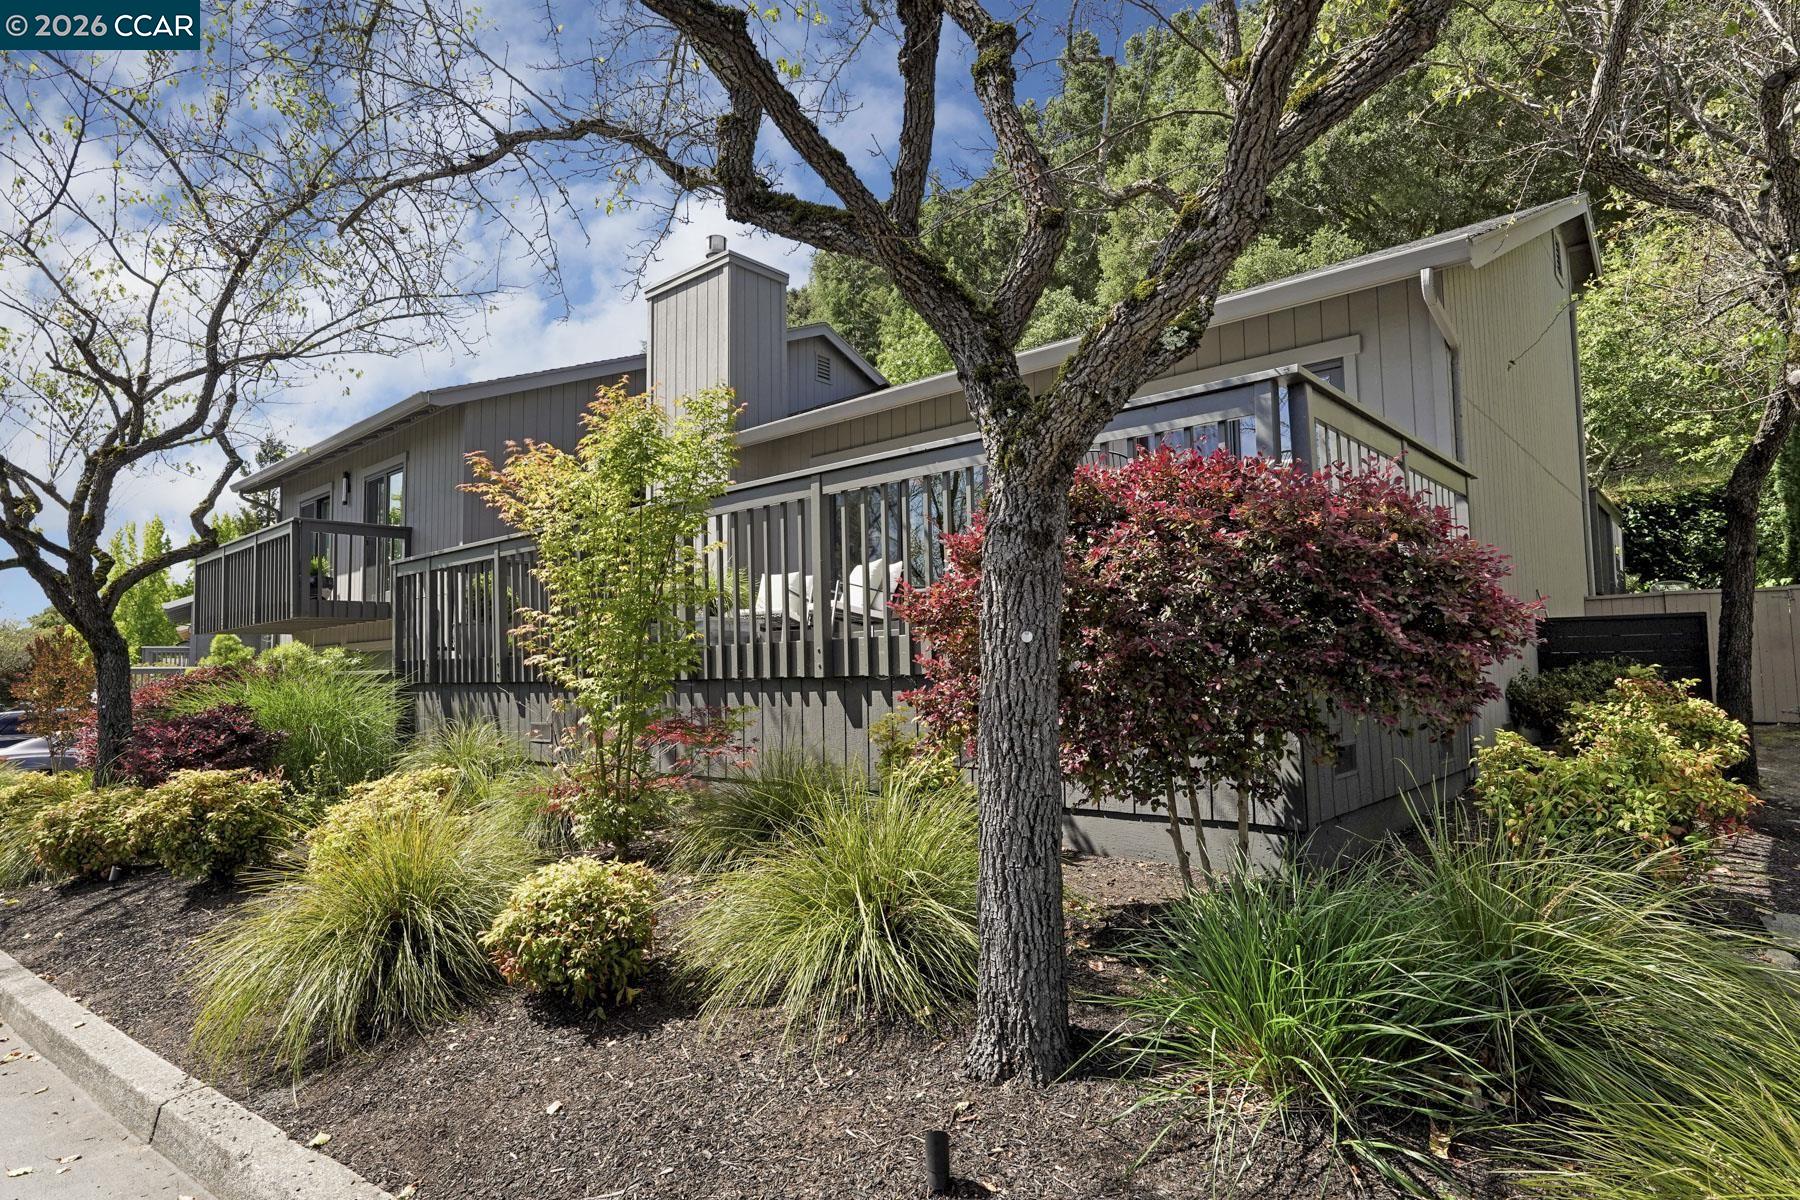
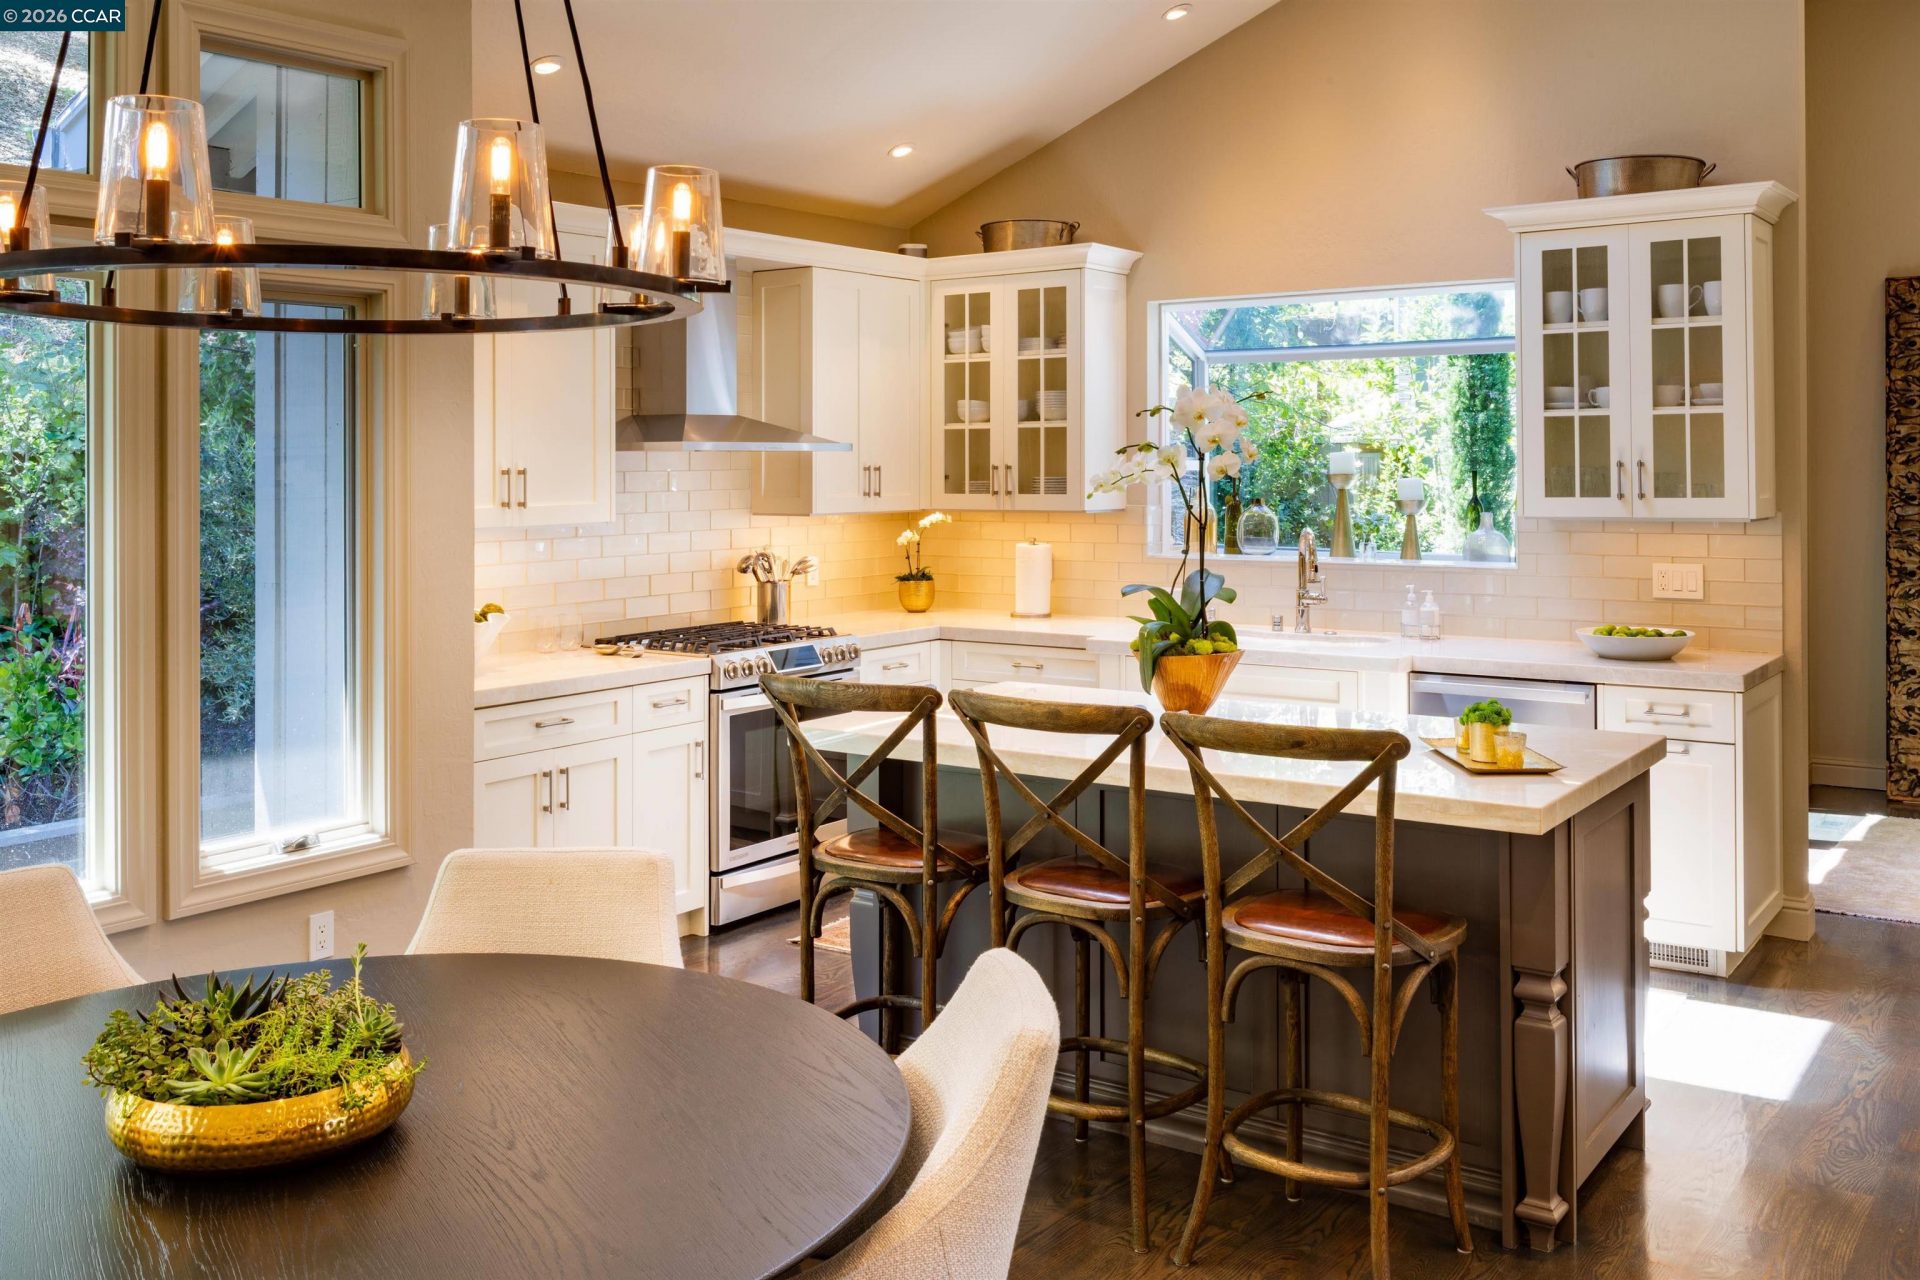
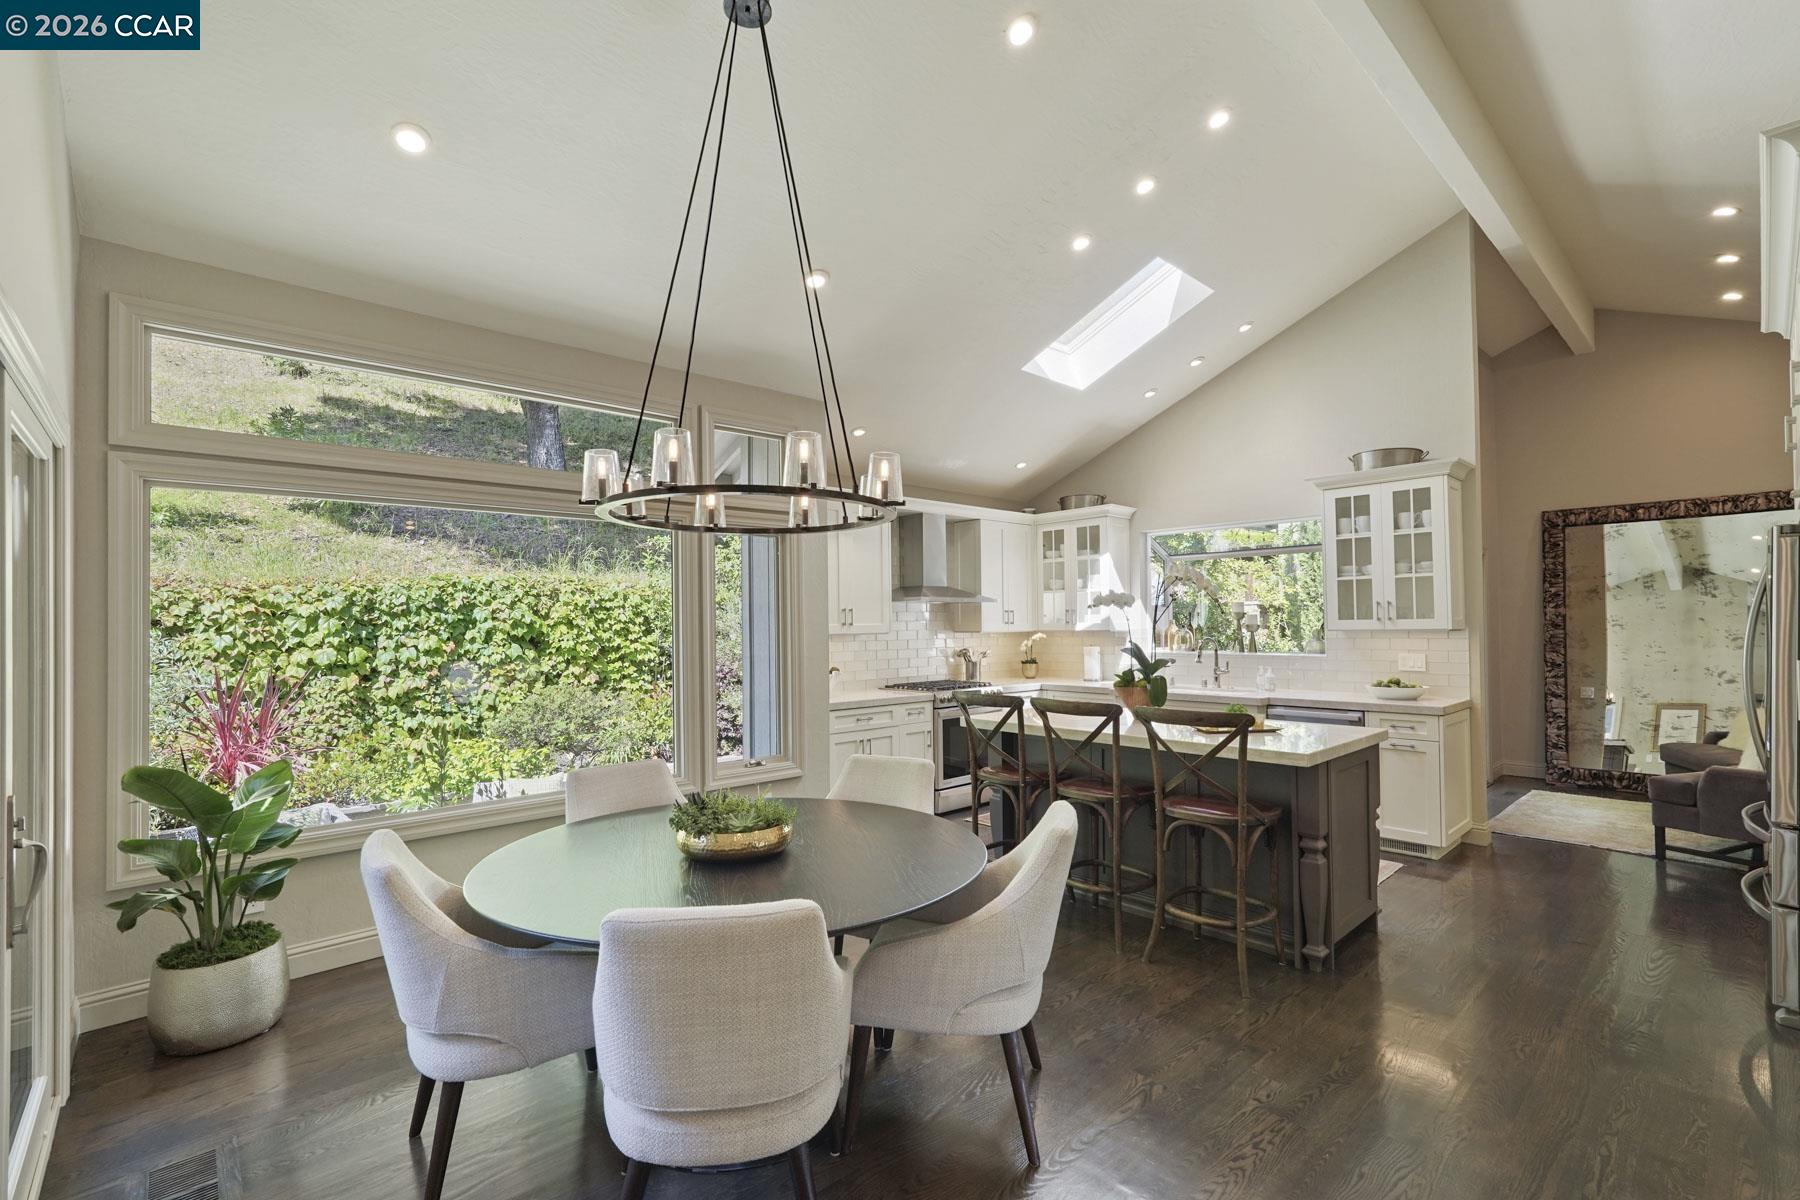
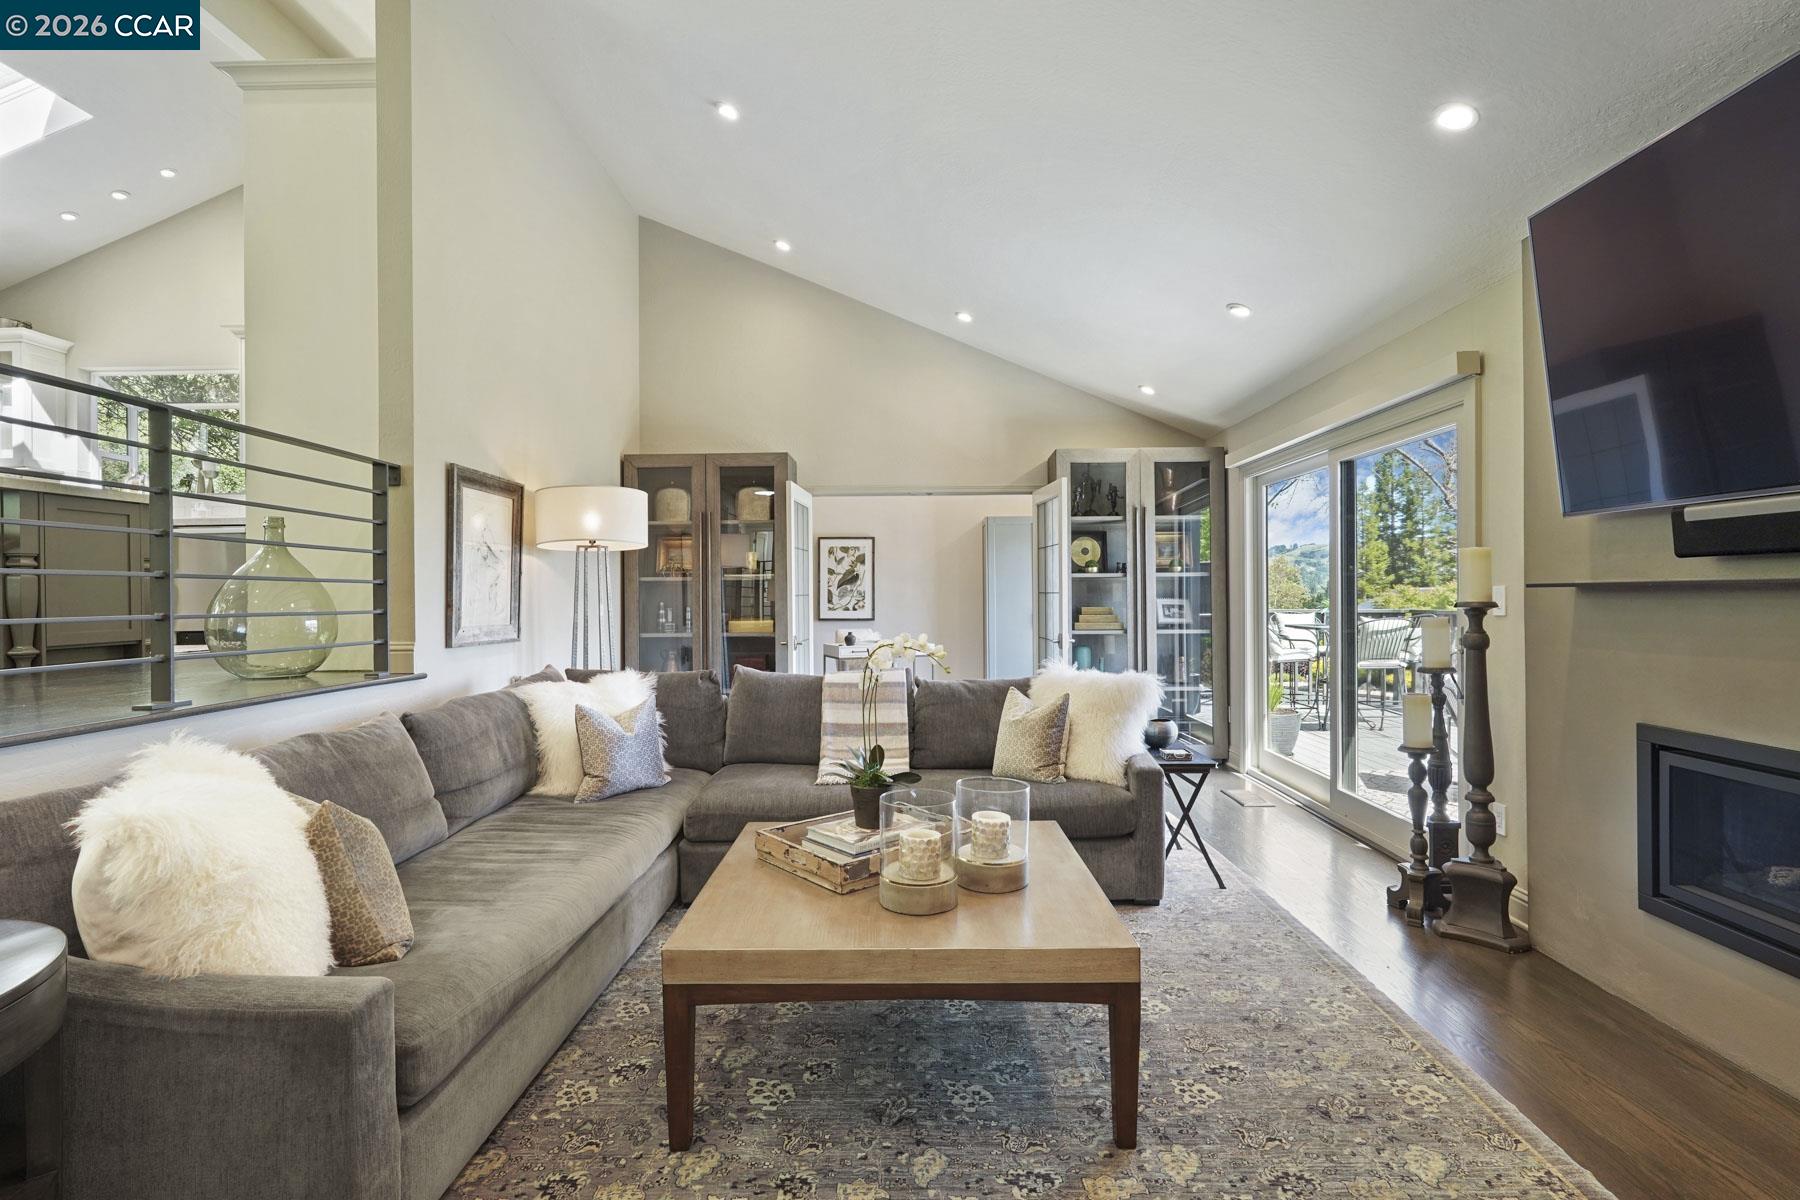
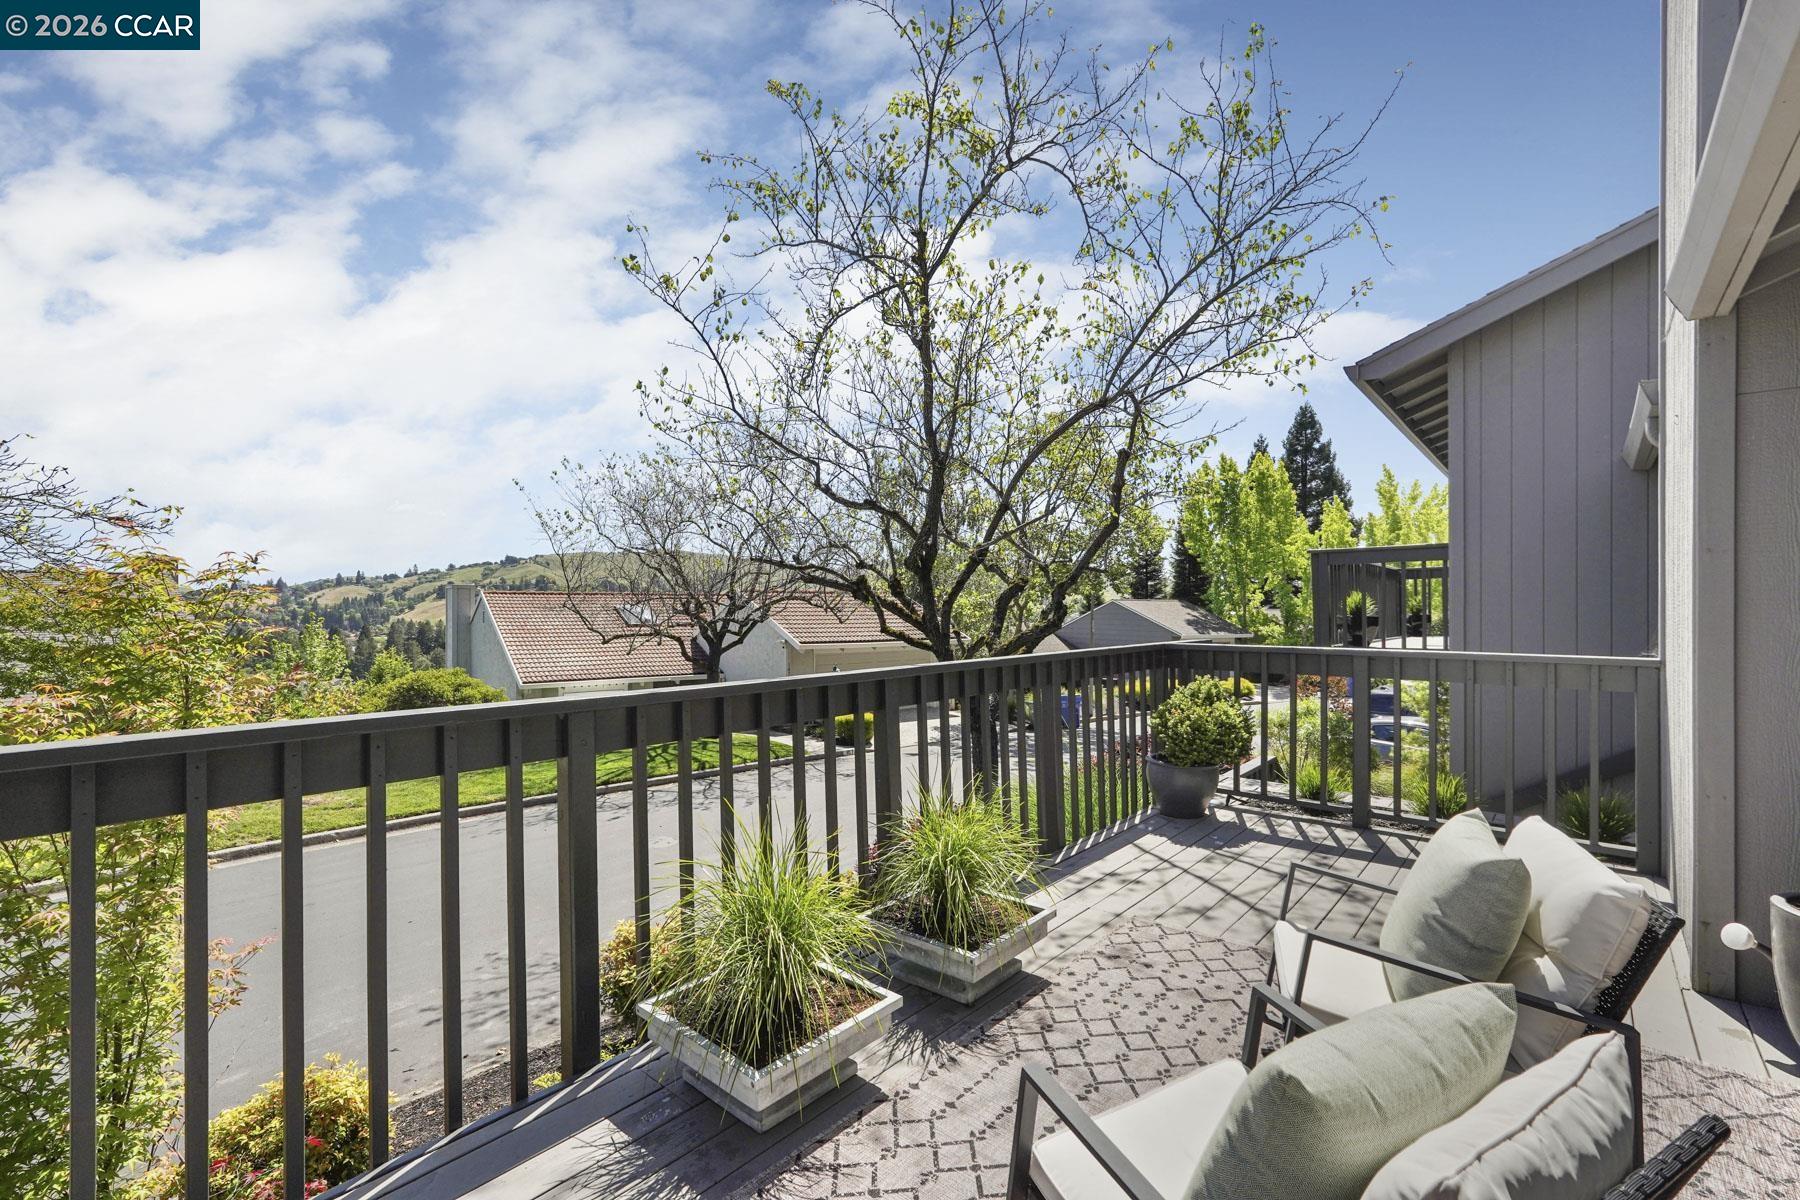
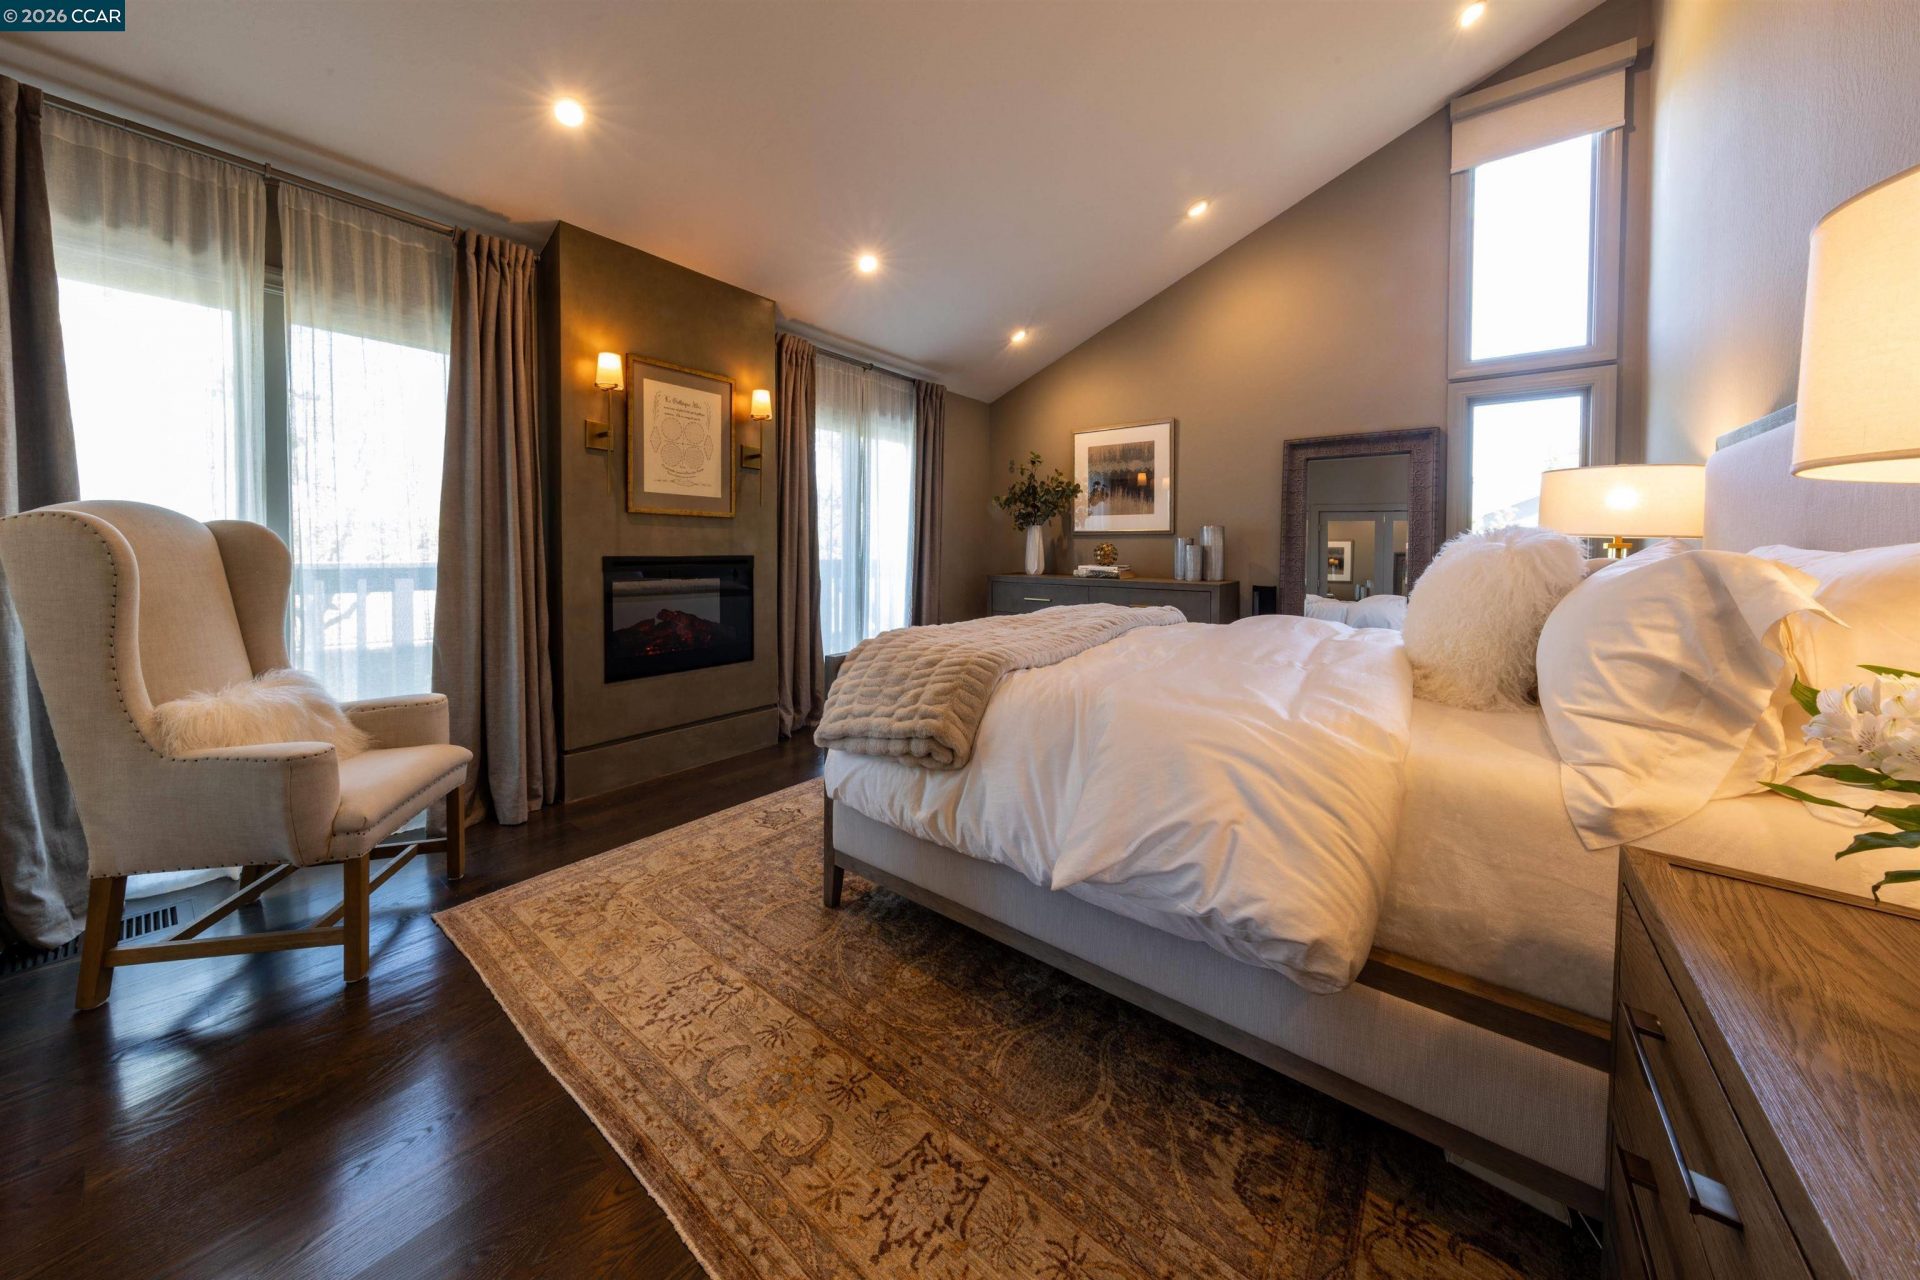
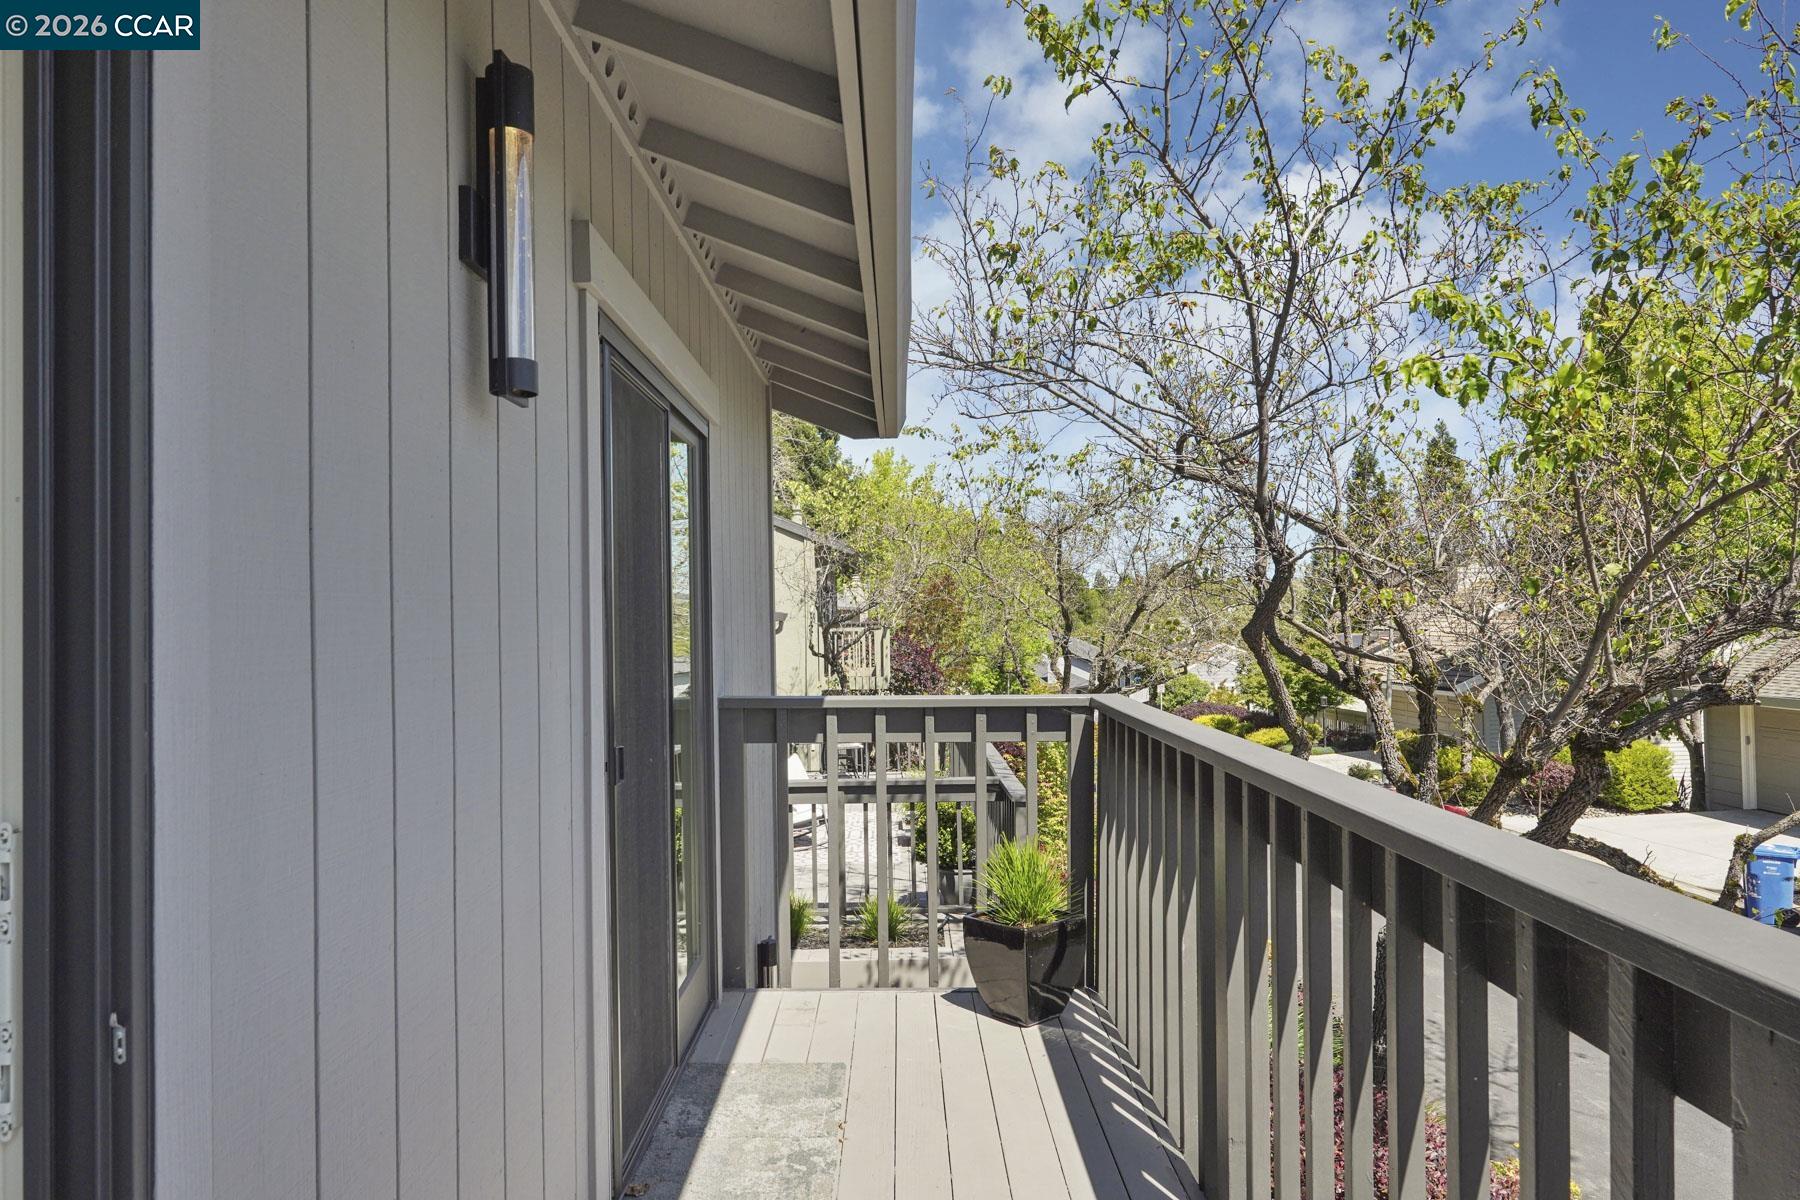
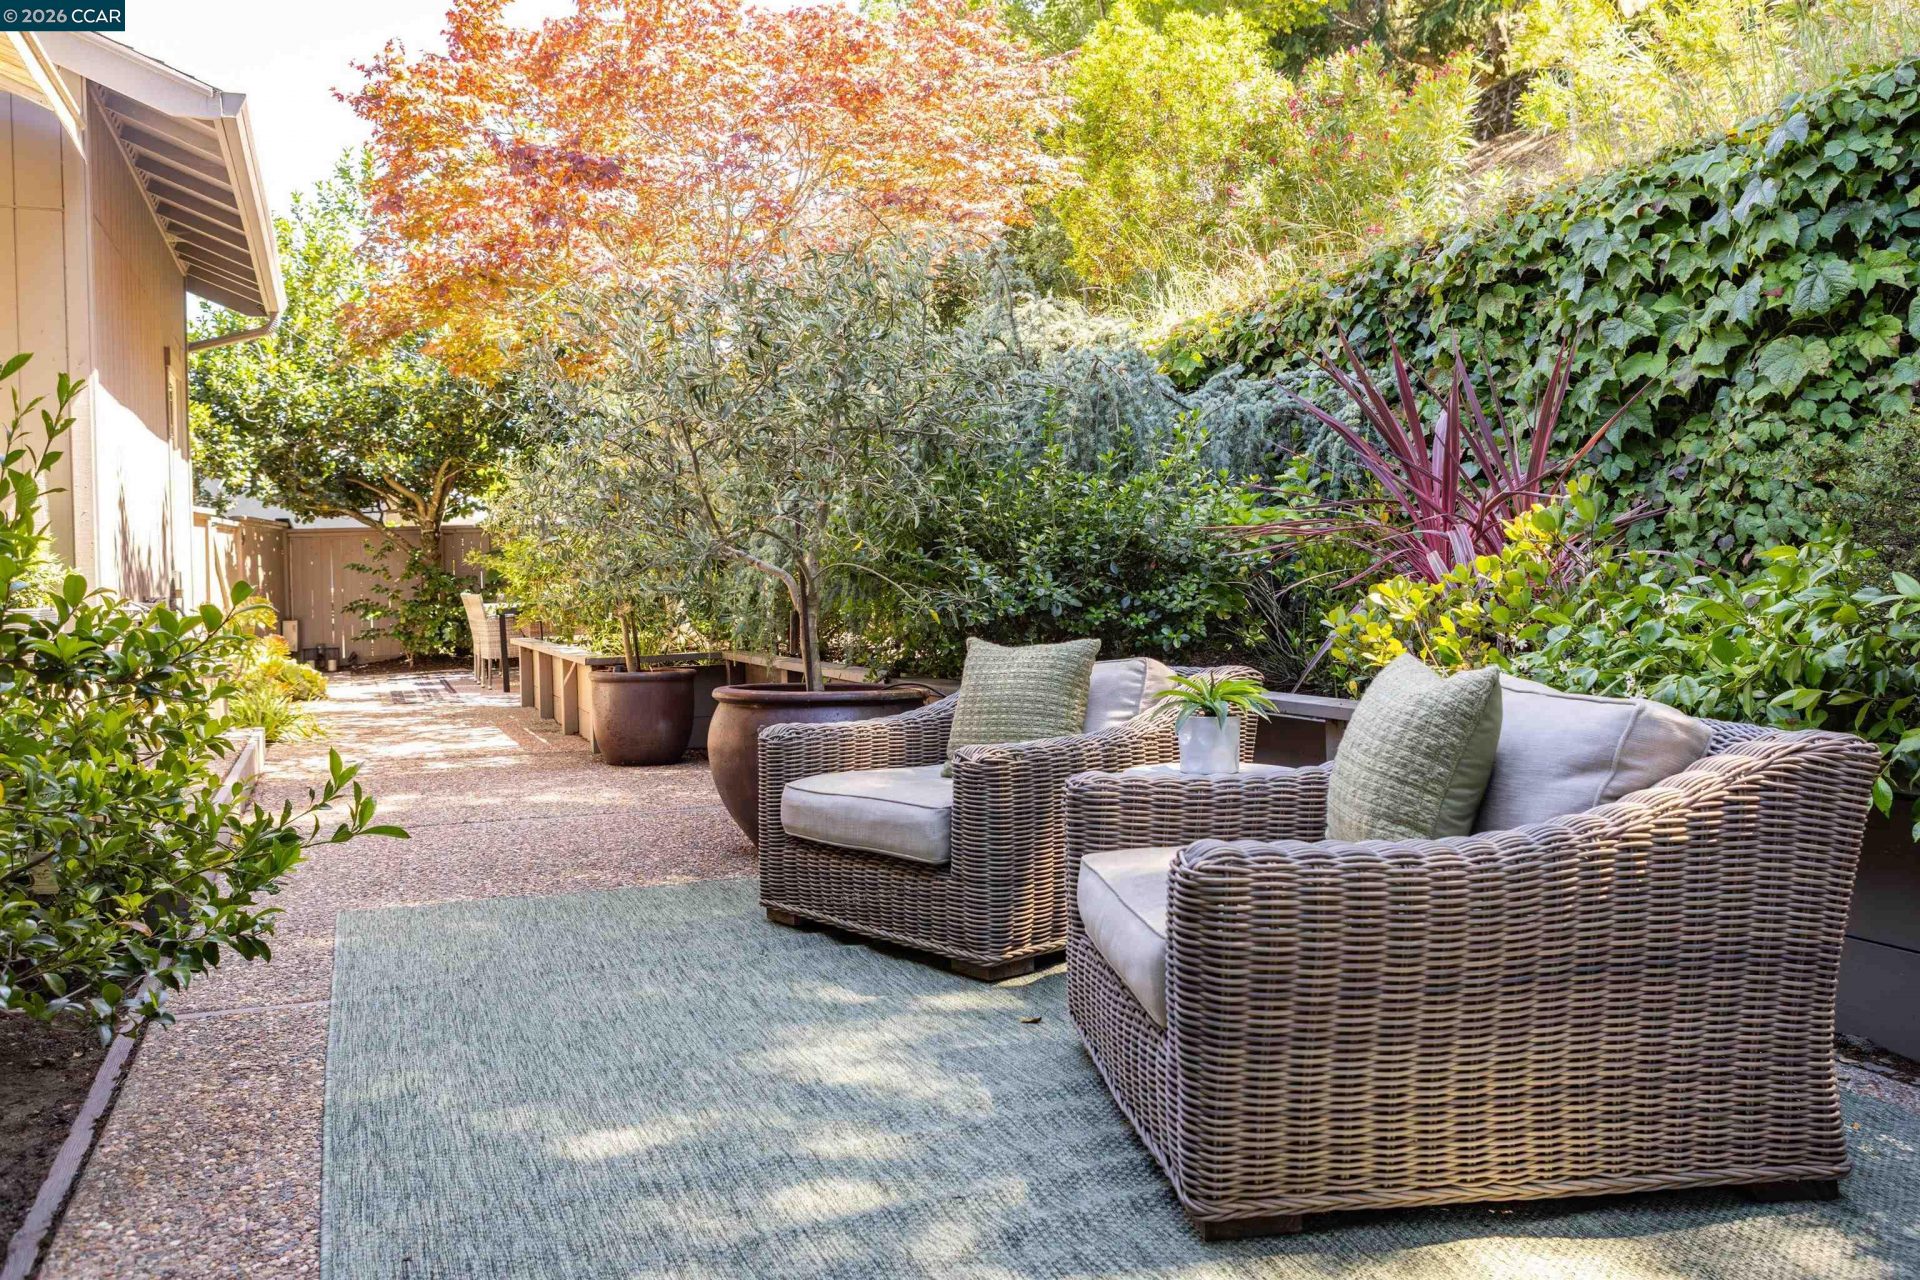
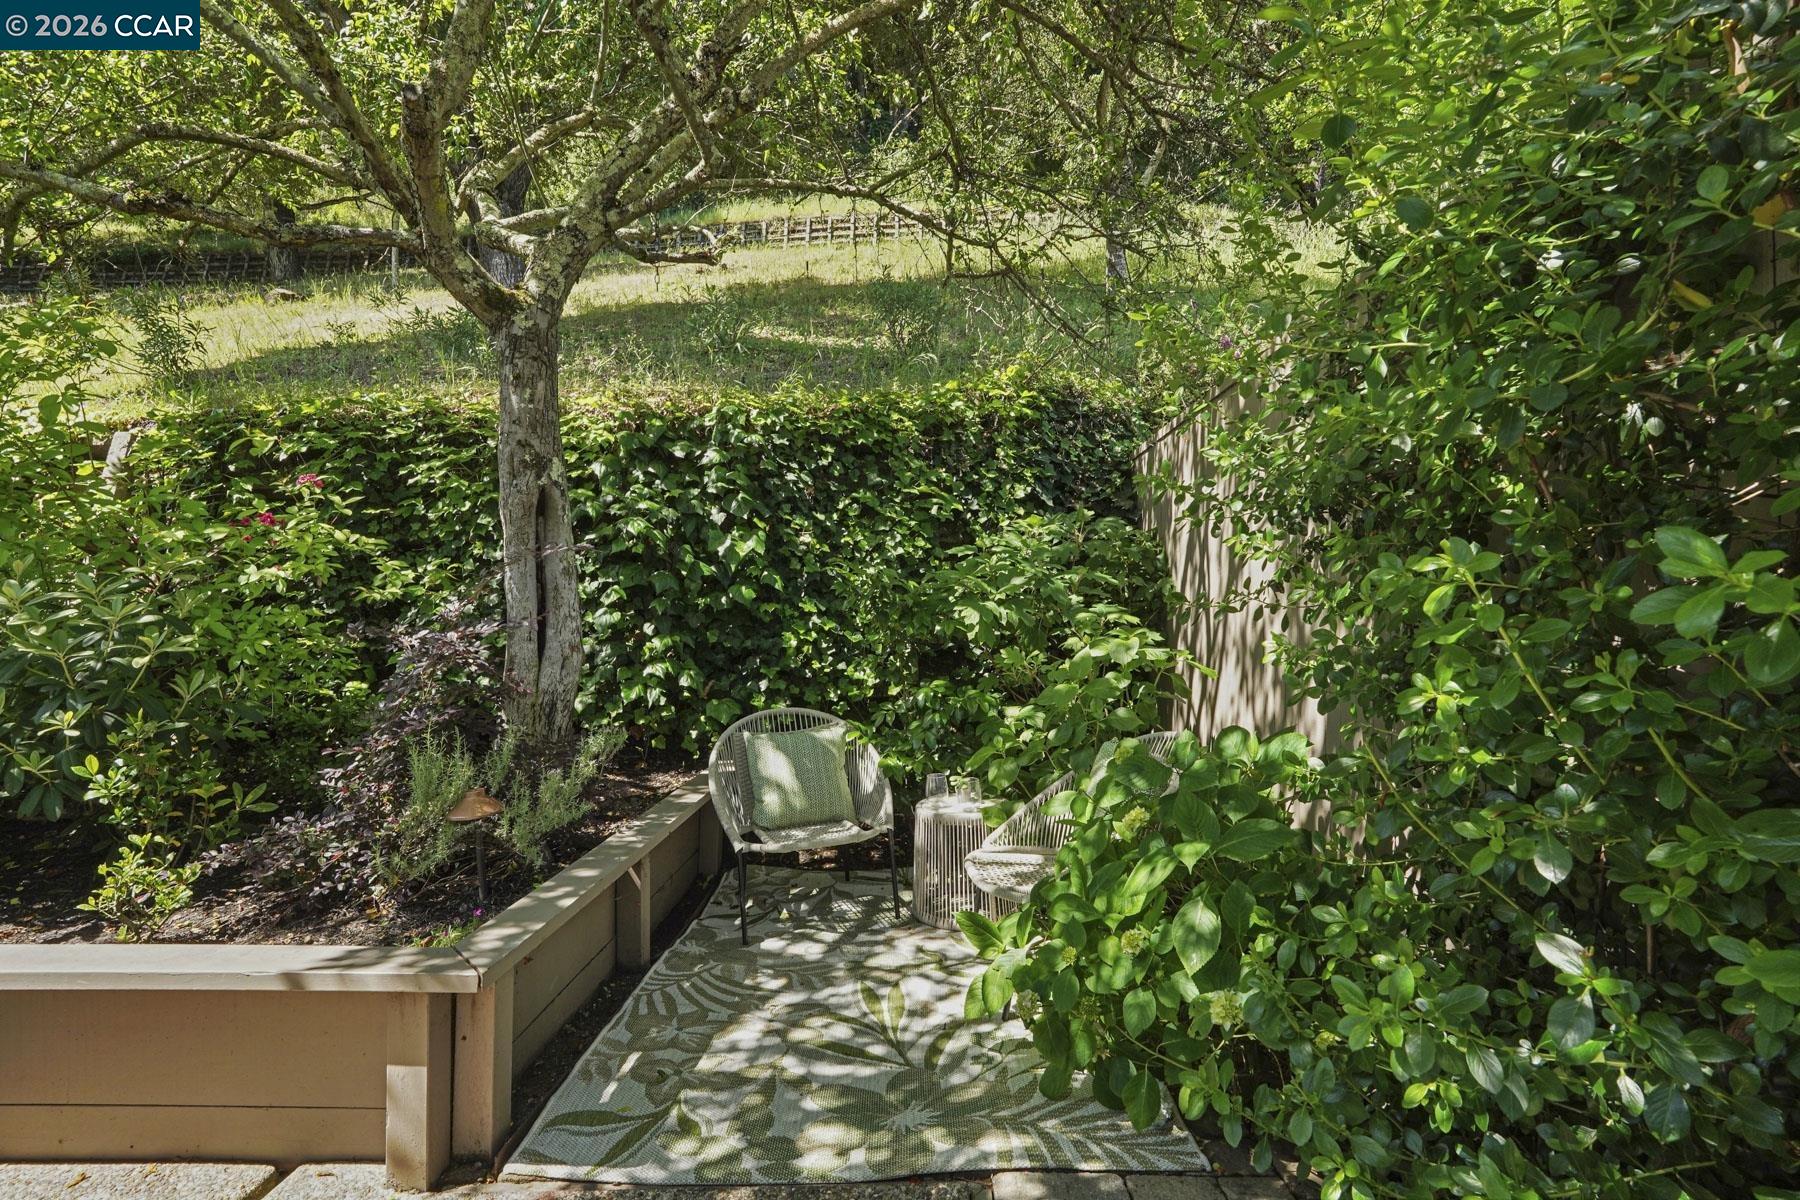
106 Brookline St, Moraga, CA 94556
$1,750,000Price
3Bedrooms
2Bathrooms
1,905Sq Ft
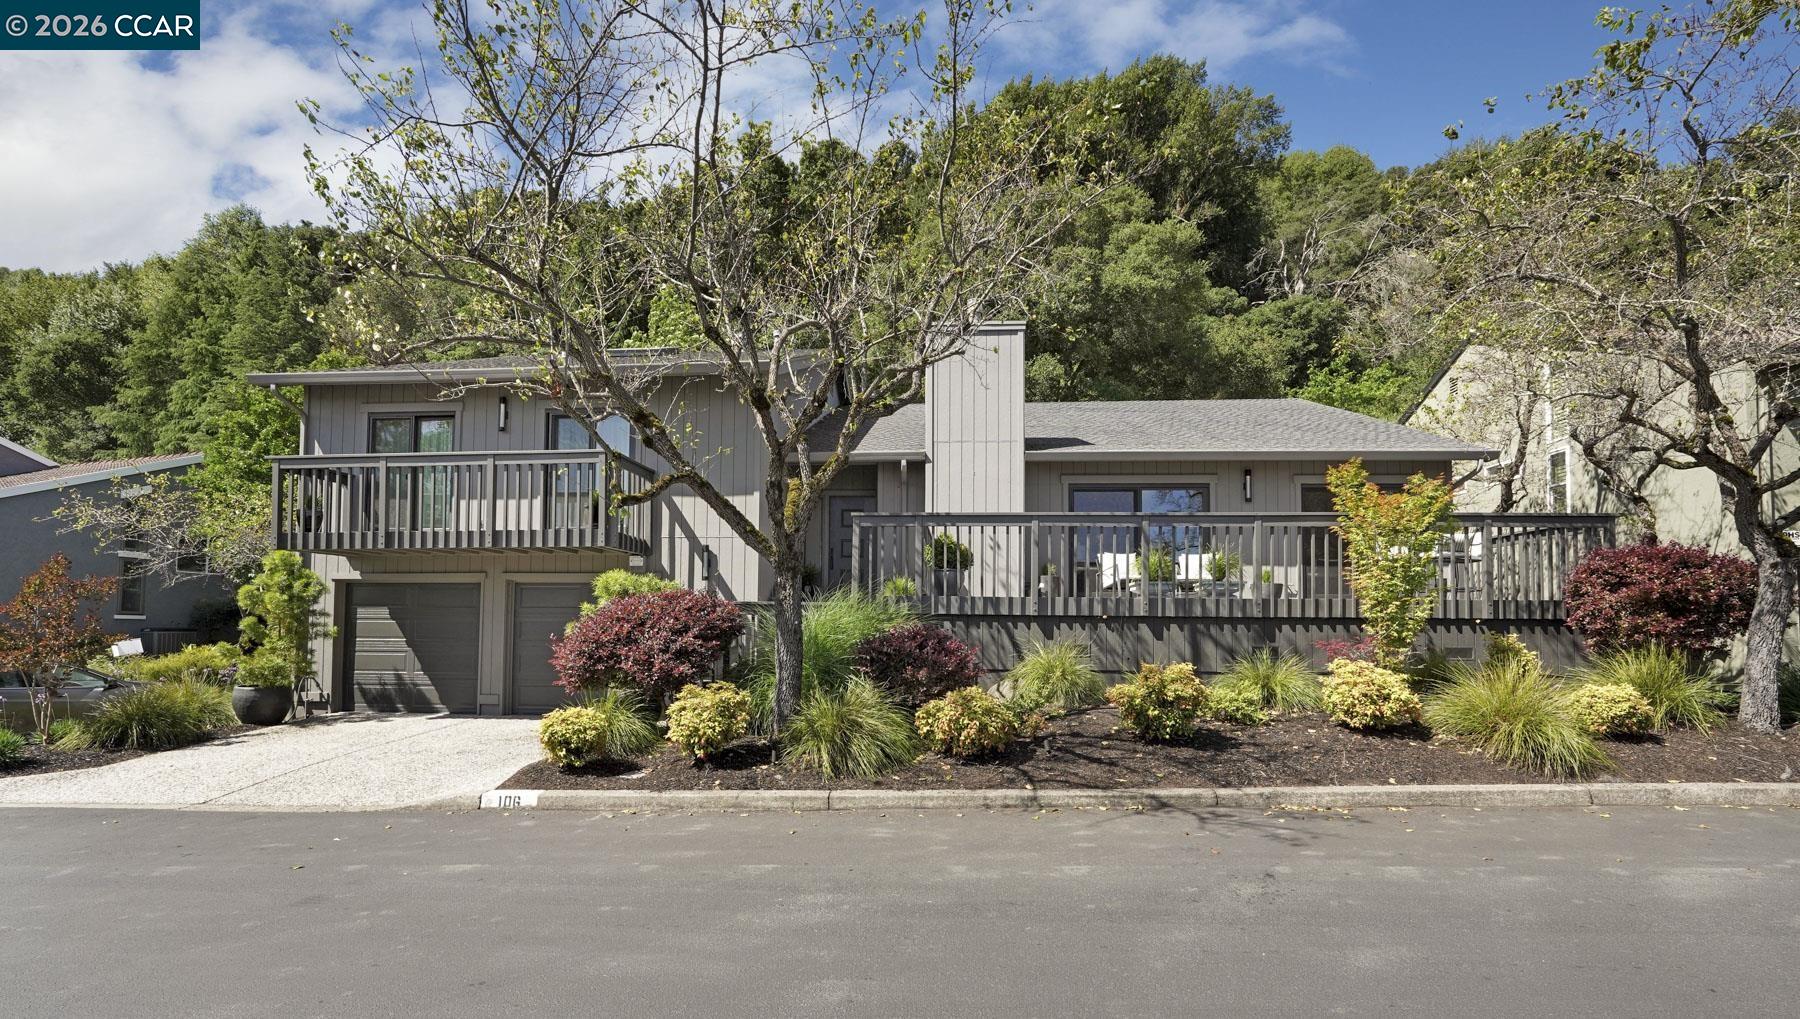
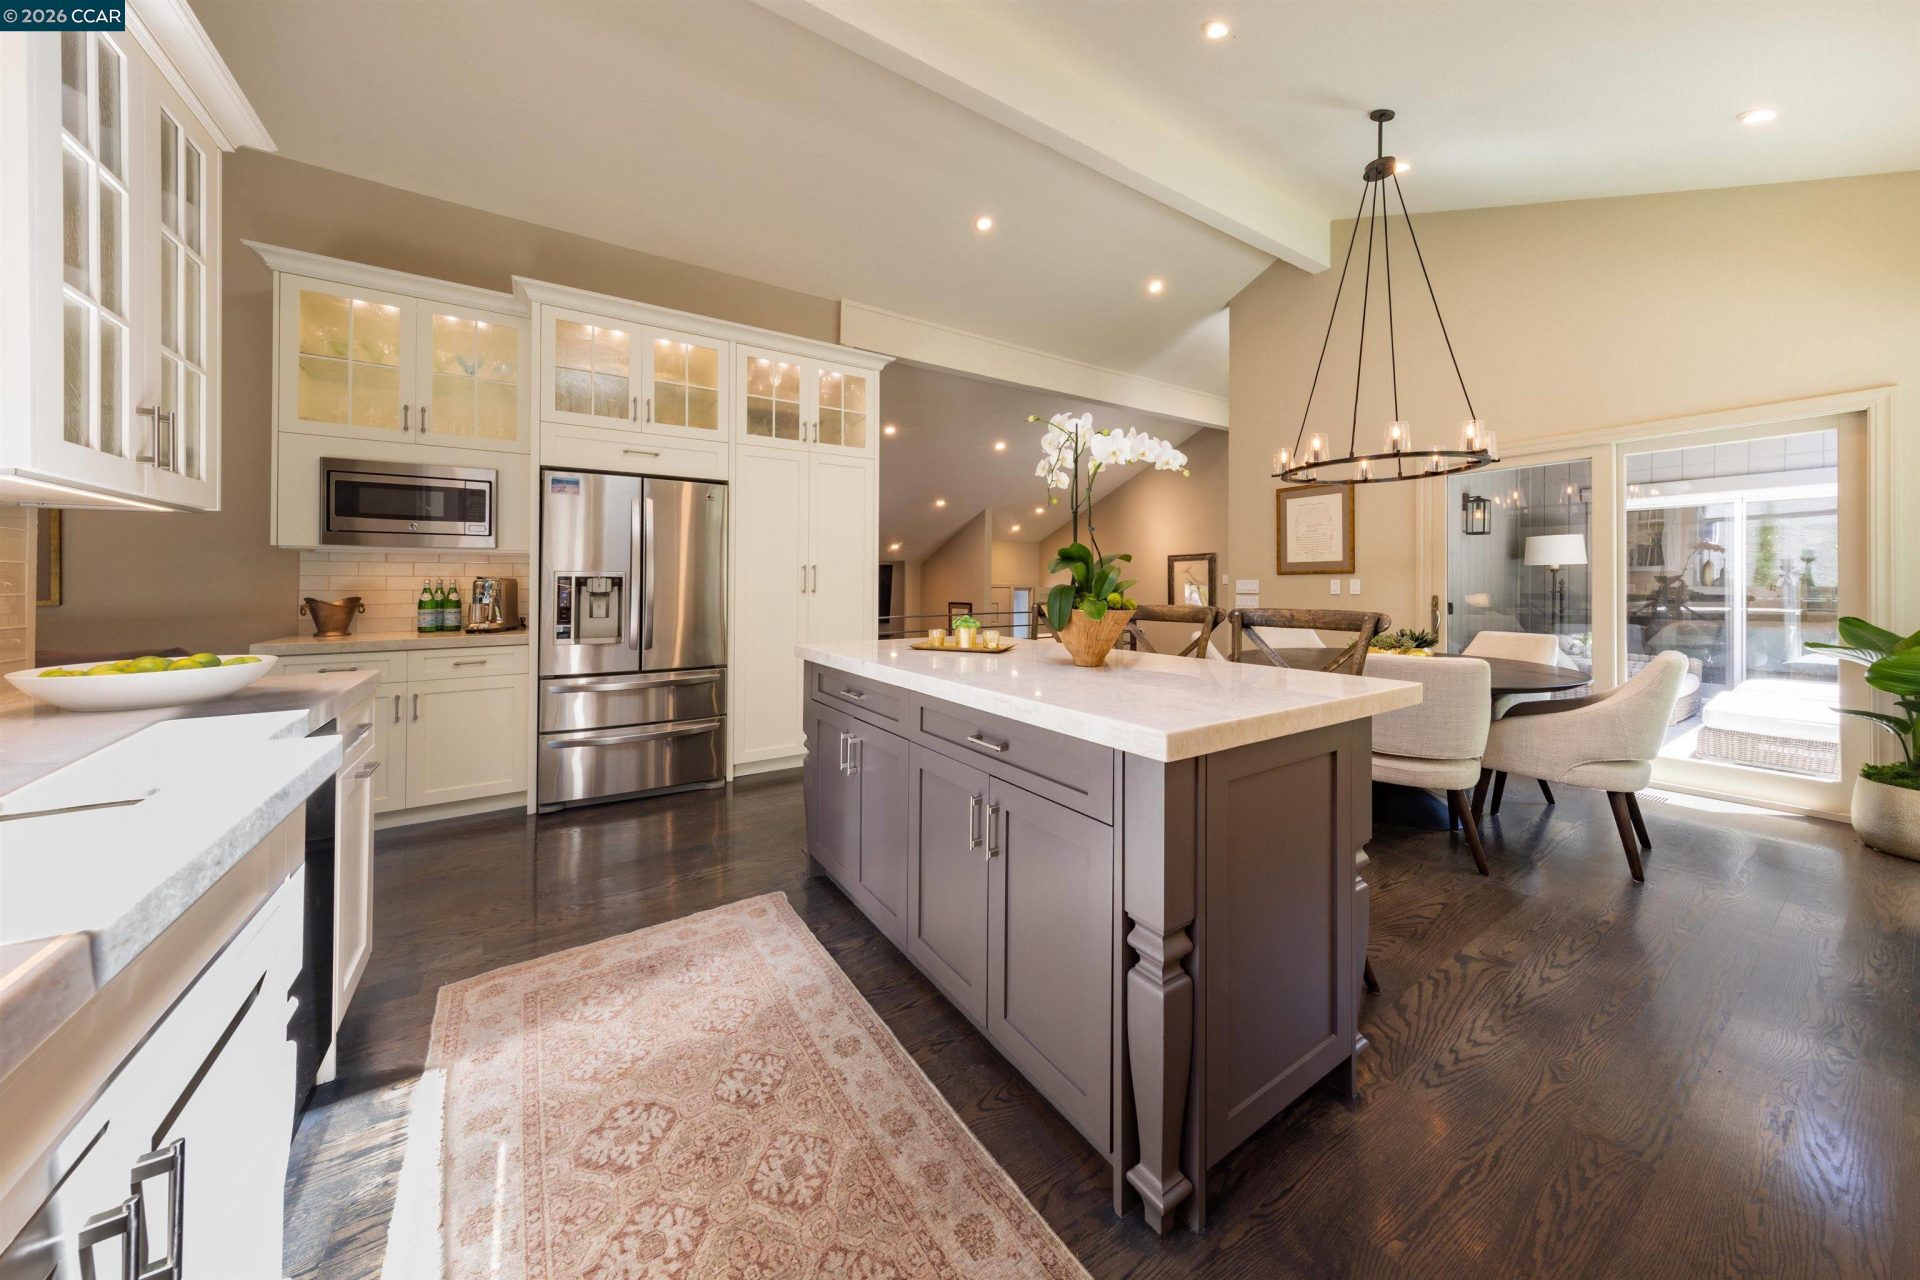
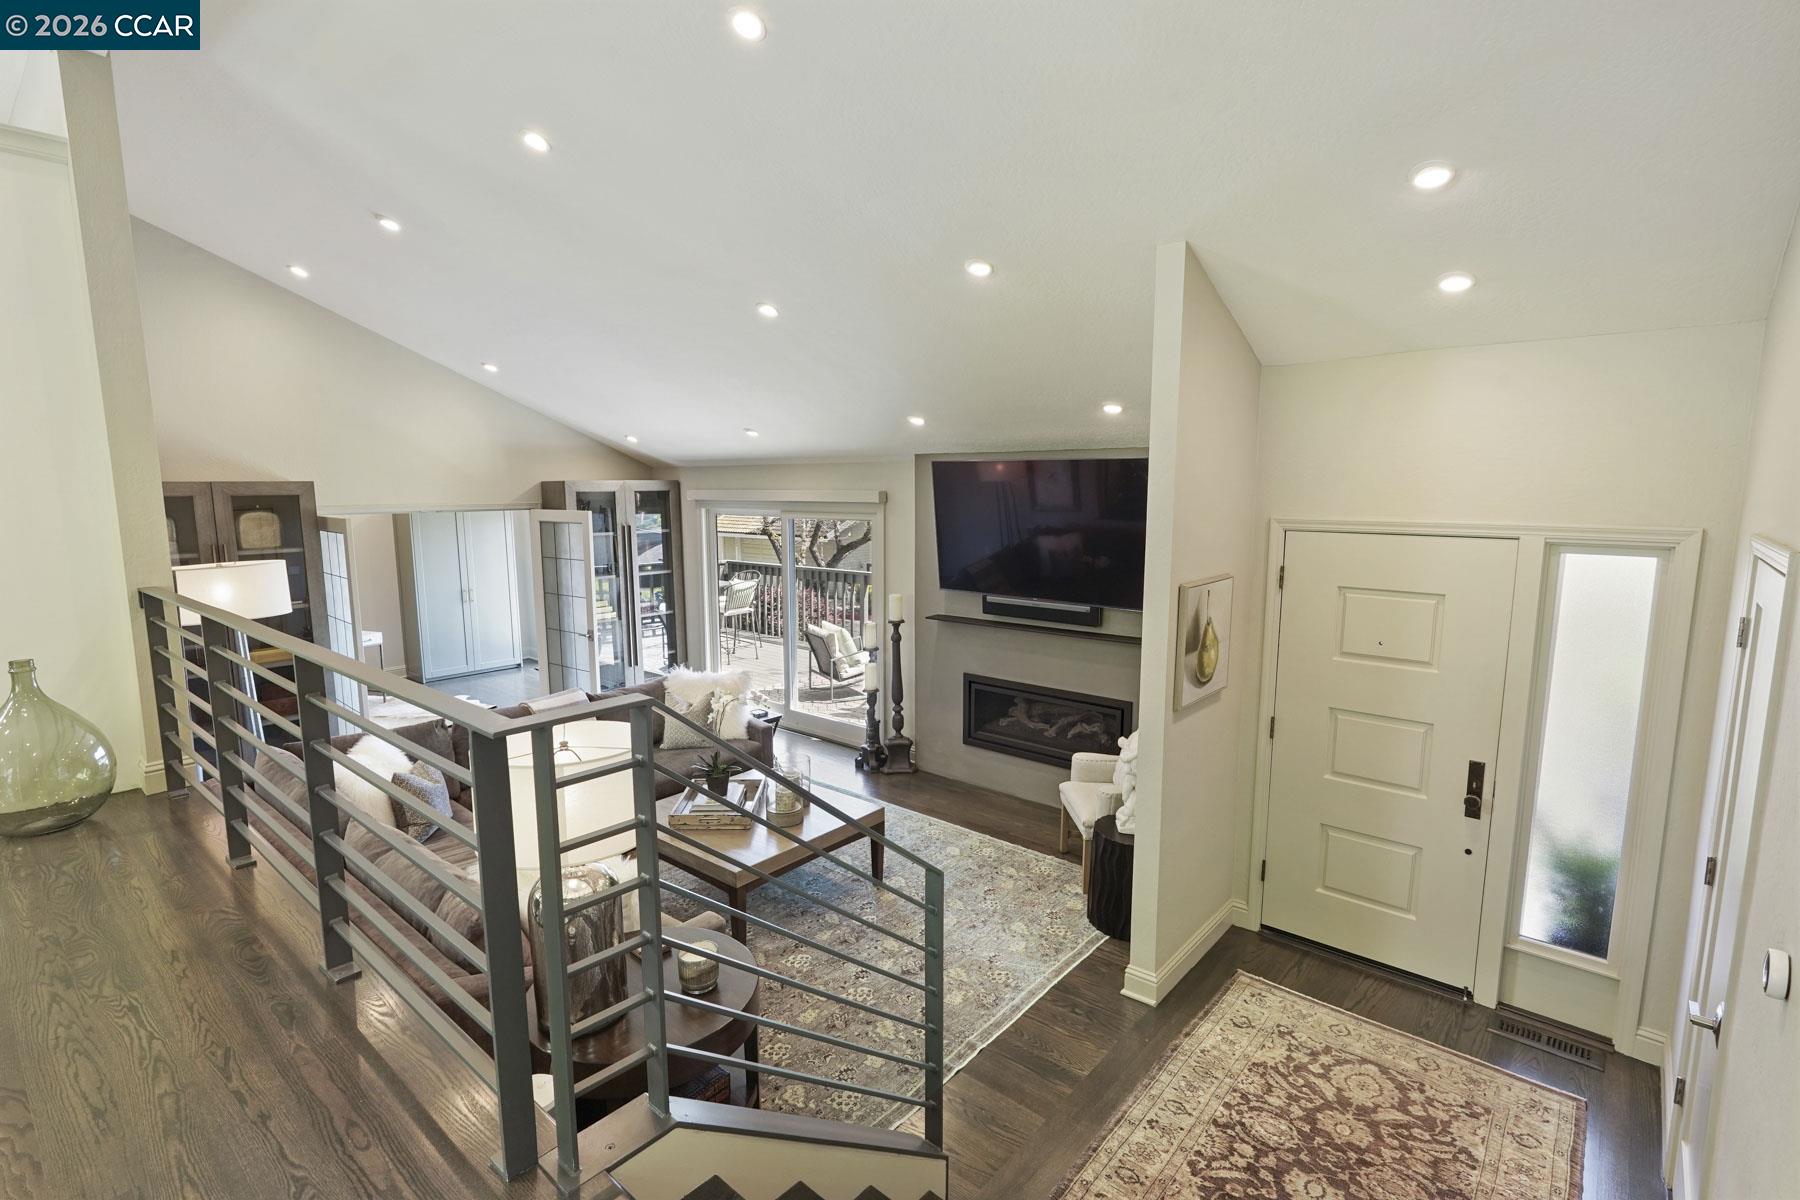
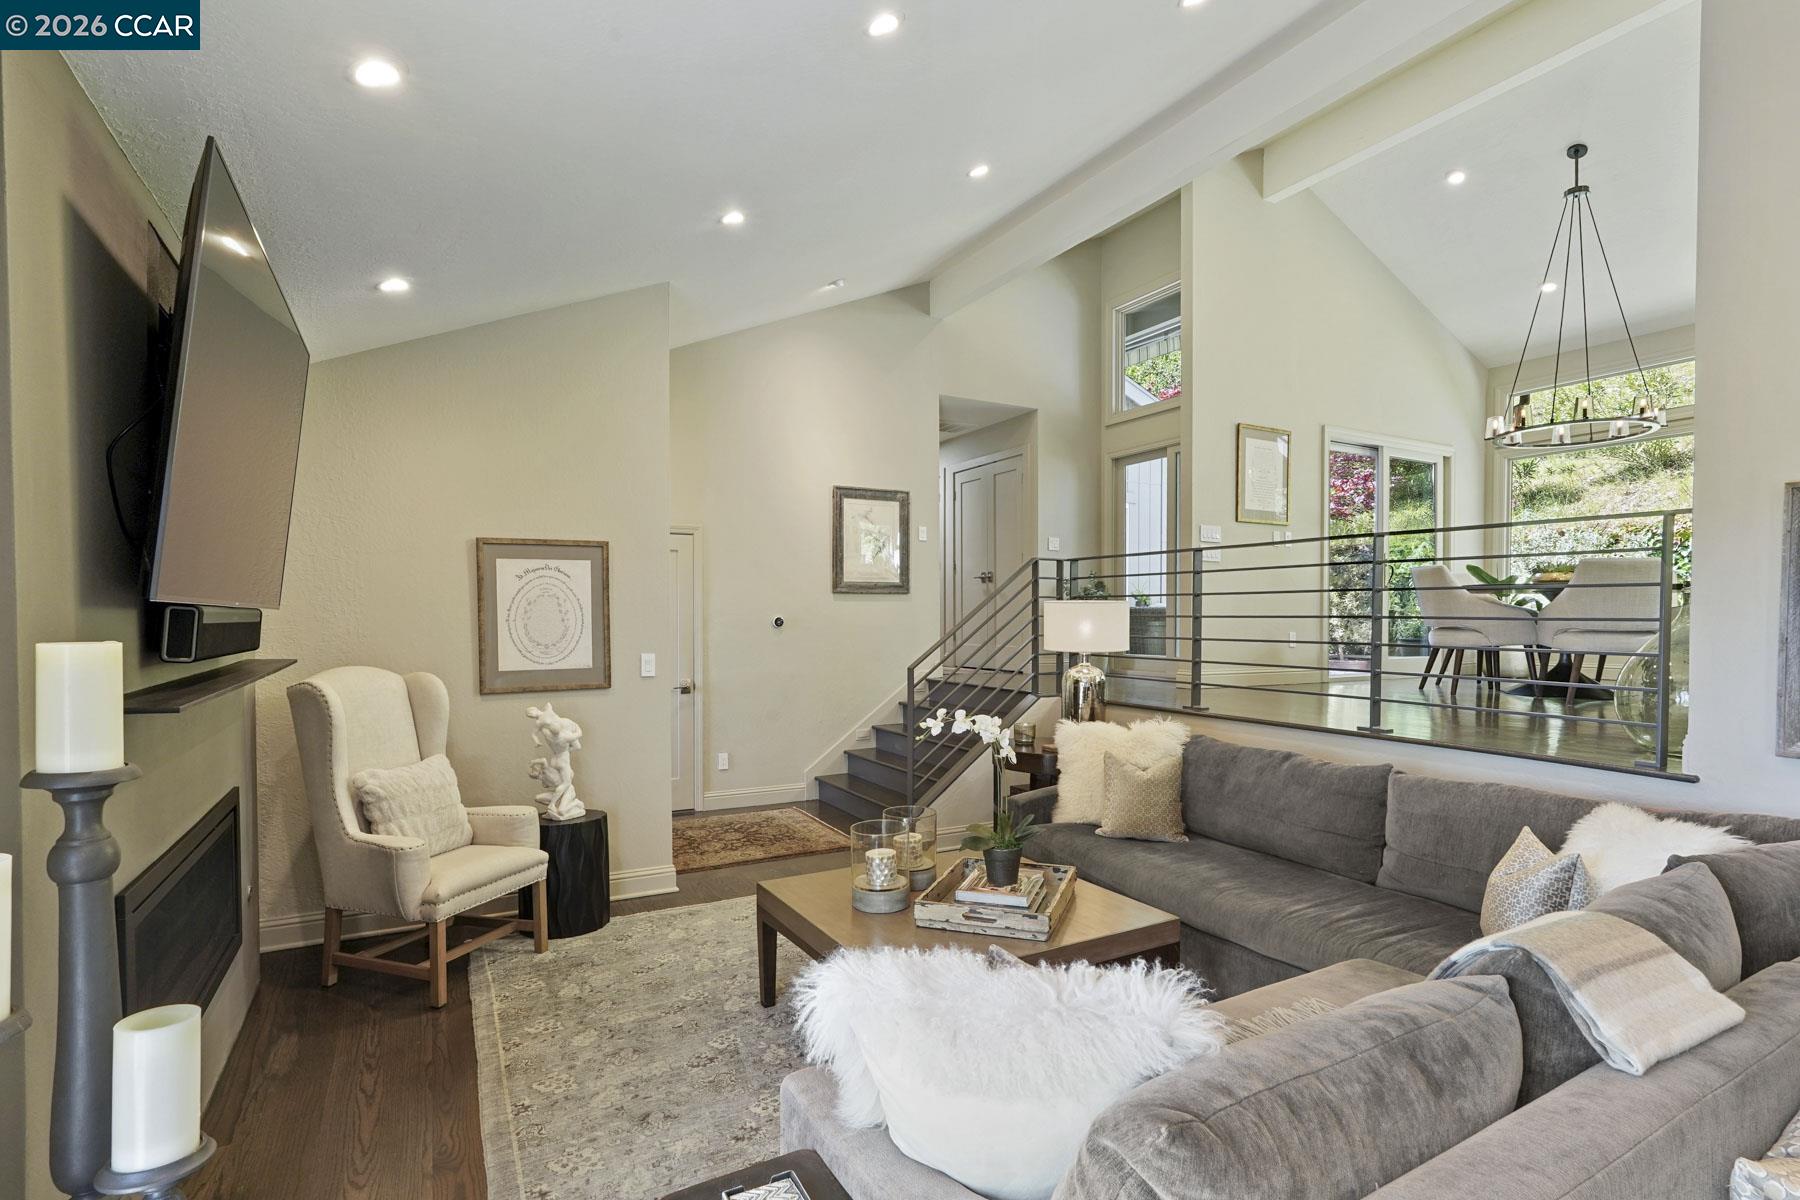
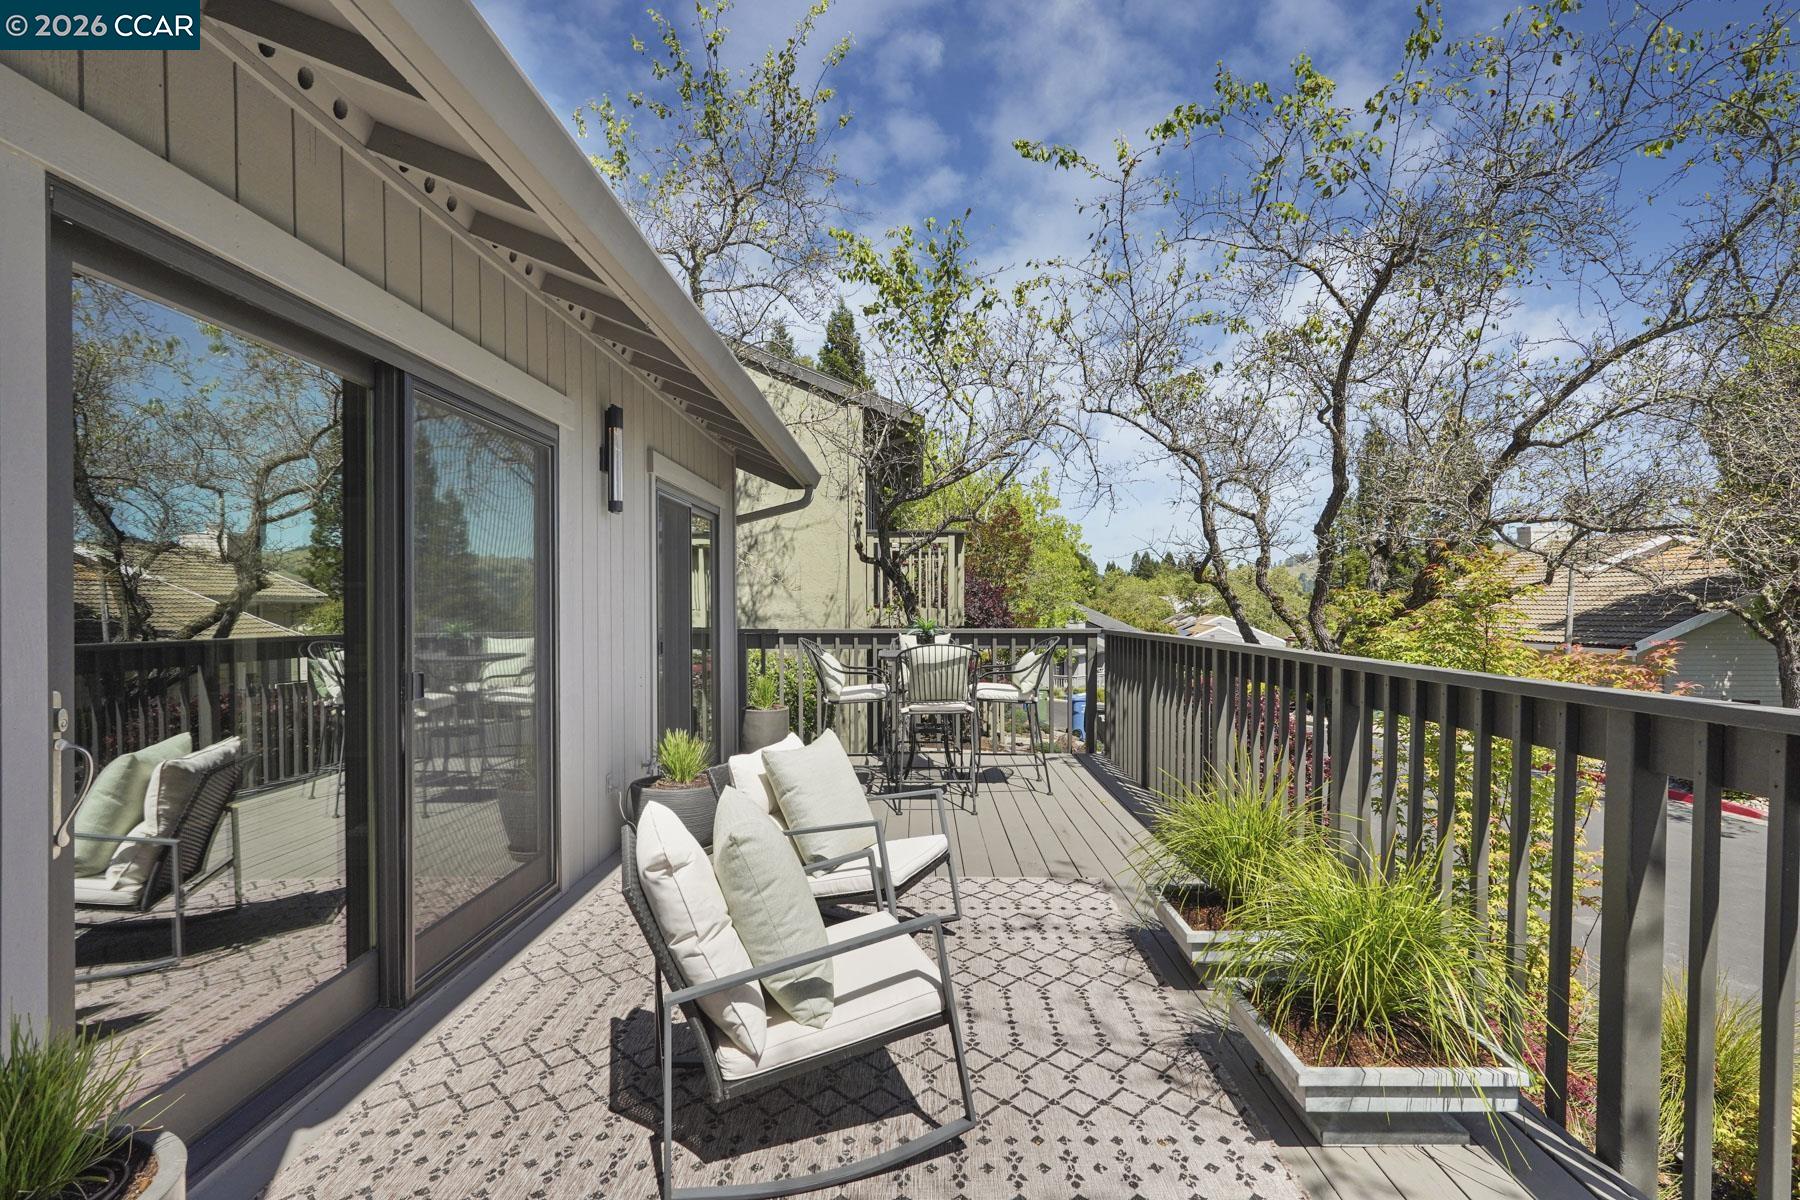
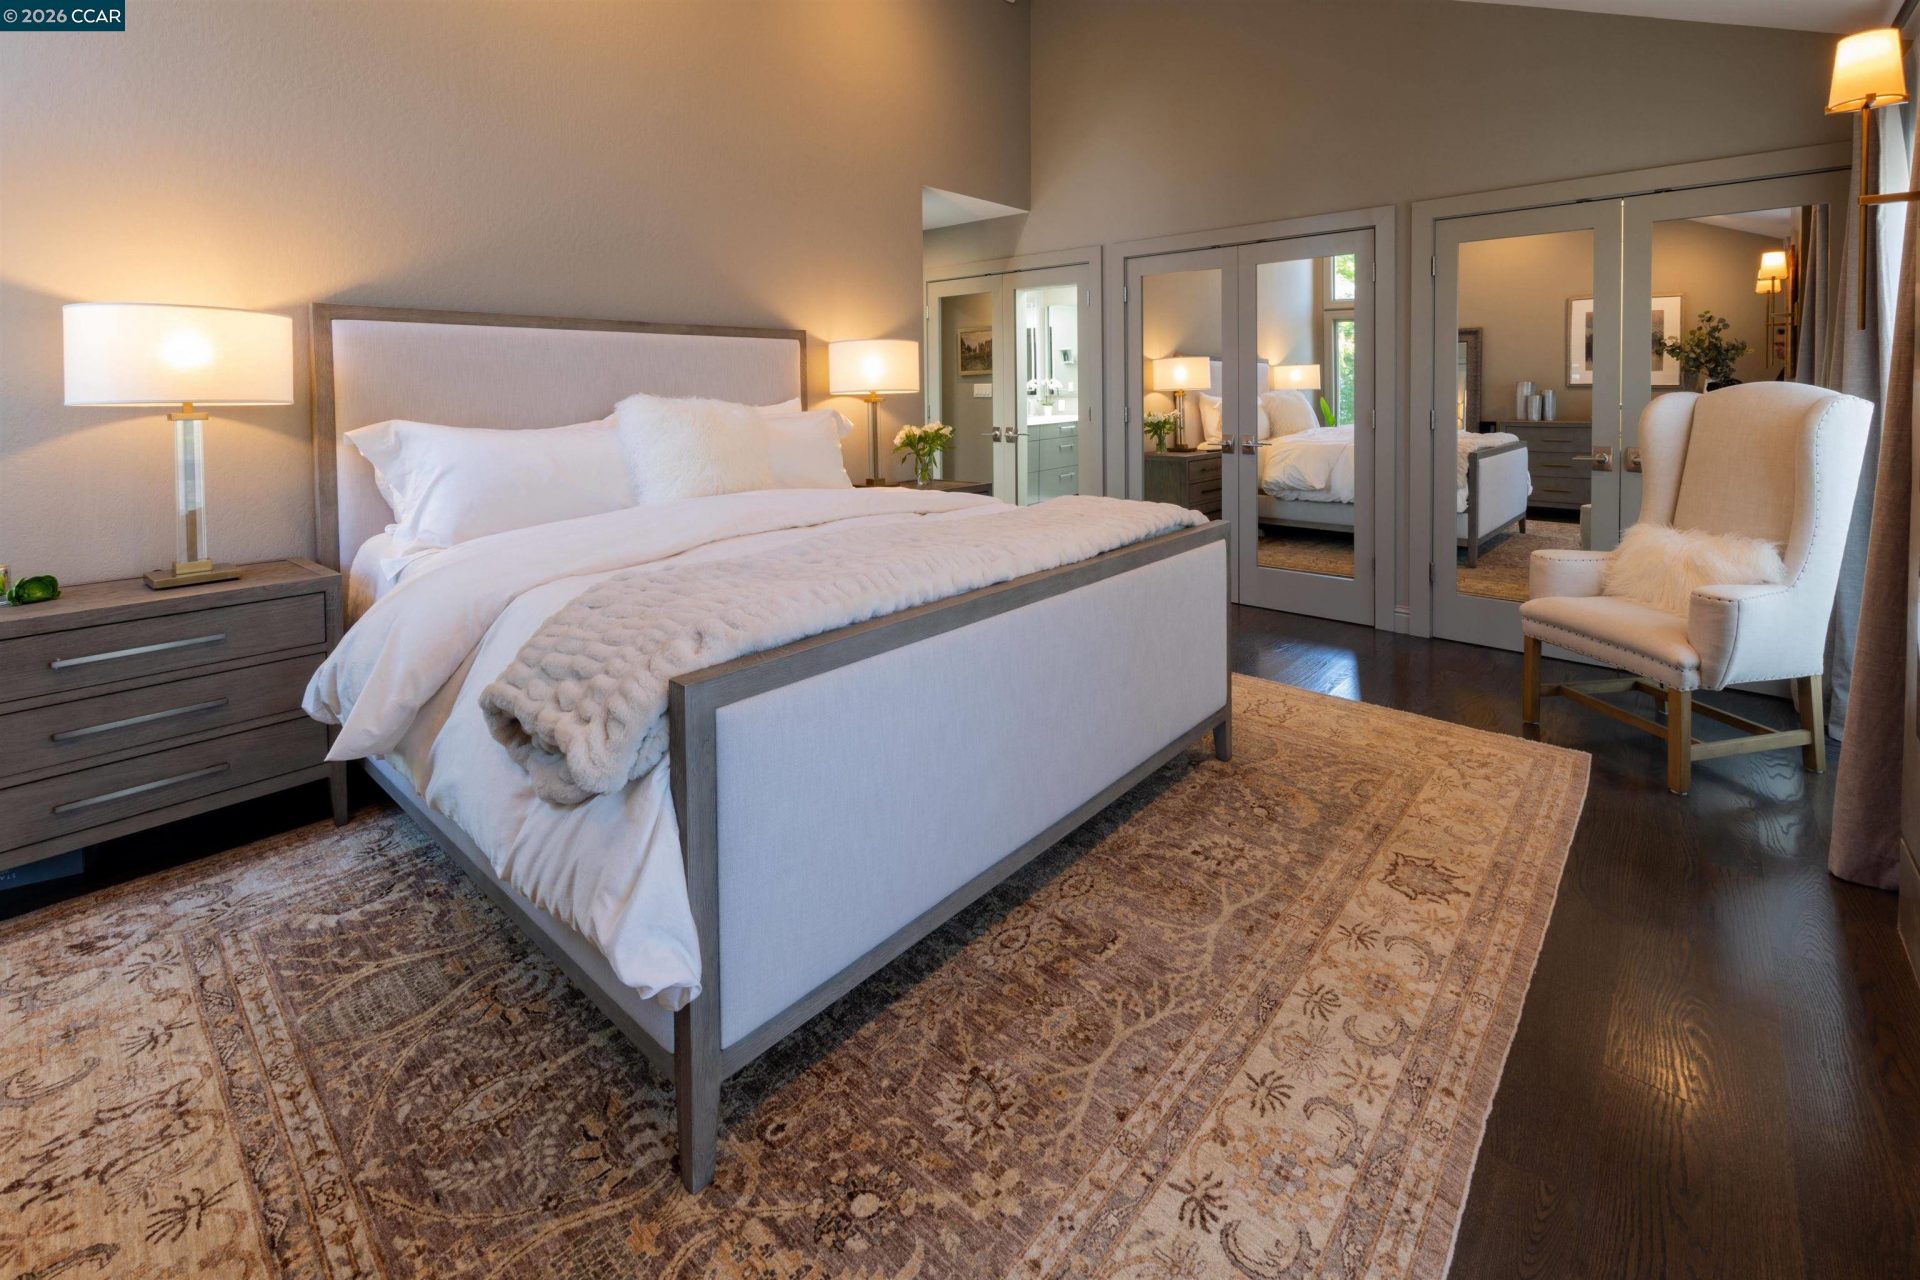
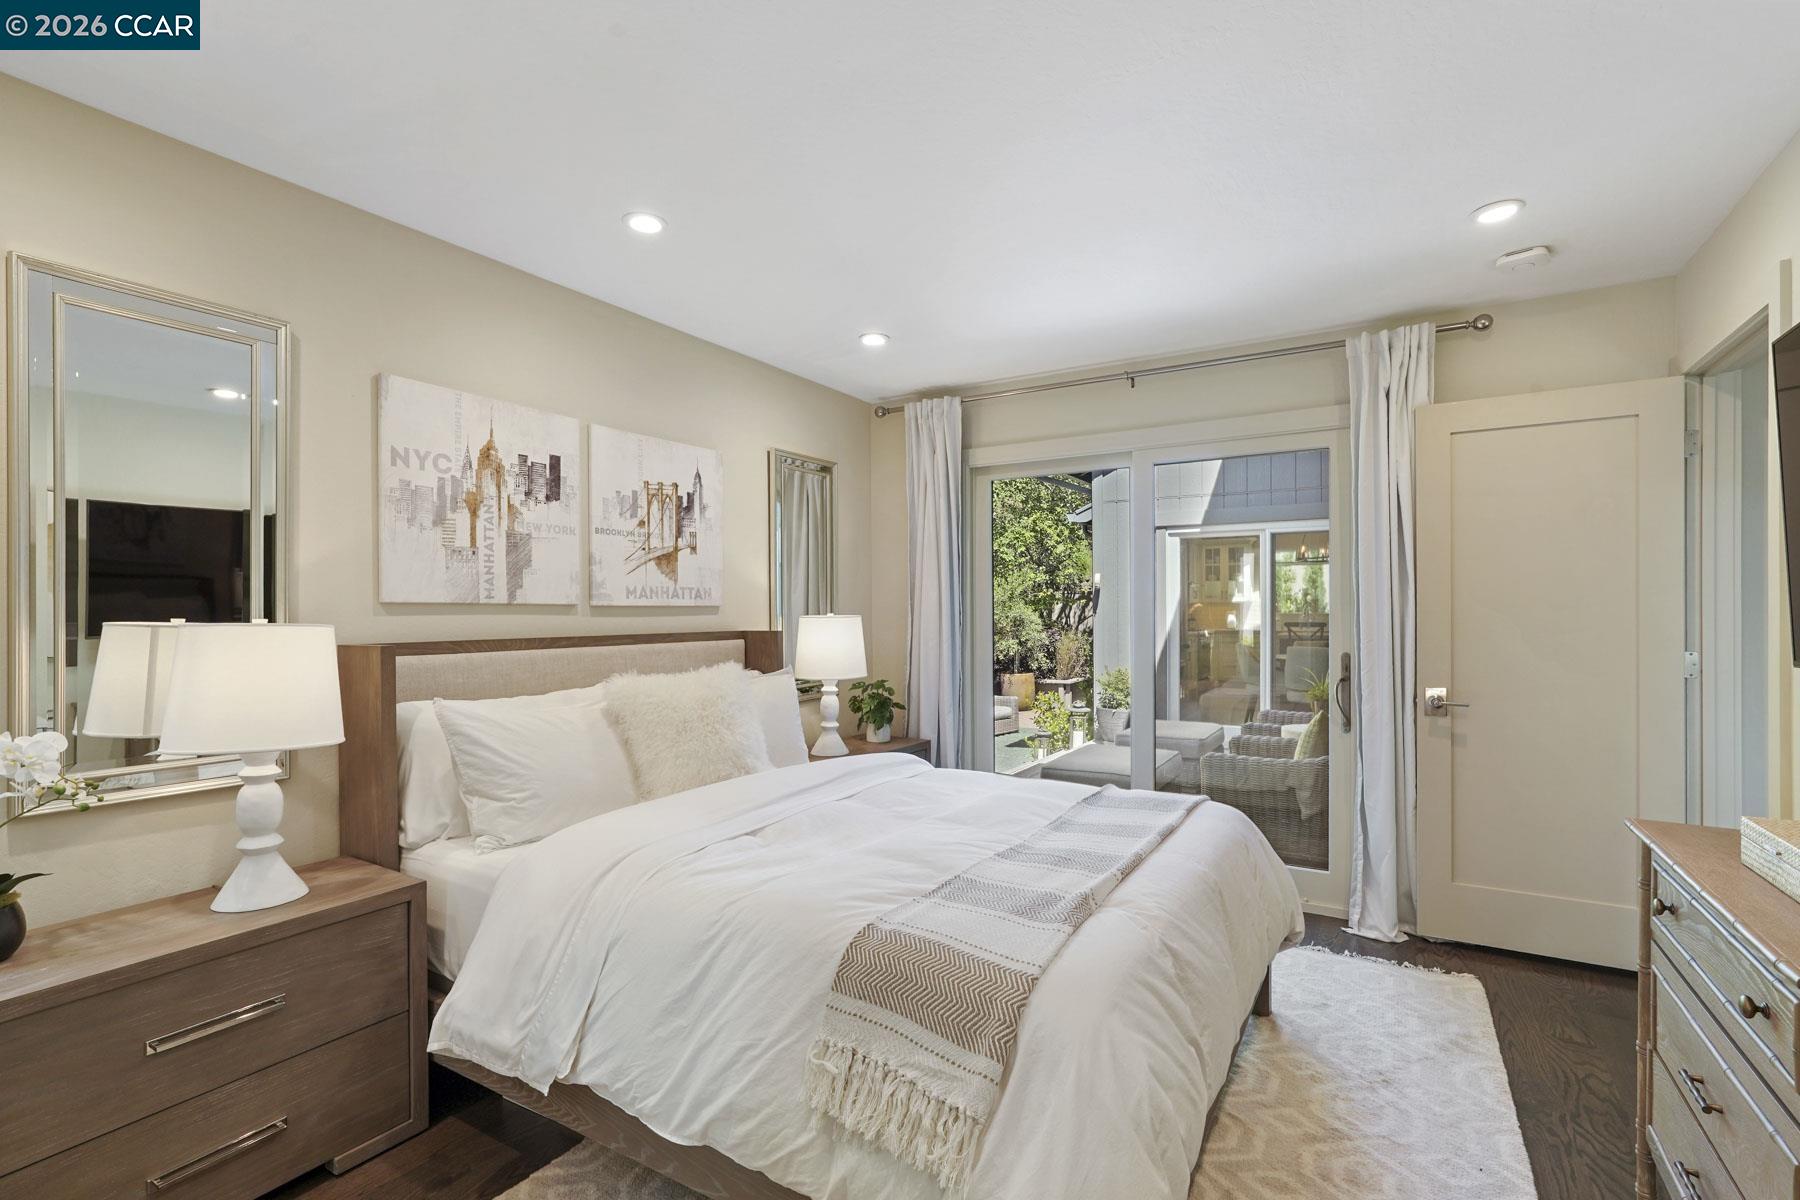
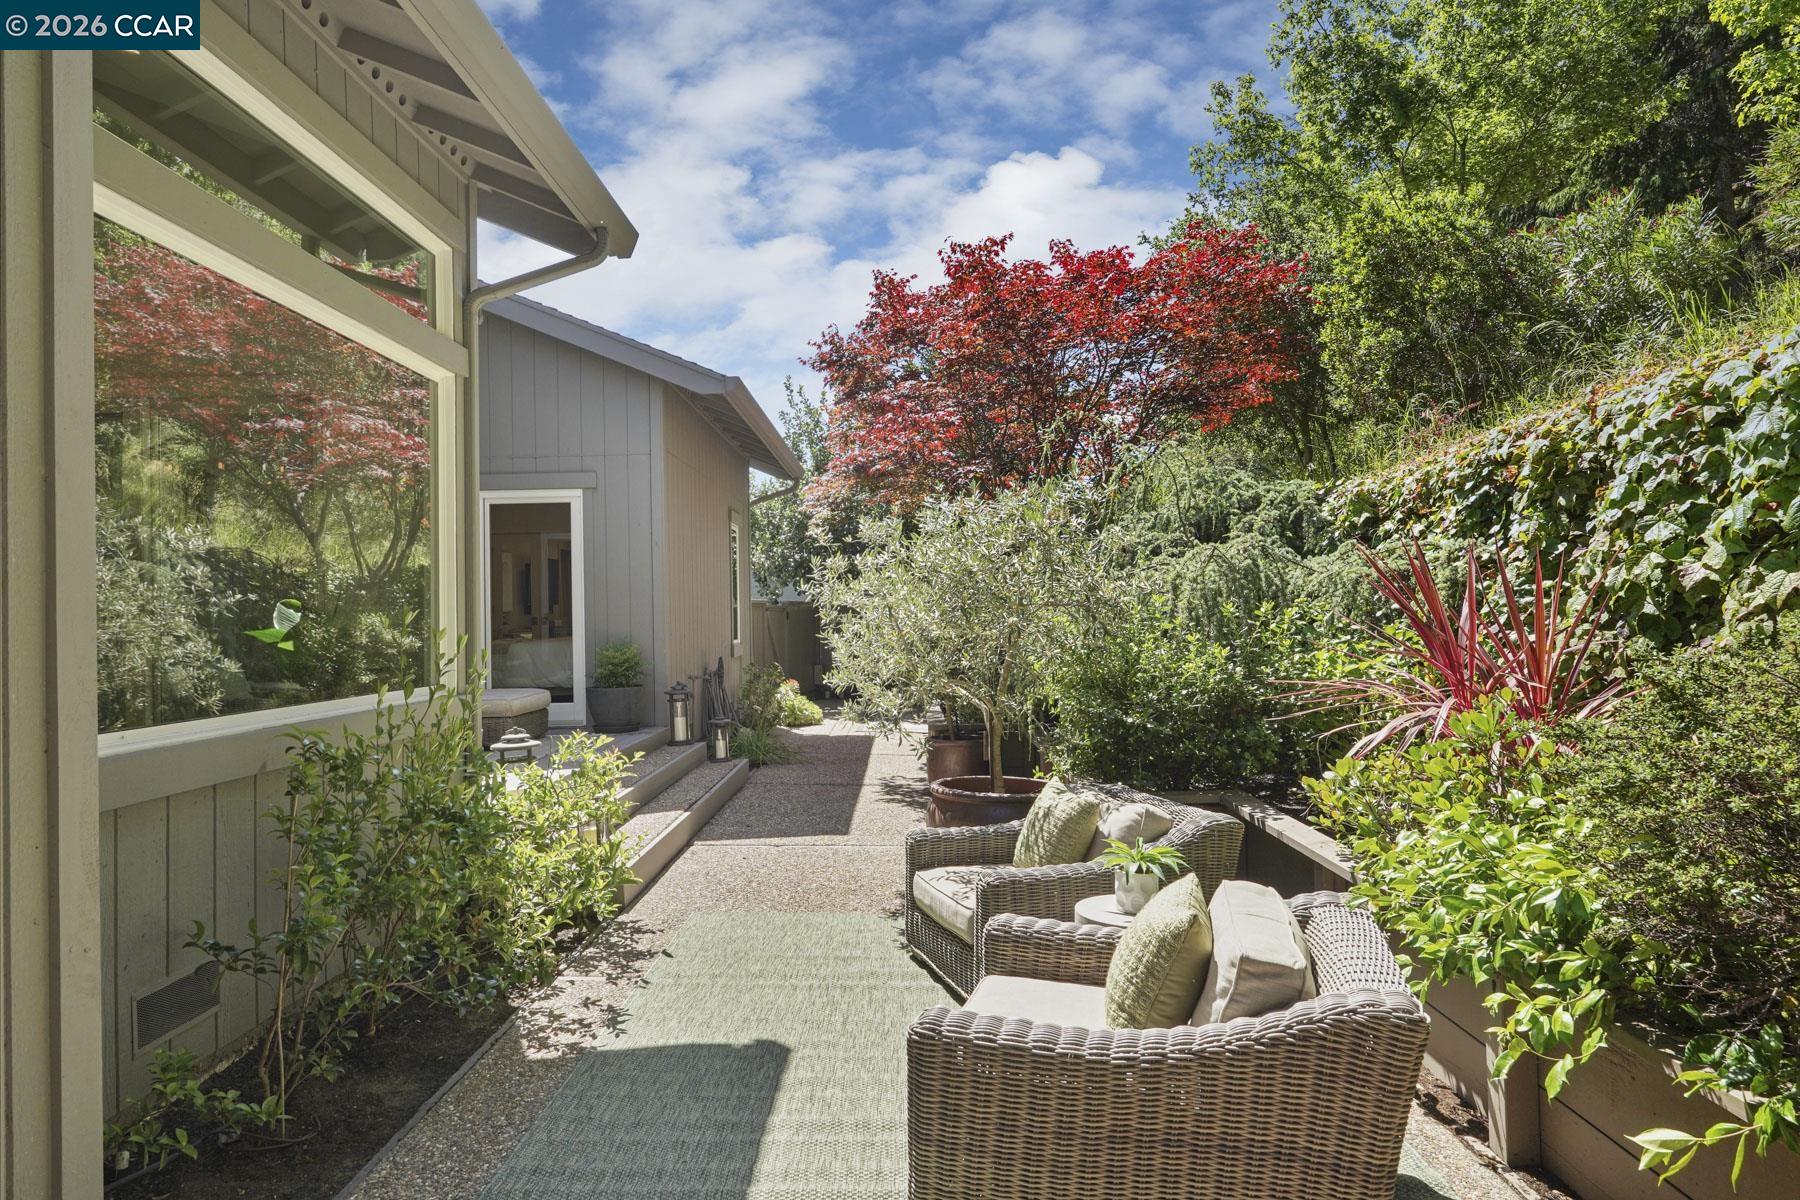
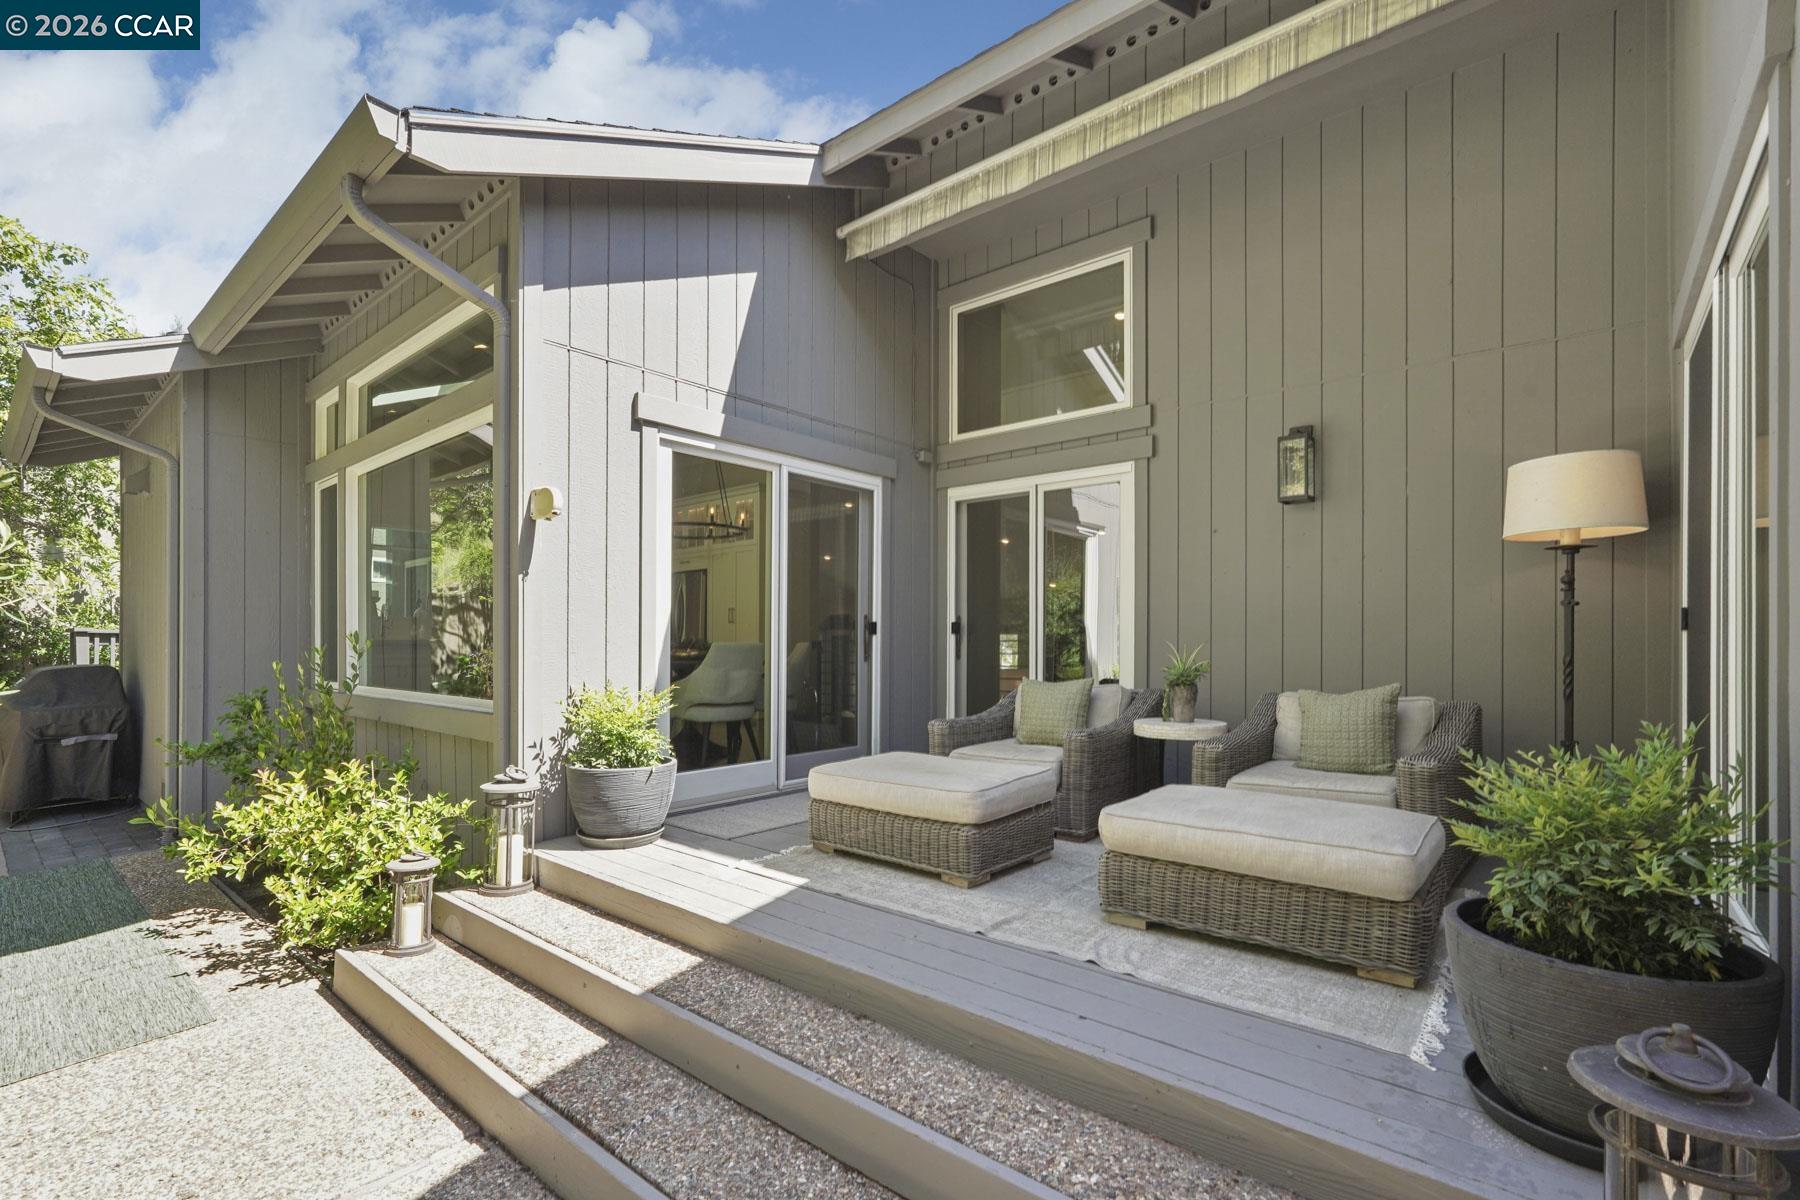
106 Brookline St, Moraga, CA 94556
$1,750,000Price
3Bedrooms
2Bathrooms
1,905Sq Ft
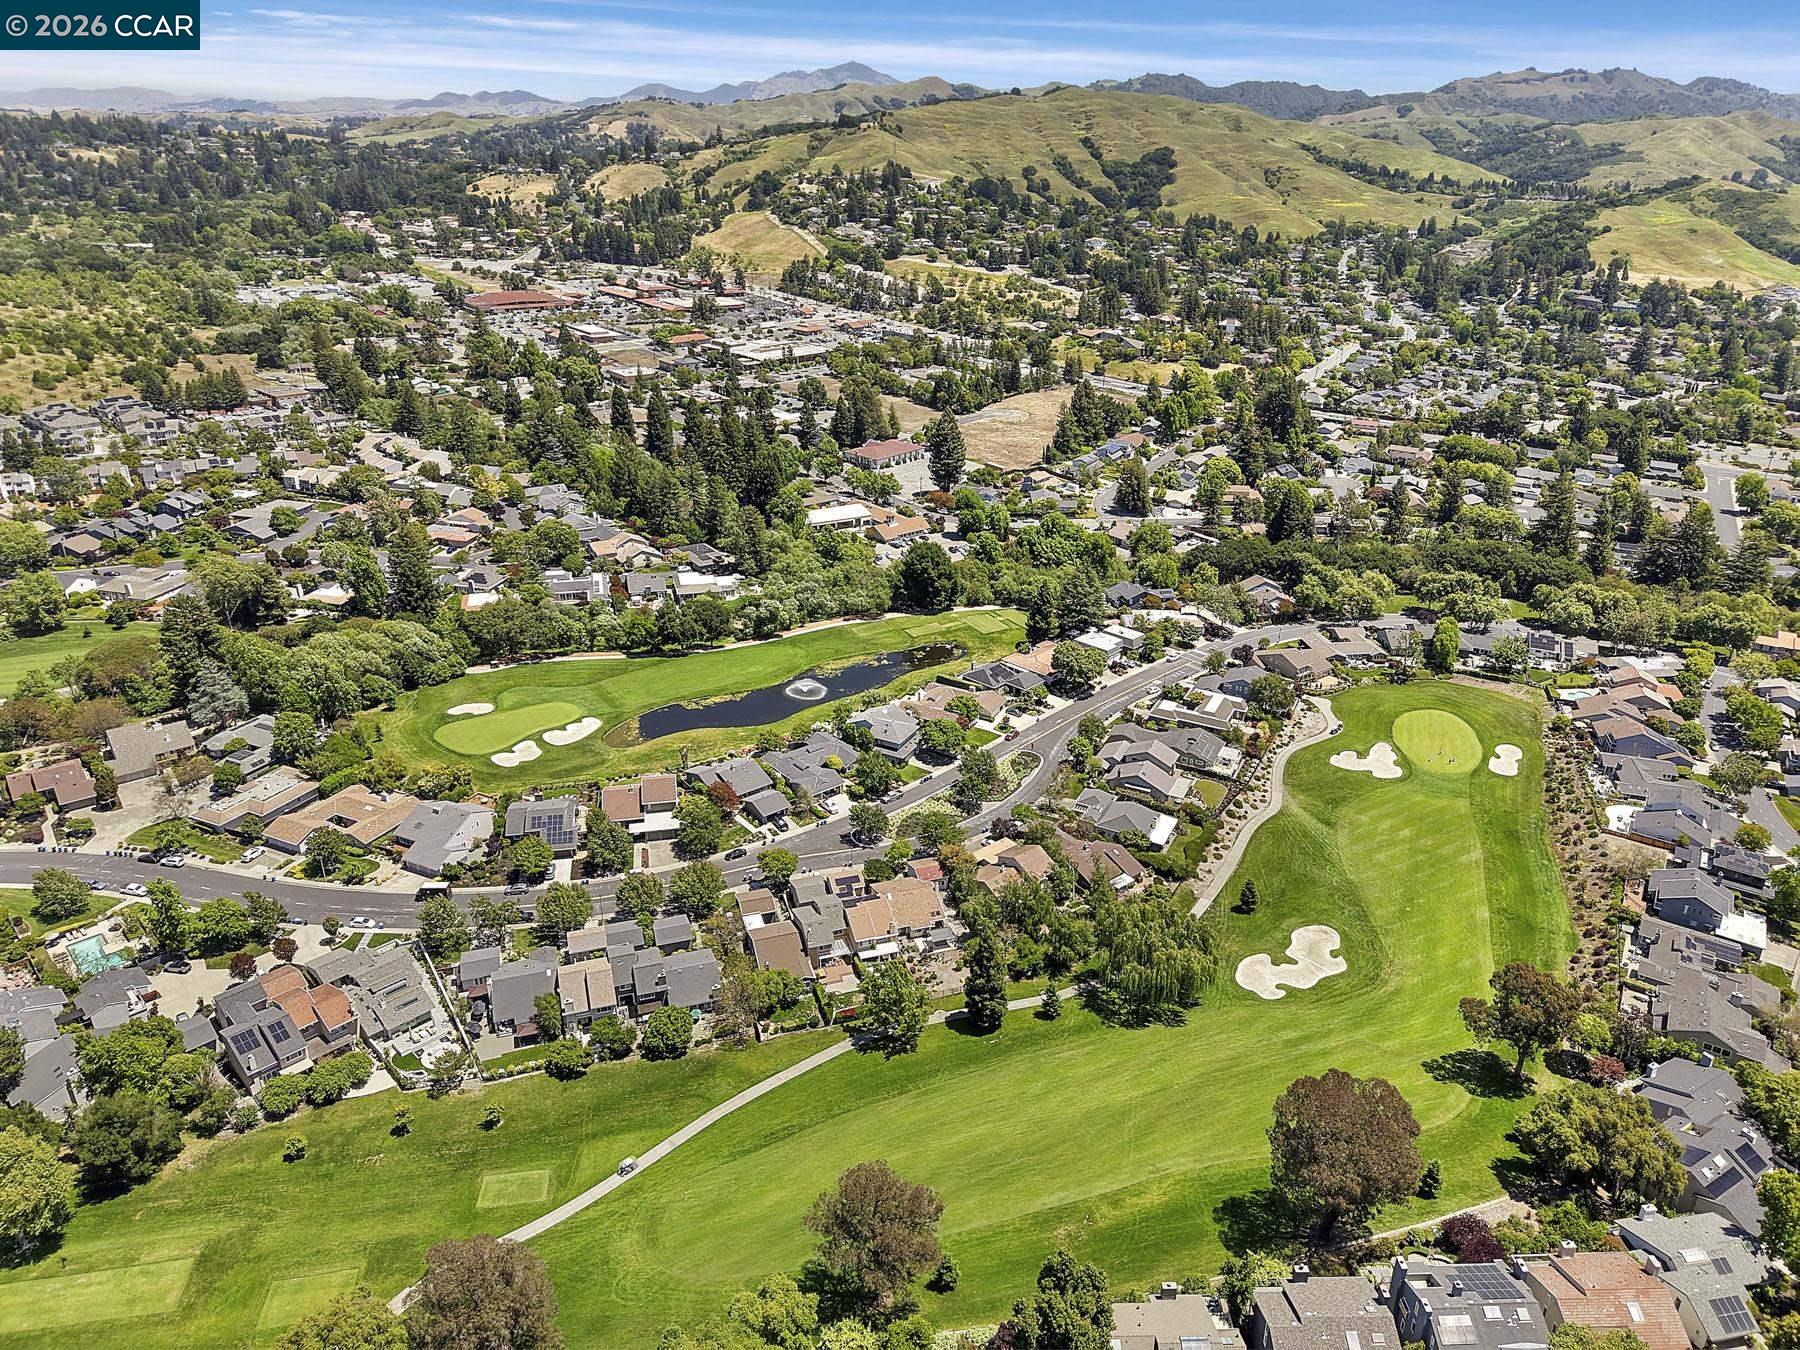
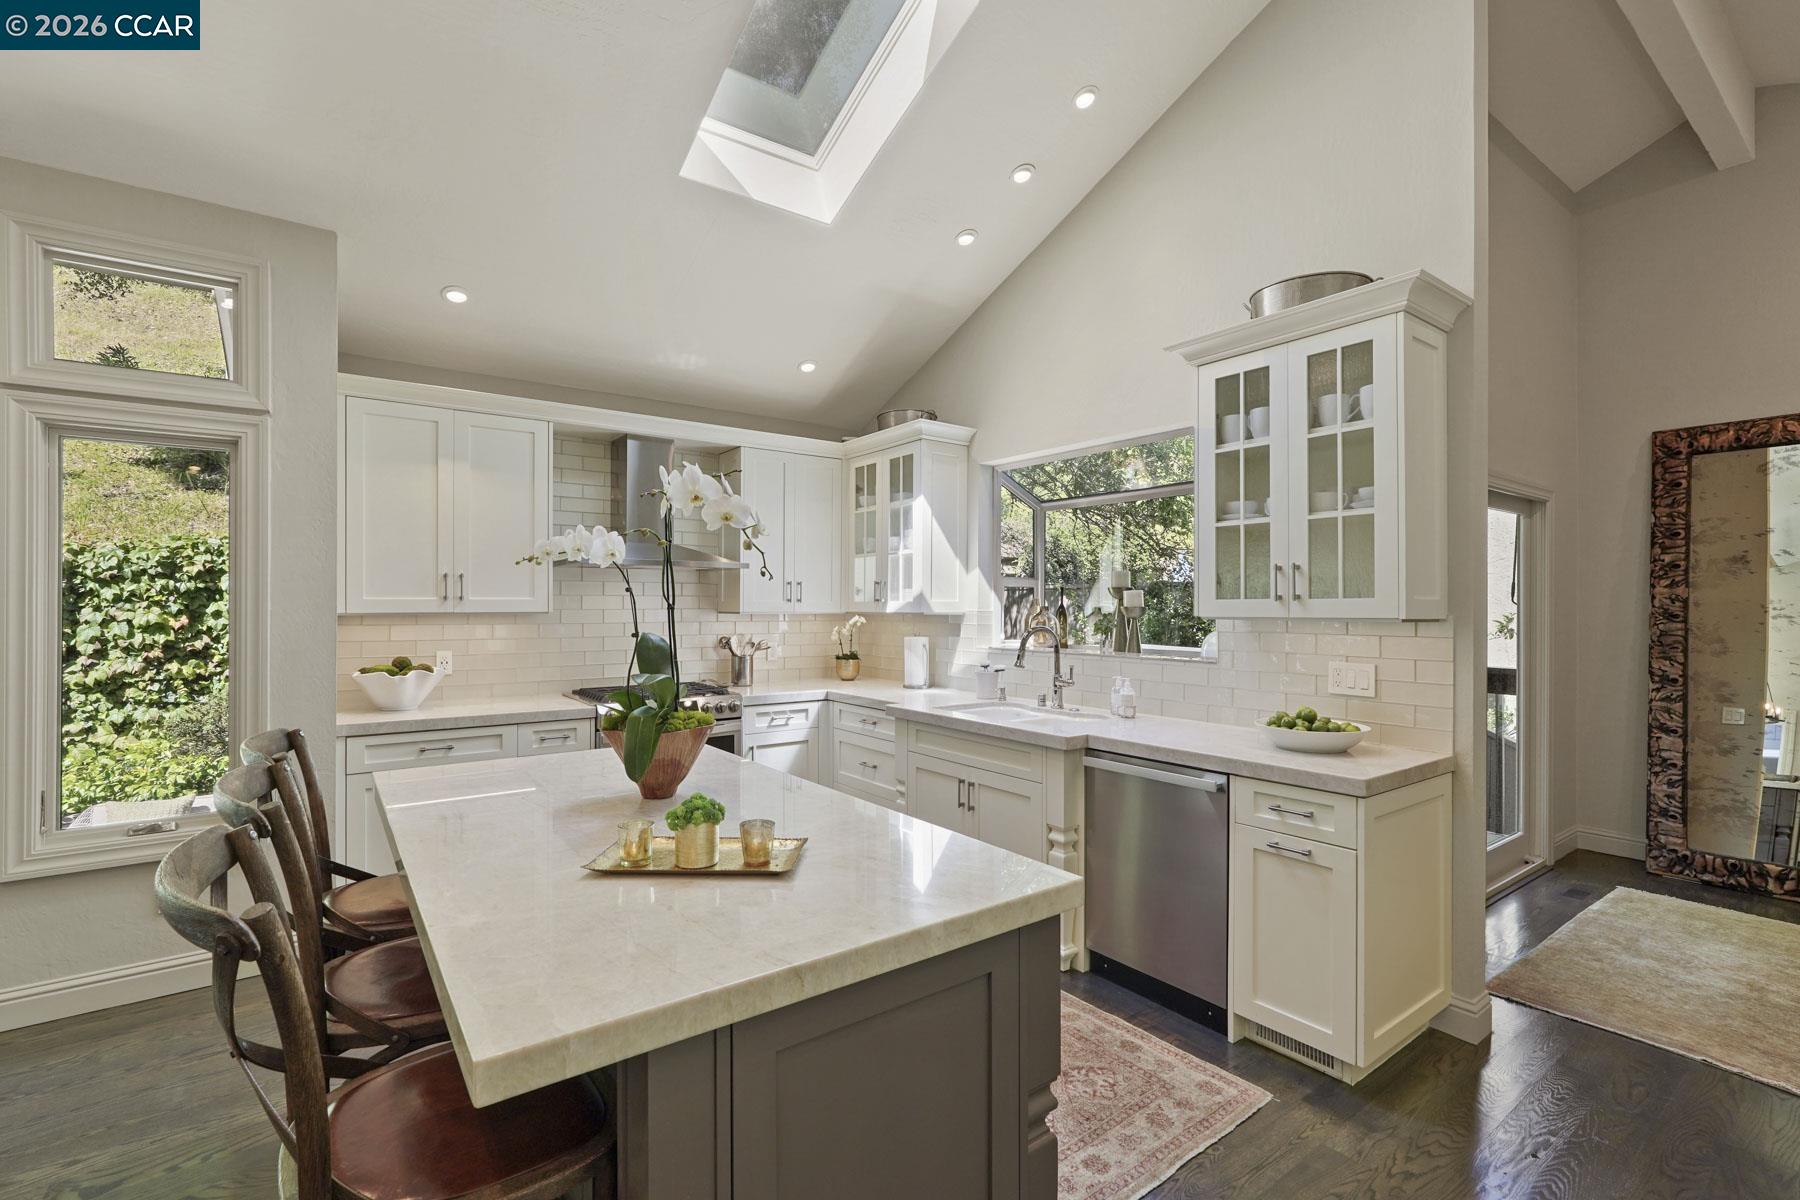
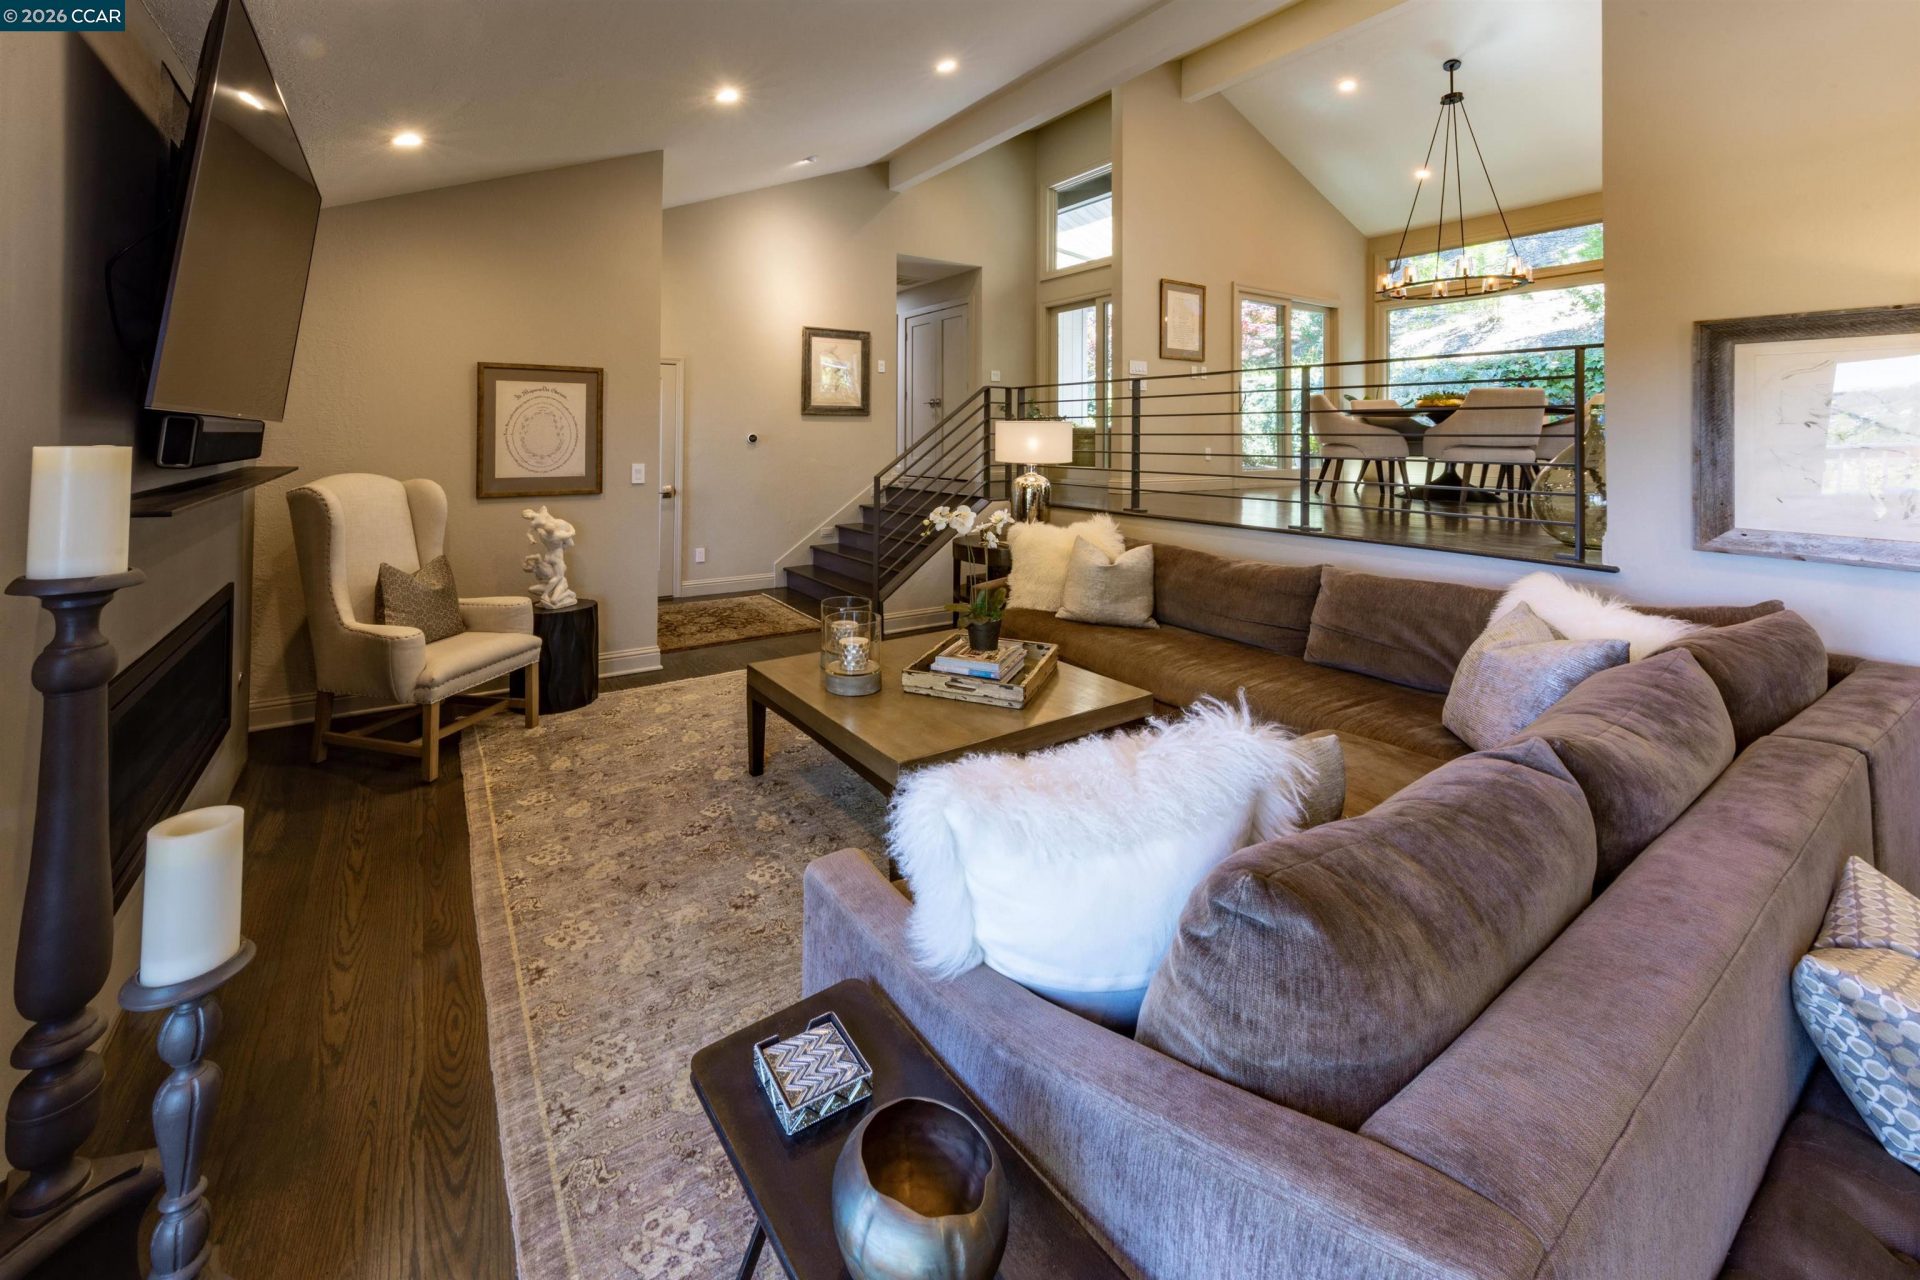
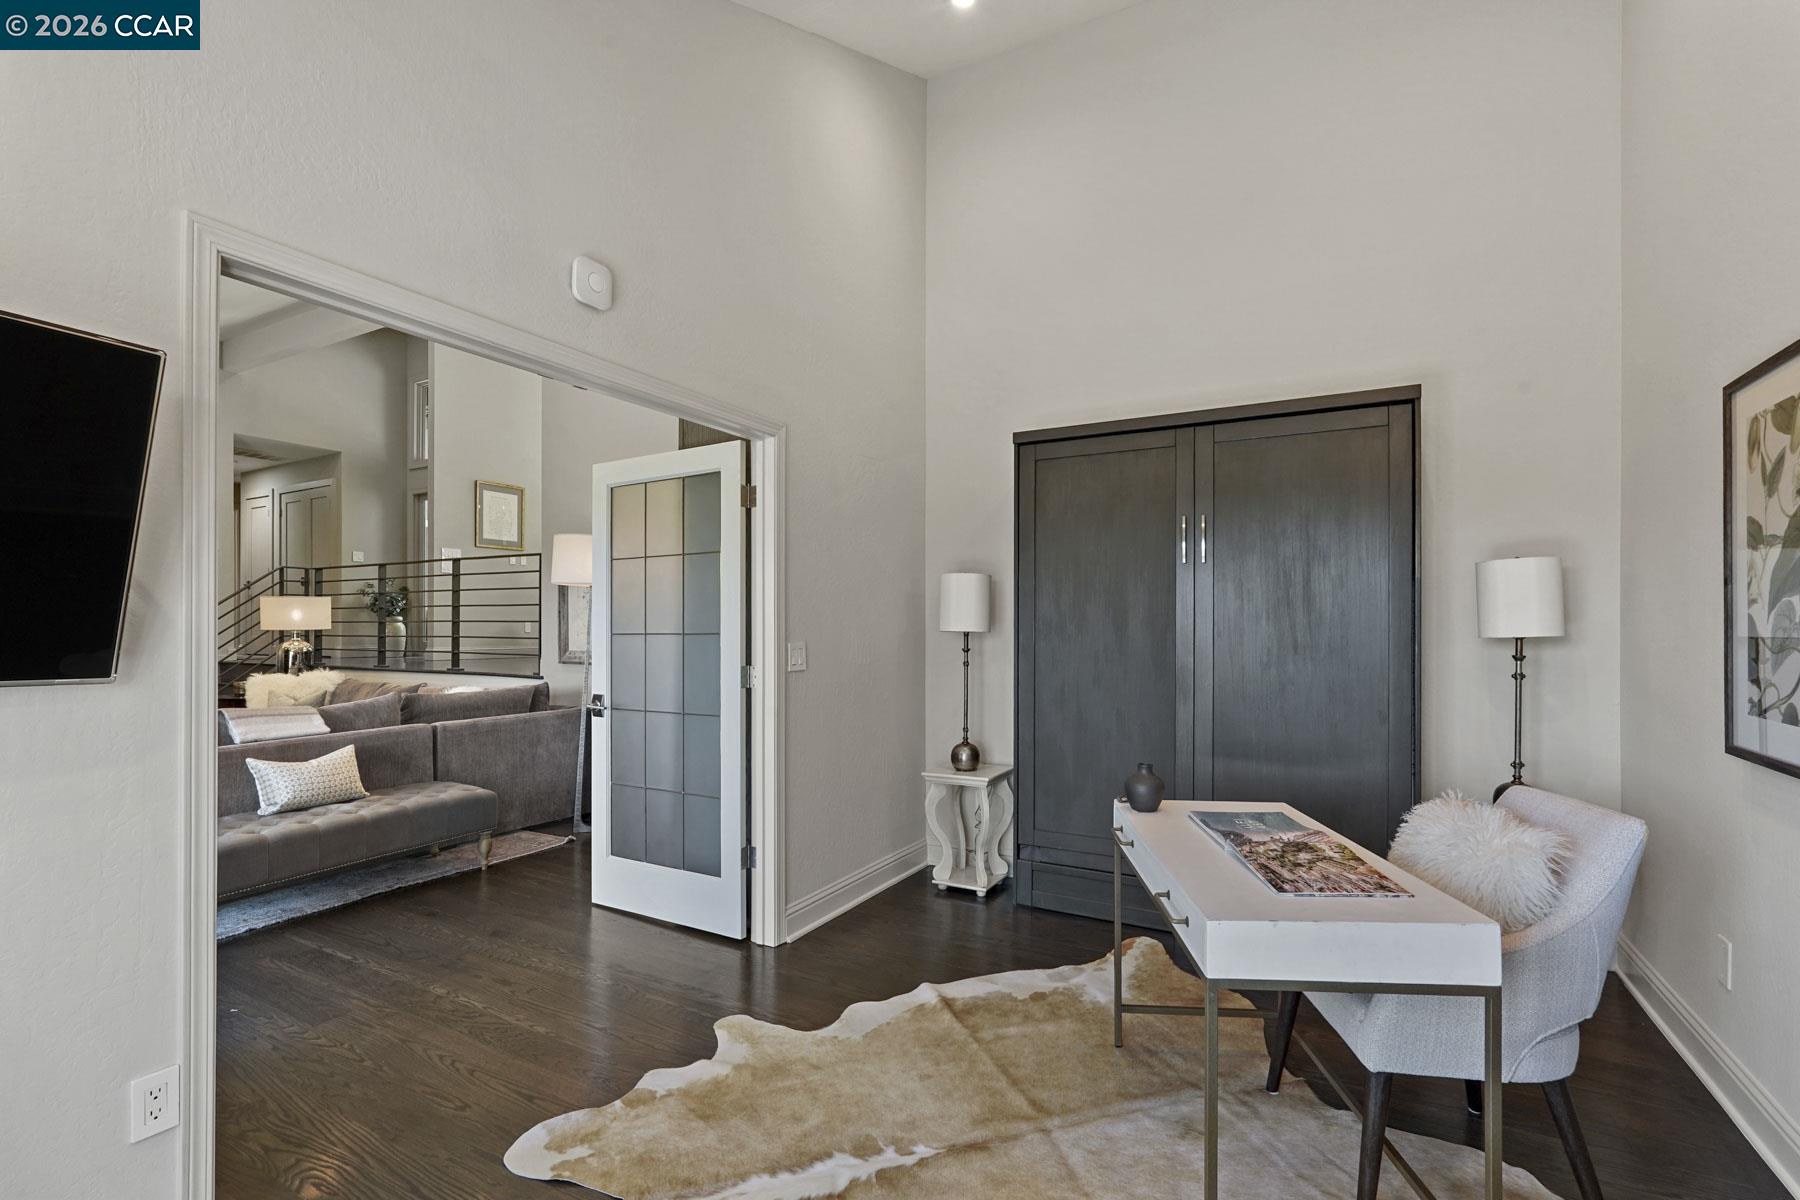
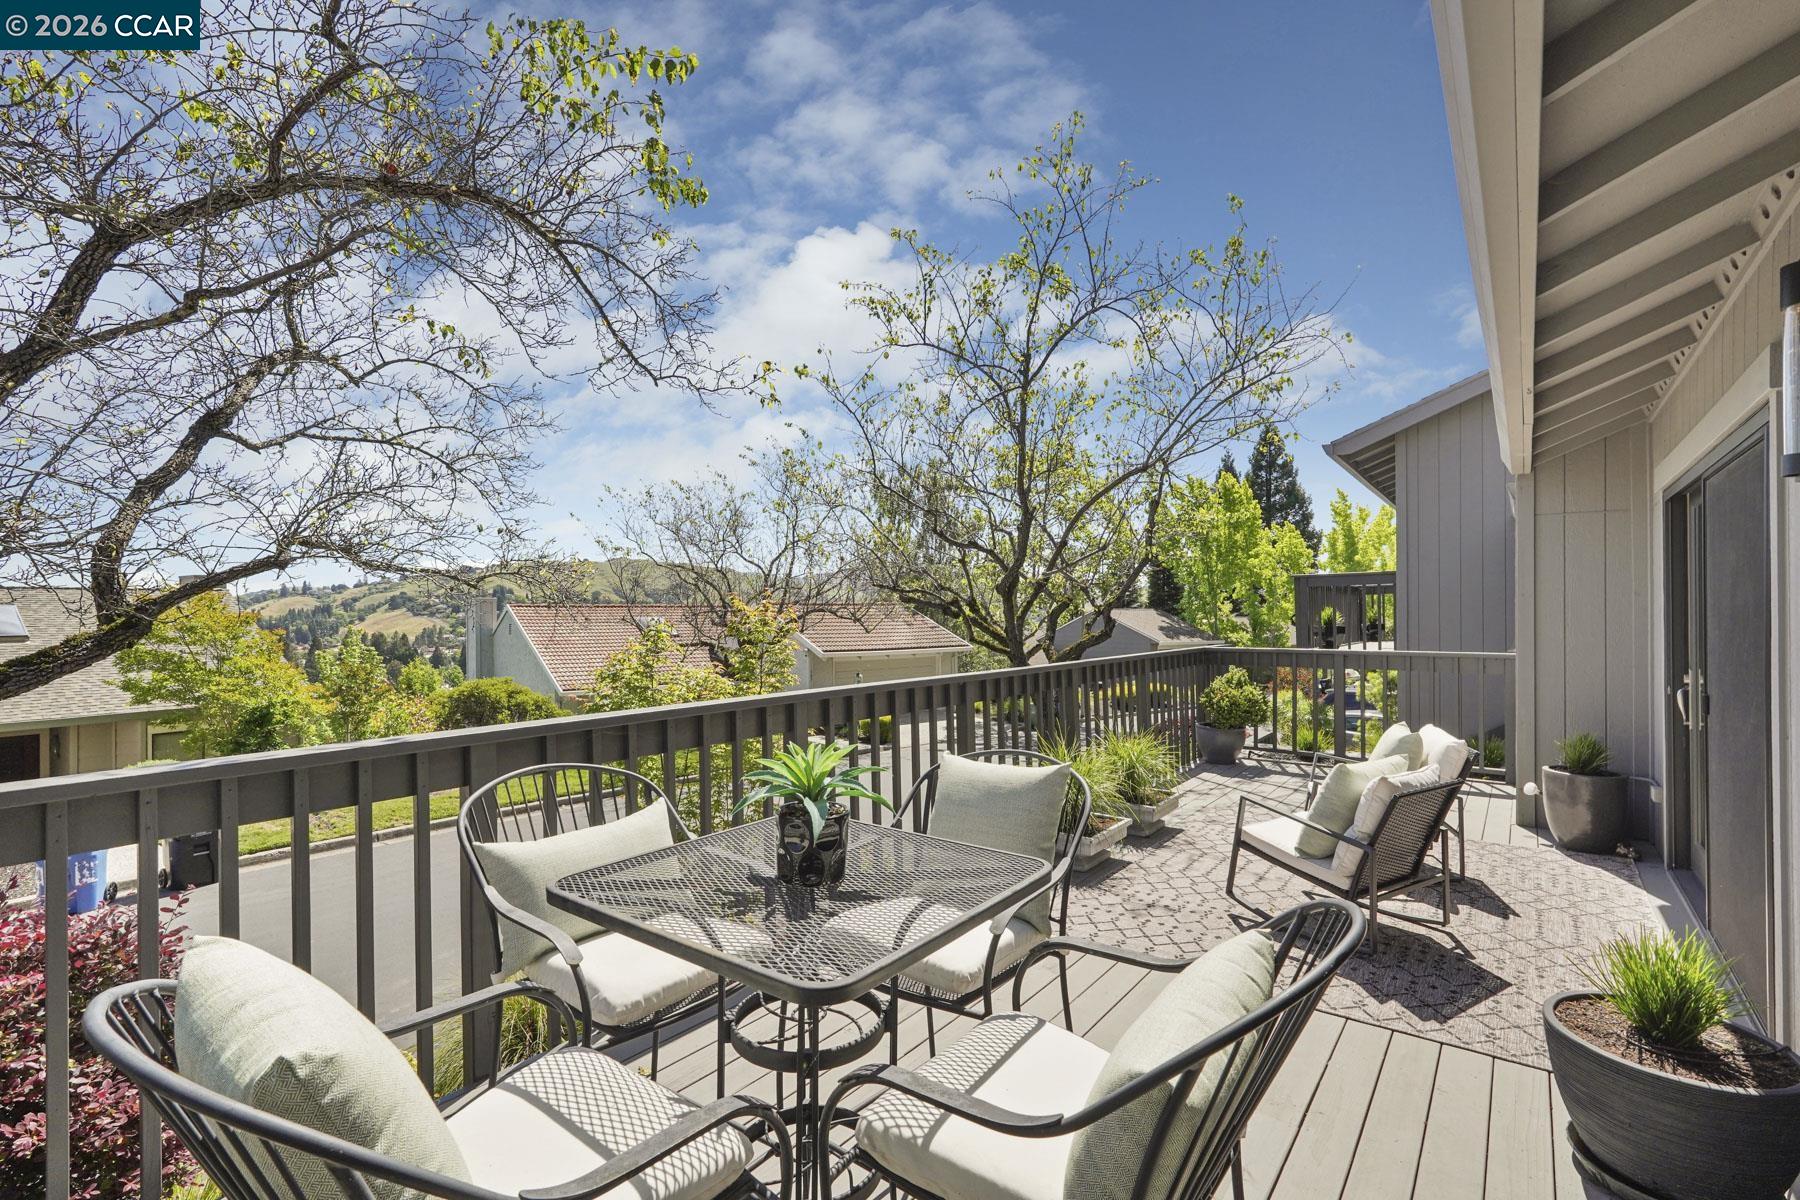
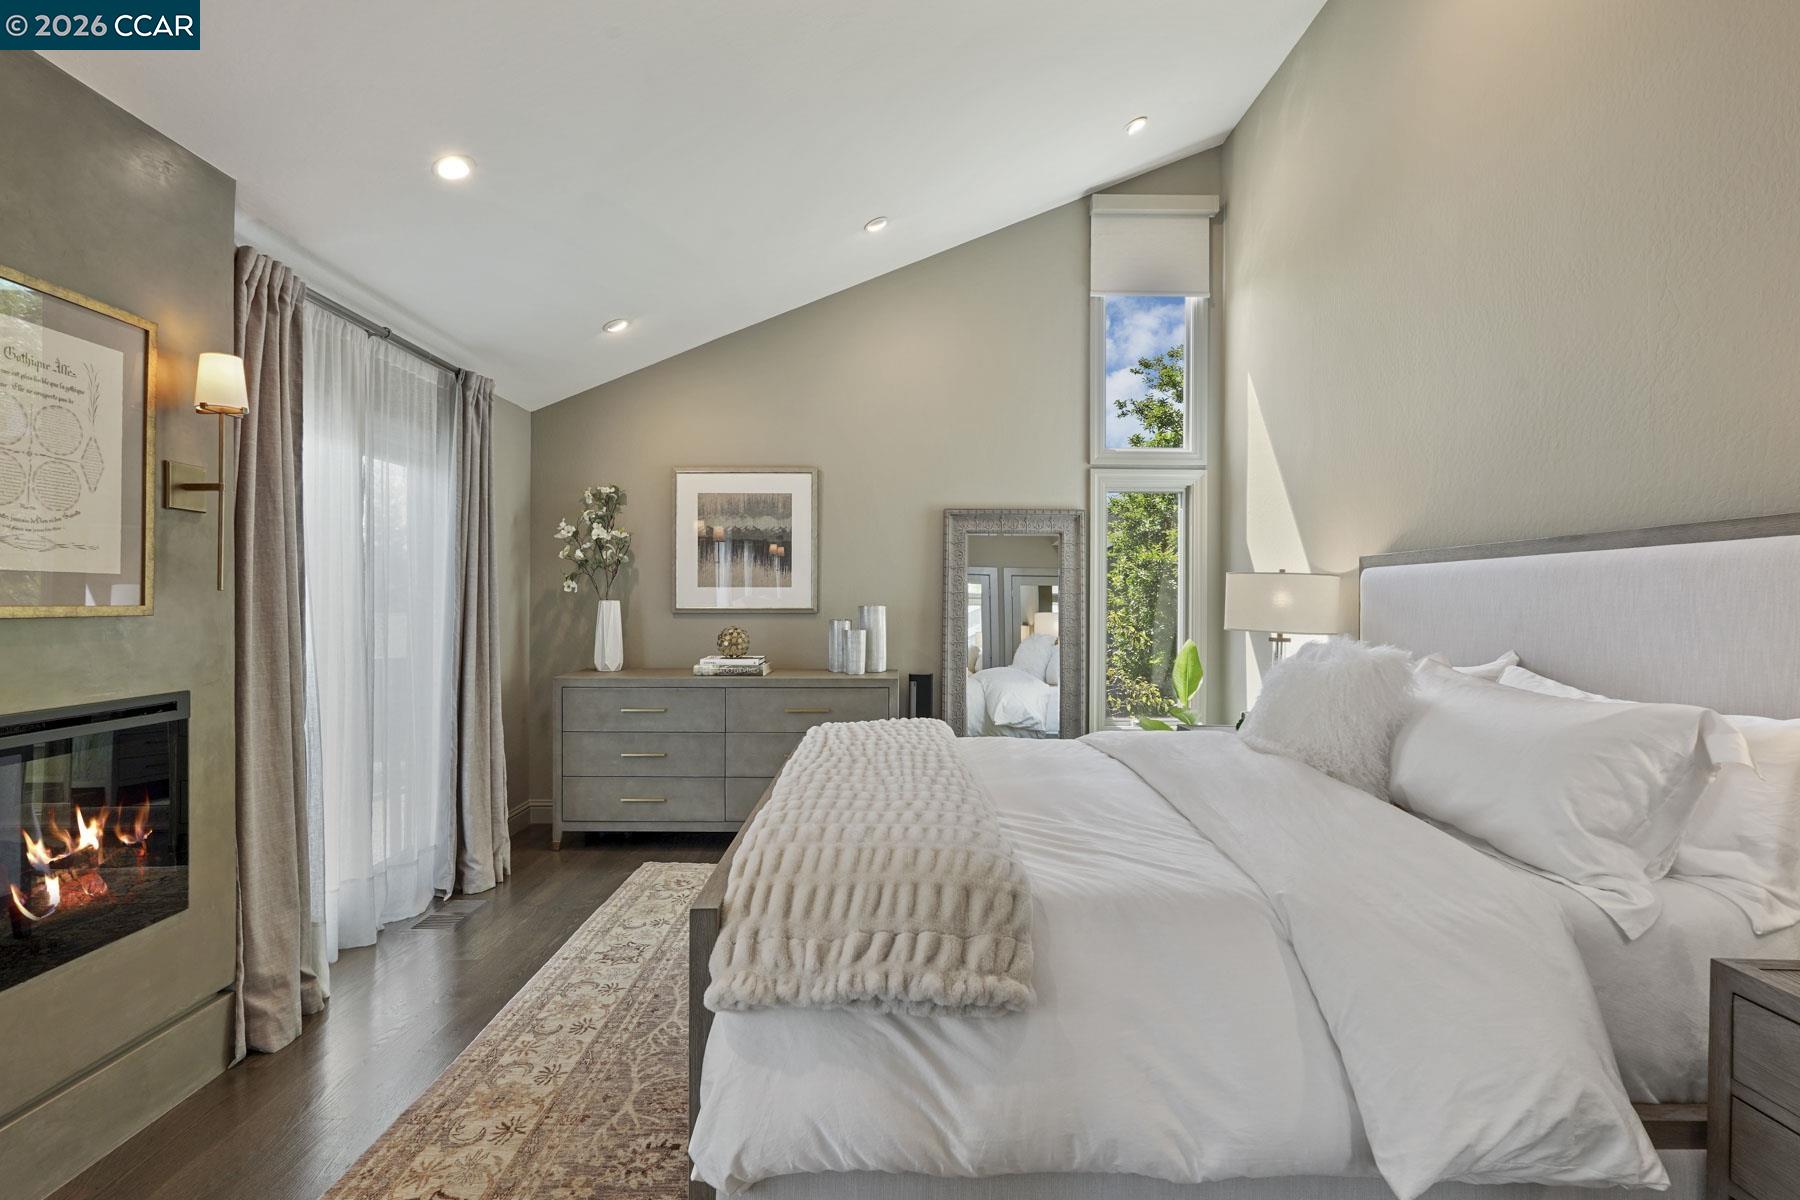
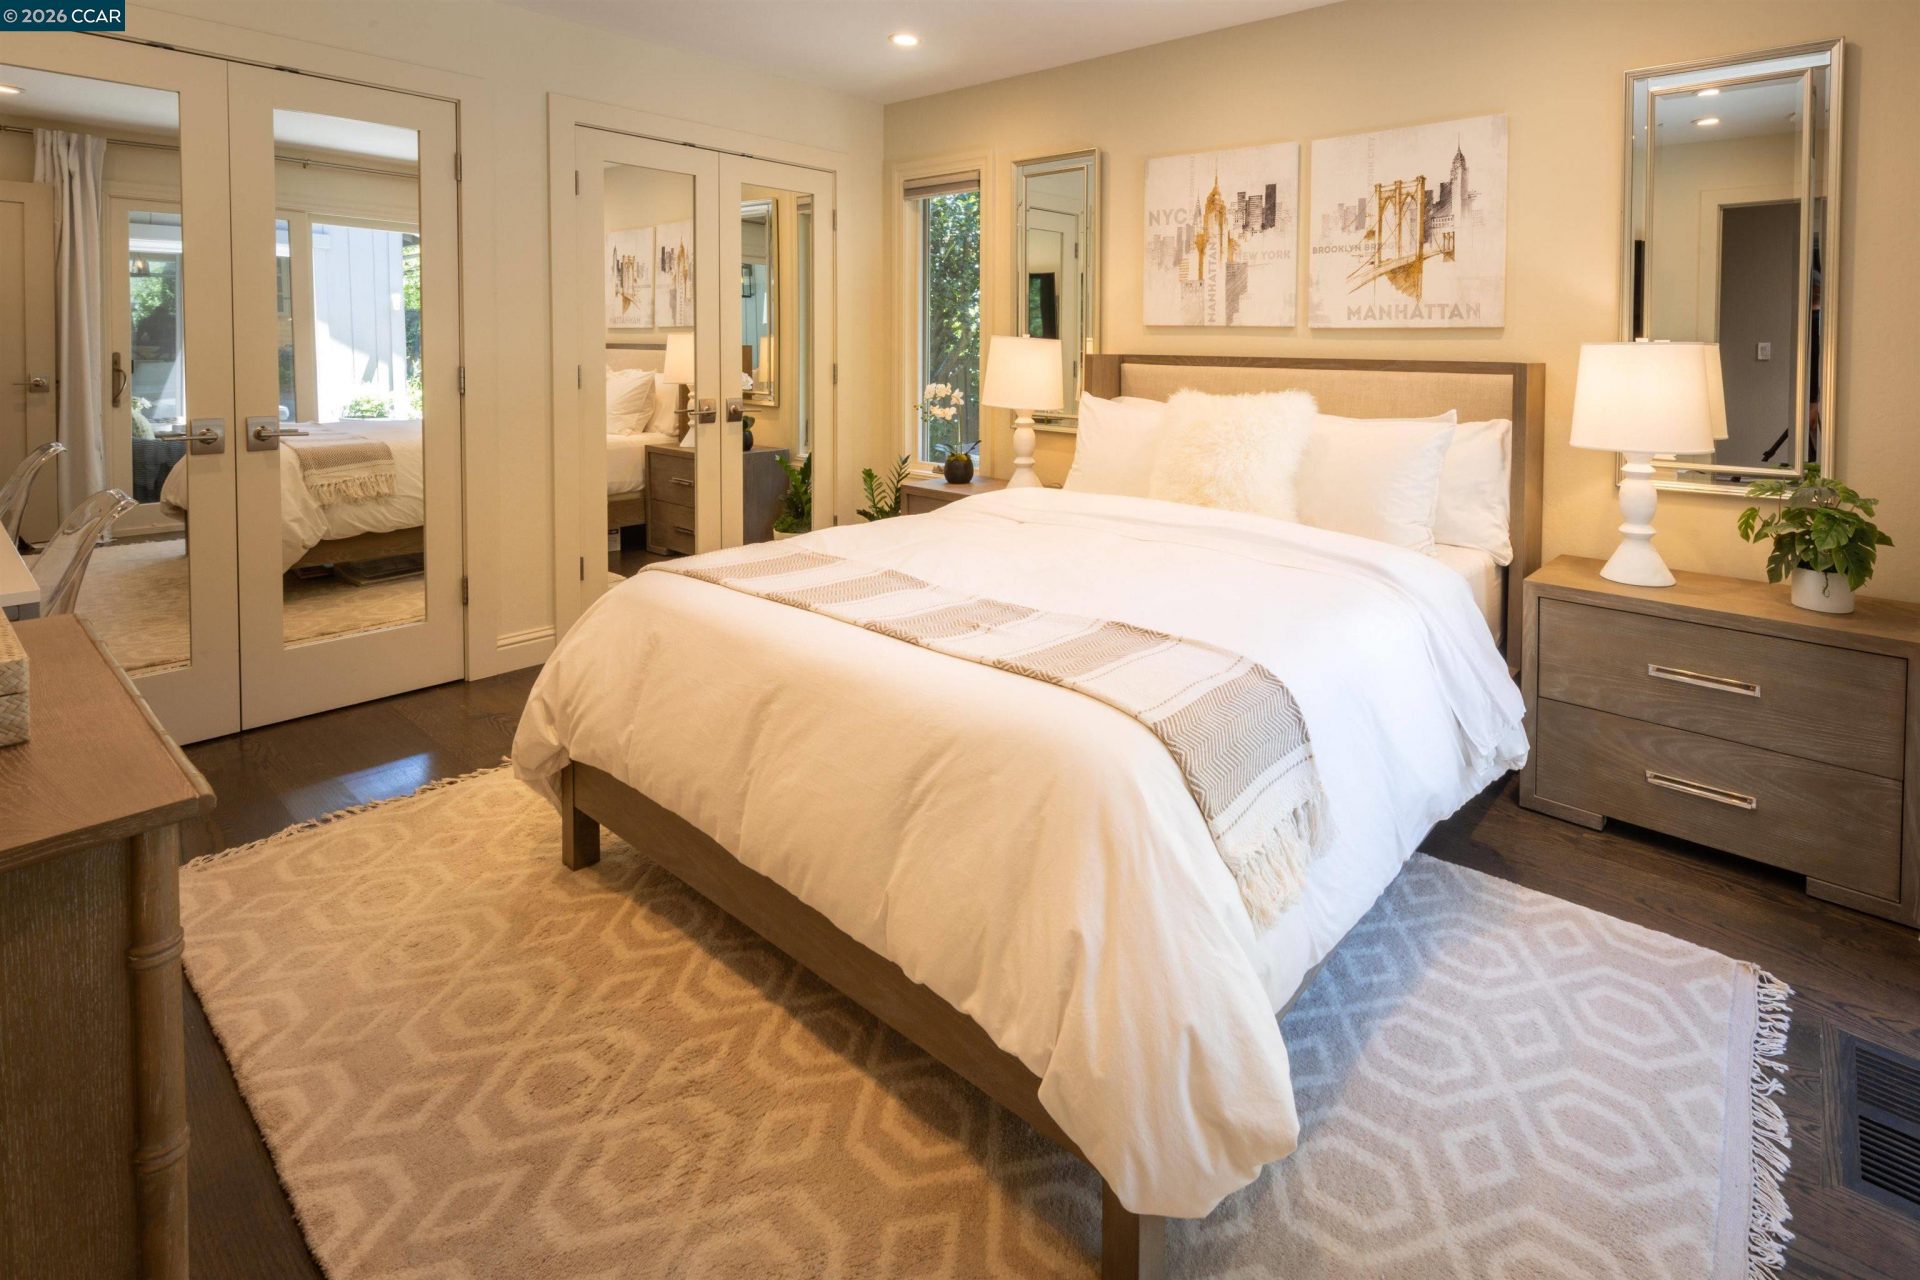
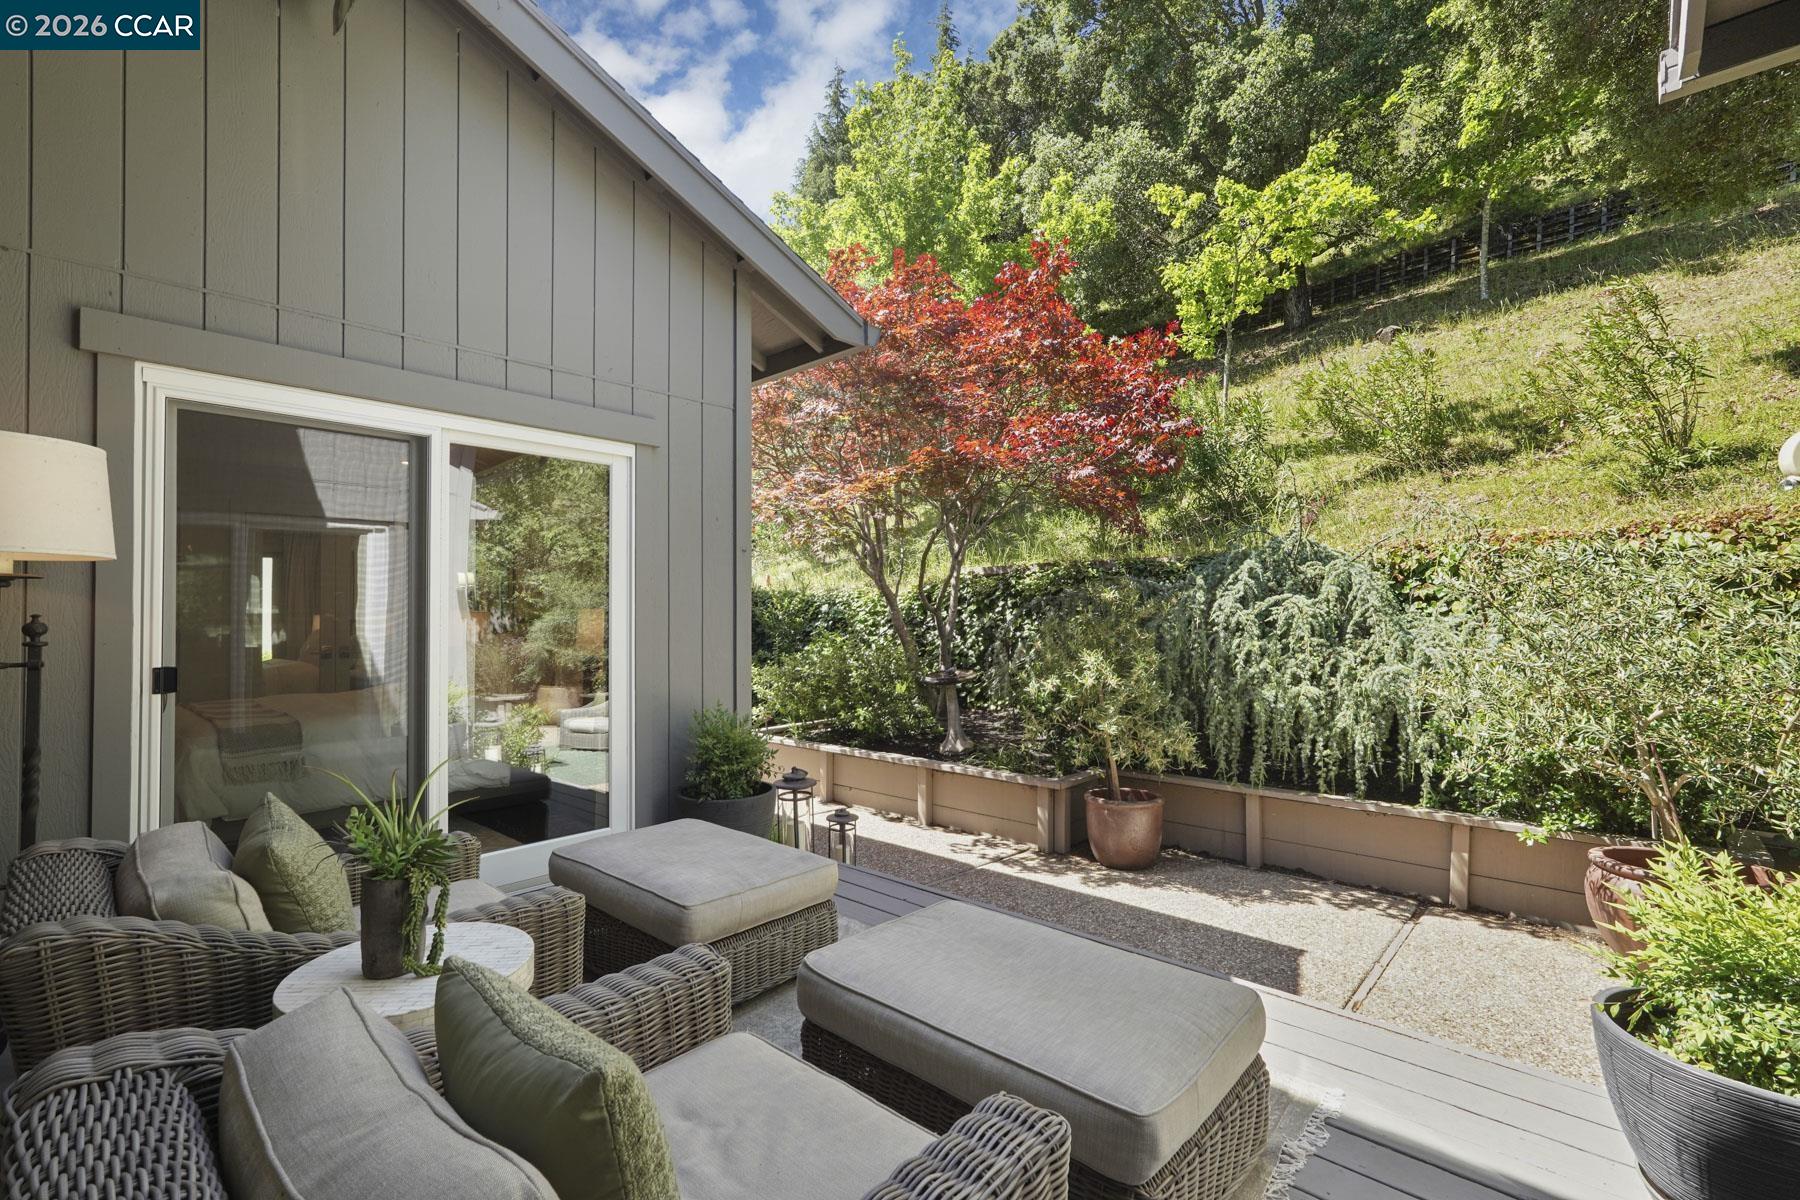
106 Brookline St, Moraga, CA 94556
$1,750,000Price
3Bedrooms
2Bathrooms
1,905Sq Ft
106 Brookline St, Moraga, CA 94556
$1,750,000Price
3Bedrooms
2Bathrooms
1,905Sq Ft
106 Brookline St, Moraga, CA 94556
$1,750,000Price
3Bedrooms
2Bathrooms
1,905Sq Ft
106 Brookline St, Moraga, CA 94556
$1,750,000Price
3Bedrooms
2Bathrooms
1,905Sq Ft
106 Brookline St, Moraga, CA 94556
$1,750,000Price
3Bedrooms
2Bathrooms
1,905Sq Ft
106 Brookline St, Moraga, CA 94556
$1,750,000Price
3Bedrooms
2Bathrooms
1,905Sq Ft
106 Brookline St, Moraga, CA 94556
$1,750,000Price
3Bedrooms
2Bathrooms
1,905Sq Ft
106 Brookline St, Moraga, CA 94556
$1,750,000Price
3Bedrooms
2Bathrooms
1,905Sq Ft
106 Brookline St, Moraga, CA 94556
$1,750,000Price
3Bedrooms
2Bathrooms
1,905Sq Ft
106 Brookline St, Moraga, CA 94556
$1,750,000Price
3Bedrooms
2Bathrooms
1,905Sq Ft
106 Brookline St, Moraga, CA 94556
$1,750,000Price
3Bedrooms
2Bathrooms
1,905Sq Ft
106 Brookline St, Moraga, CA 94556
$1,750,000Price
3Bedrooms
2Bathrooms
1,905Sq Ft
106 Brookline St, Moraga, CA 94556
$1,750,000Price
3Bedrooms
2Bathrooms
1,905Sq Ft
106 Brookline St, Moraga, CA 94556
$1,750,000Price
3Bedrooms
2Bathrooms
1,905Sq Ft
106 Brookline St, Moraga, CA 94556
$1,750,000Price
3Bedrooms
2Bathrooms
1,905Sq Ft
106 Brookline St, Moraga, CA 94556
$1,750,000Price
3Bedrooms
2Bathrooms
1,905Sq Ft
106 Brookline St, Moraga, CA 94556
$1,750,000Price
3Bedrooms
2Bathrooms
1,905Sq Ft
106 Brookline St, Moraga, CA 94556
$1,750,000Price
3Bedrooms
2Bathrooms
1,905Sq Ft
106 Brookline St, Moraga, CA 94556
$1,750,000Price
3Bedrooms
2Bathrooms
1,905Sq Ft
106 Brookline St, Moraga, CA 94556
$1,750,000Price
3Bedrooms
2Bathrooms
1,905Sq Ft
106 Brookline St, Moraga, CA 94556
$1,750,000Price
3Bedrooms
2Bathrooms
1,905Sq Ft
106 Brookline St, Moraga, CA 94556
$1,750,000Price
3Bedrooms
2Bathrooms
1,905Sq Ft
106 Brookline St, Moraga, CA 94556
$1,750,000Price
3Bedrooms
2Bathrooms
1,905Sq Ft
106 Brookline St, Moraga, CA 94556
$1,750,000Price
3Bedrooms
2Bathrooms
1,905Sq Ft
106 Brookline St, Moraga, CA 94556
$1,750,000Price
3Bedrooms
2Bathrooms
1,905Sq Ft
106 Brookline St, Moraga, CA 94556
$1,750,000Price
3Bedrooms
2Bathrooms
1,905Sq Ft
106 Brookline St, Moraga, CA 94556
$1,750,000Price
3Bedrooms
2Bathrooms
1,905Sq Ft
106 Brookline St, Moraga, CA 94556
$1,750,000Price
3Bedrooms
2Bathrooms
1,905Sq Ft
106 Brookline St, Moraga, CA 94556
$1,750,000Price
3Bedrooms
2Bathrooms
1,905Sq Ft
106 Brookline St, Moraga, CA 94556
$1,750,000Price
3Bedrooms
2Bathrooms
1,905Sq Ft
106 Brookline St, Moraga, CA 94556
$1,750,000Price
3Bedrooms
2Bathrooms
1,905Sq Ft
106 Brookline St, Moraga, CA 94556
$1,750,000Price
3Bedrooms
2Bathrooms
1,905Sq Ft
106 Brookline St, Moraga, CA 94556
$1,750,000Price
3Bedrooms
2Bathrooms
1,905Sq Ft
106 Brookline St, Moraga, CA 94556
$1,750,000Price
3Bedrooms
2Bathrooms
1,905Sq Ft
106 Brookline St, Moraga, CA 94556
$1,750,000Price
3Bedrooms
2Bathrooms
1,905Sq Ft
106 Brookline St, Moraga, CA 94556
$1,750,000Price
3Bedrooms
2Bathrooms
1,905Sq Ft
106 Brookline St, Moraga, CA 94556
$1,750,000Price
3Bedrooms
2Bathrooms
1,905Sq Ft
106 Brookline St, Moraga, CA 94556
$1,750,000Price
3Bedrooms
2Bathrooms
1,905Sq Ft
106 Brookline St, Moraga, CA 94556
$1,750,000Price
3Bedrooms
2Bathrooms
1,905Sq Ft
106 Brookline St, Moraga, CA 94556
$1,750,000Price
3Bedrooms
2Bathrooms
1,905Sq Ft
106 Brookline St, Moraga, CA 94556
$1,750,000Price
3Bedrooms
2Bathrooms
1,905Sq Ft
106 Brookline St, Moraga, CA 94556
$1,750,000Price
3Bedrooms
2Bathrooms
1,905Sq Ft
106 Brookline St, Moraga, CA 94556
$1,750,000Price
3Bedrooms
2Bathrooms
1,905Sq Ft
106 Brookline St, Moraga, CA 94556
$1,750,000Price
3Bedrooms
2Bathrooms
1,905Sq Ft
106 Brookline St, Moraga, CA 94556
$1,750,000Price
3Bedrooms
2Bathrooms
1,905Sq Ft
106 Brookline St, Moraga, CA 94556
$1,750,000Price
3Bedrooms
2Bathrooms
1,905Sq Ft
106 Brookline St, Moraga, CA 94556
$1,750,000Price
3Bedrooms
2Bathrooms
1,905Sq Ft
106 Brookline St, Moraga, CA 94556
$1,750,000Price
3Bedrooms
2Bathrooms
1,905Sq Ft