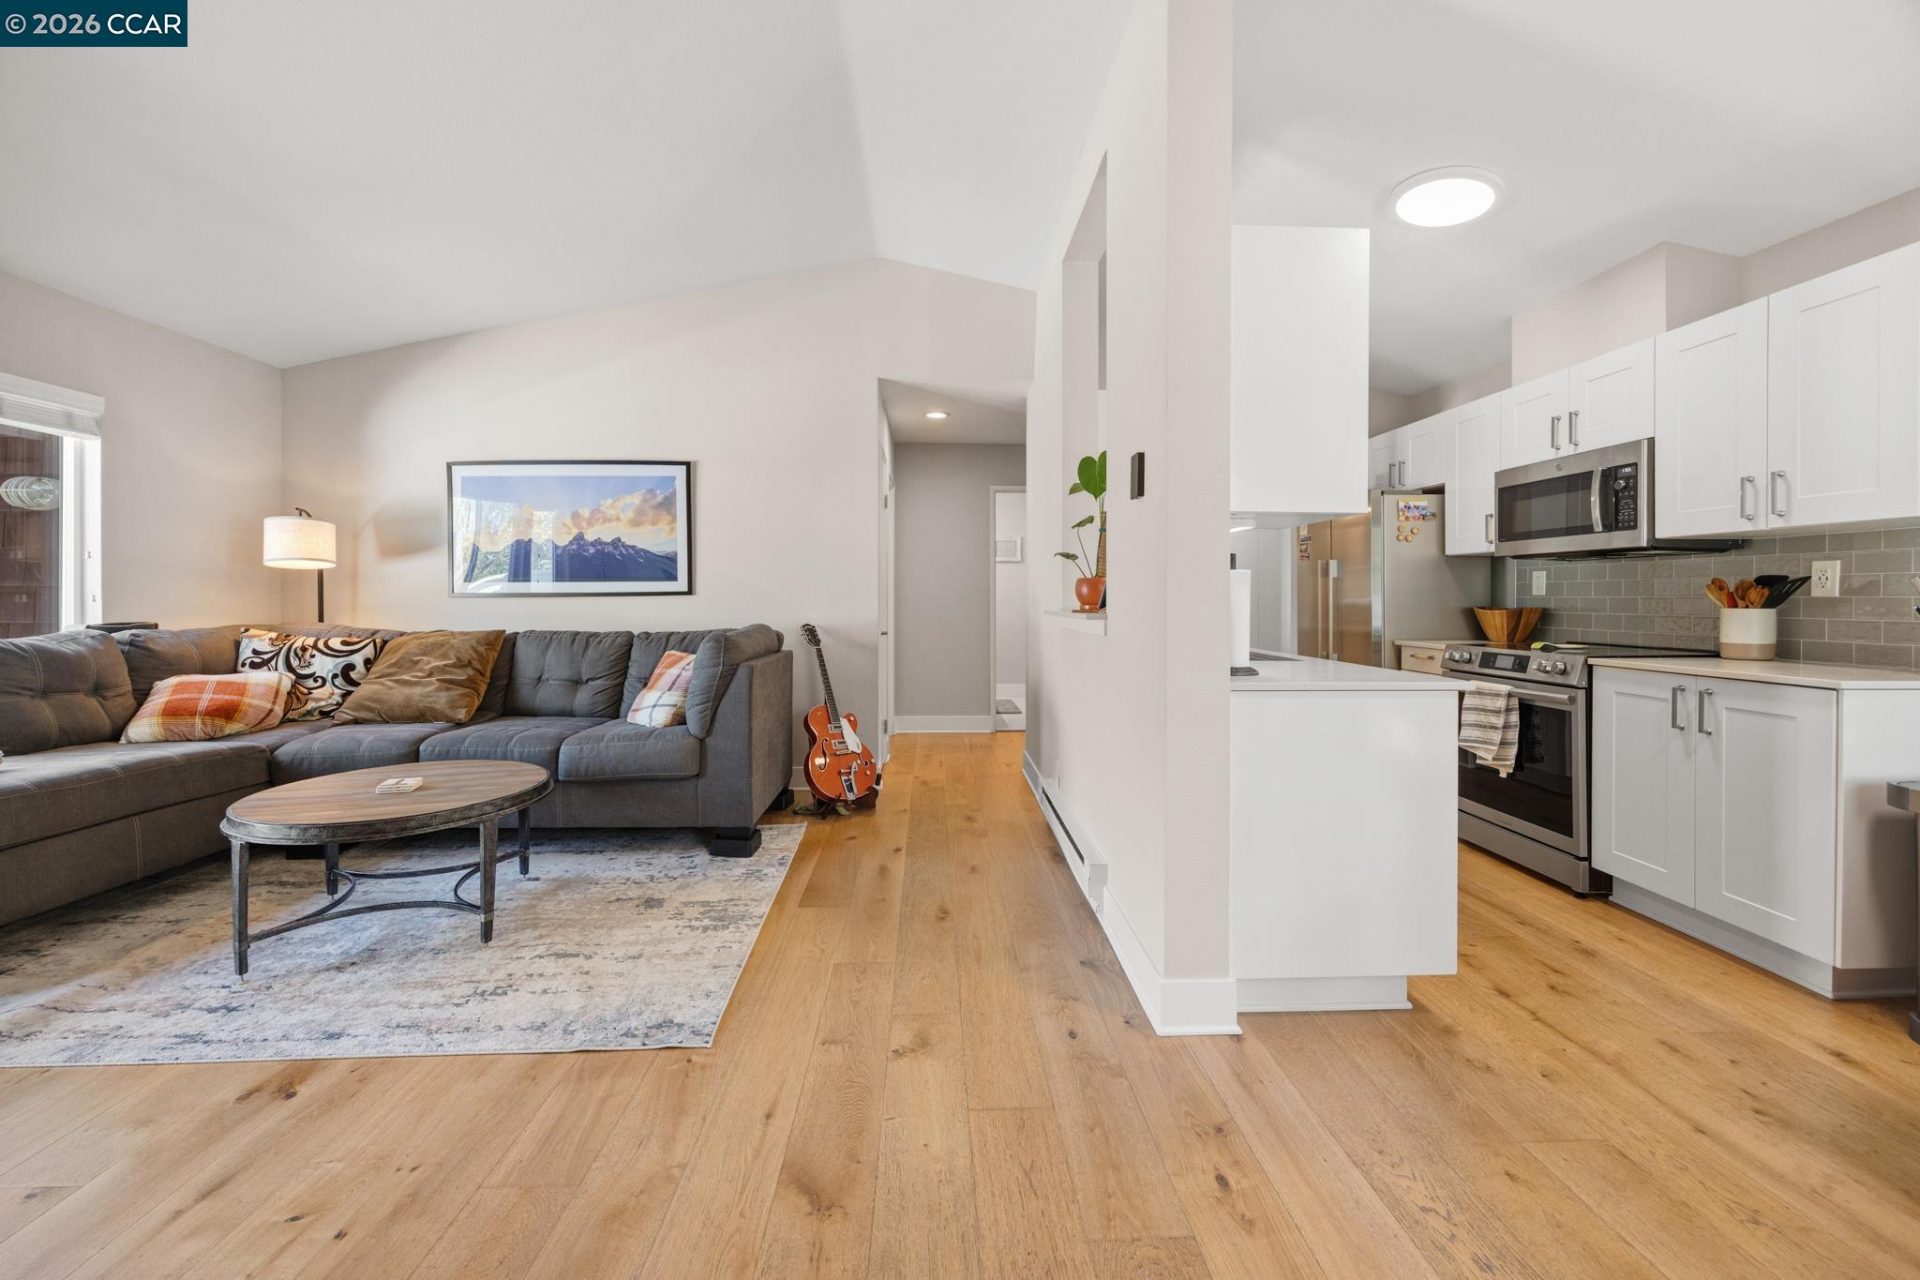
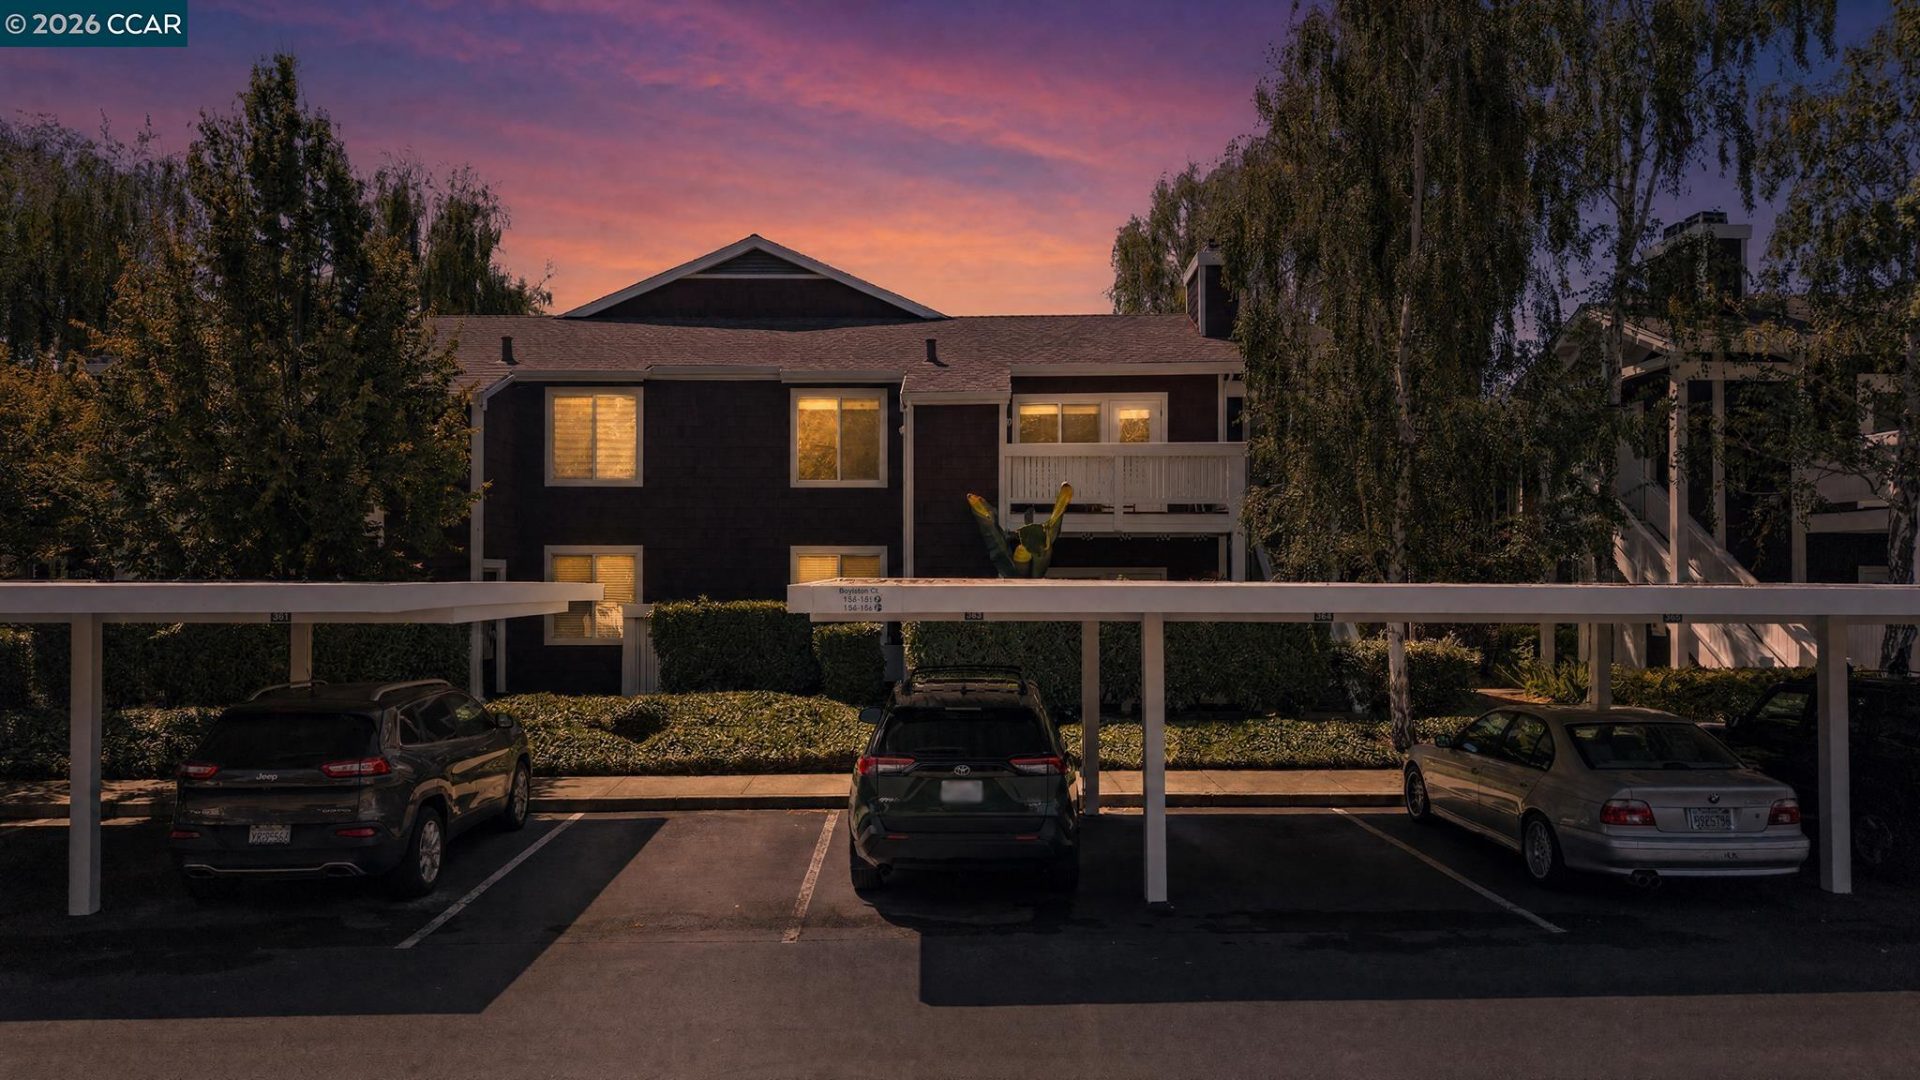
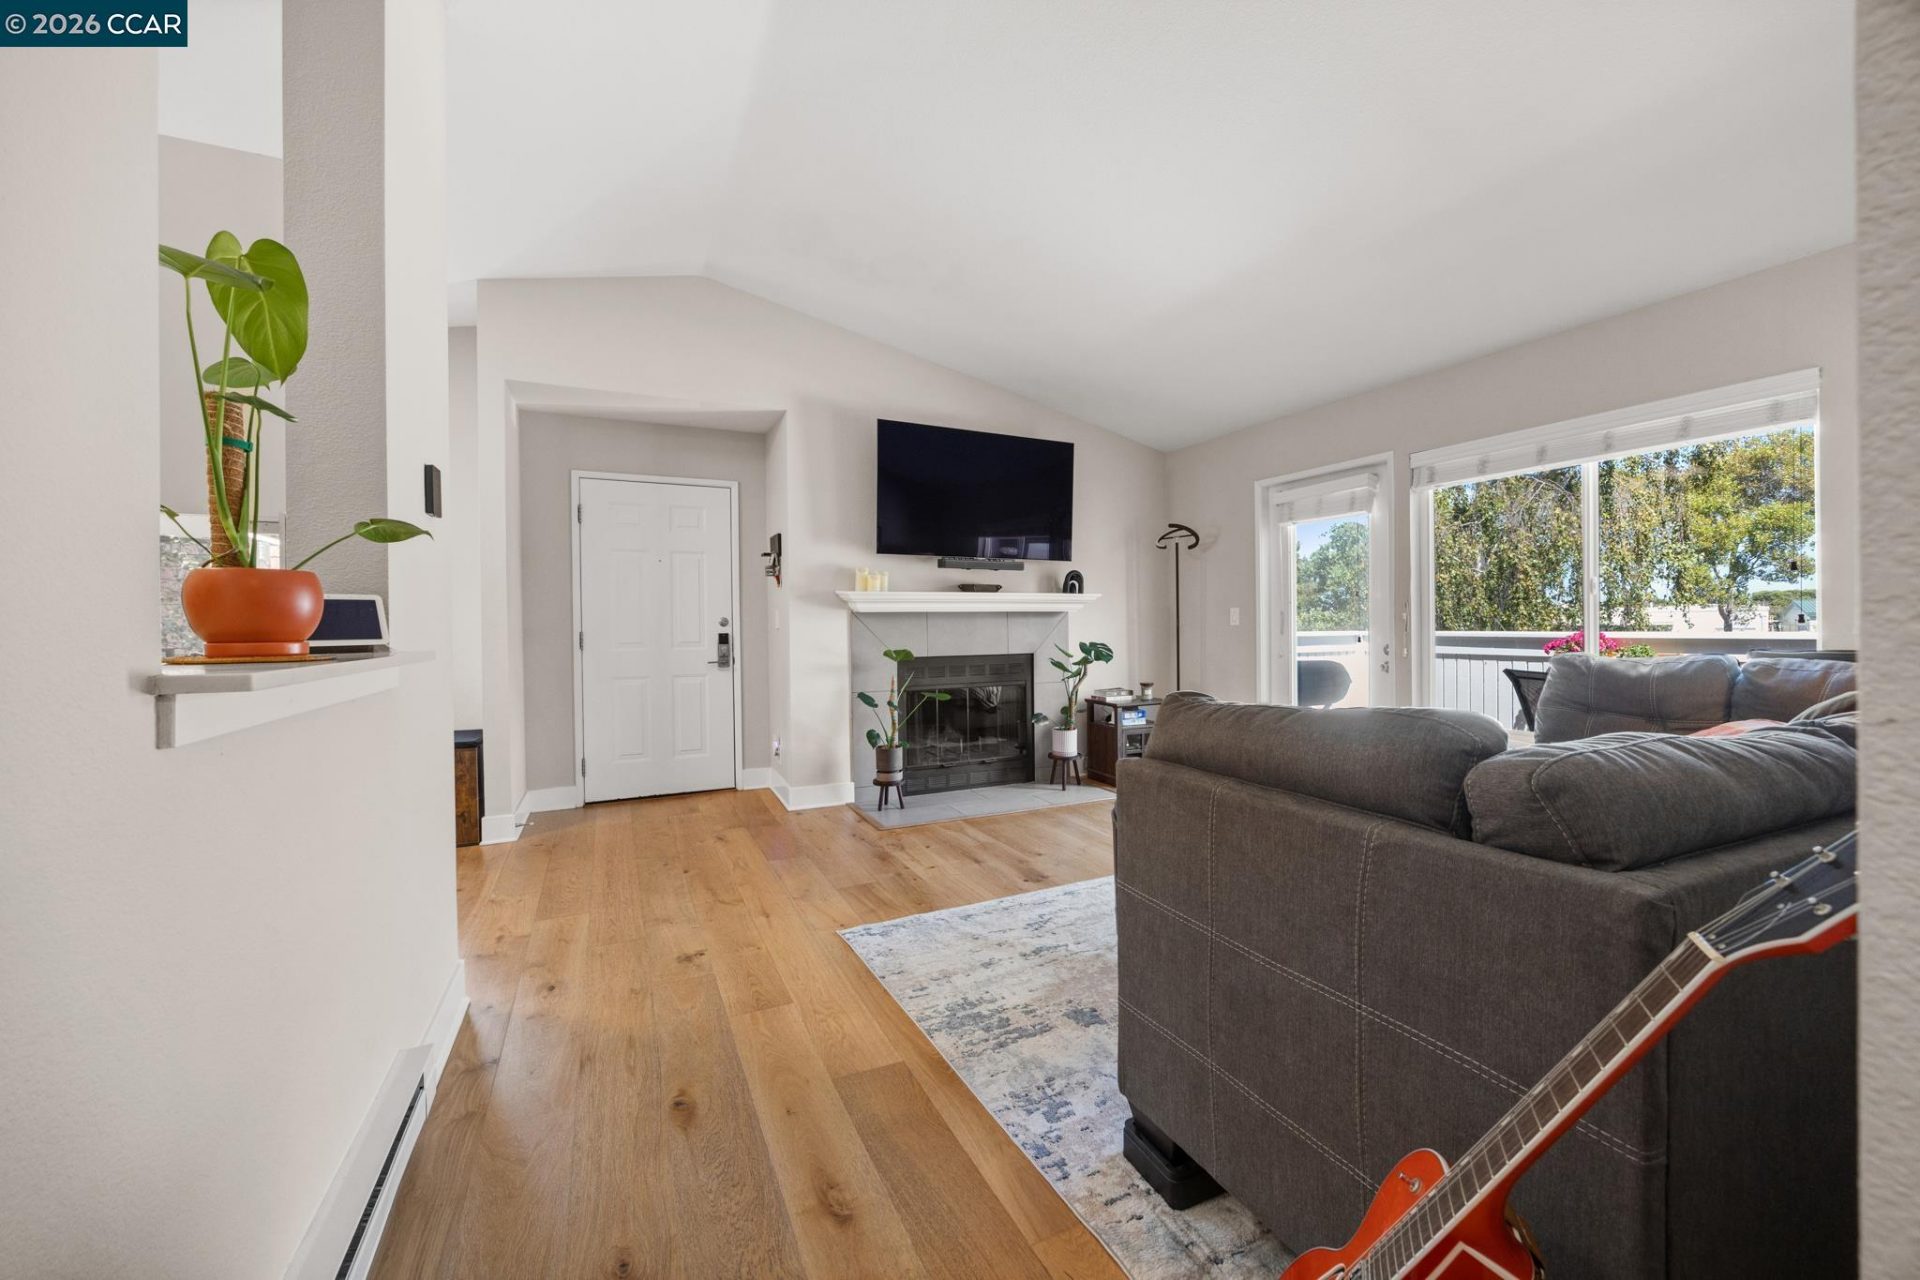
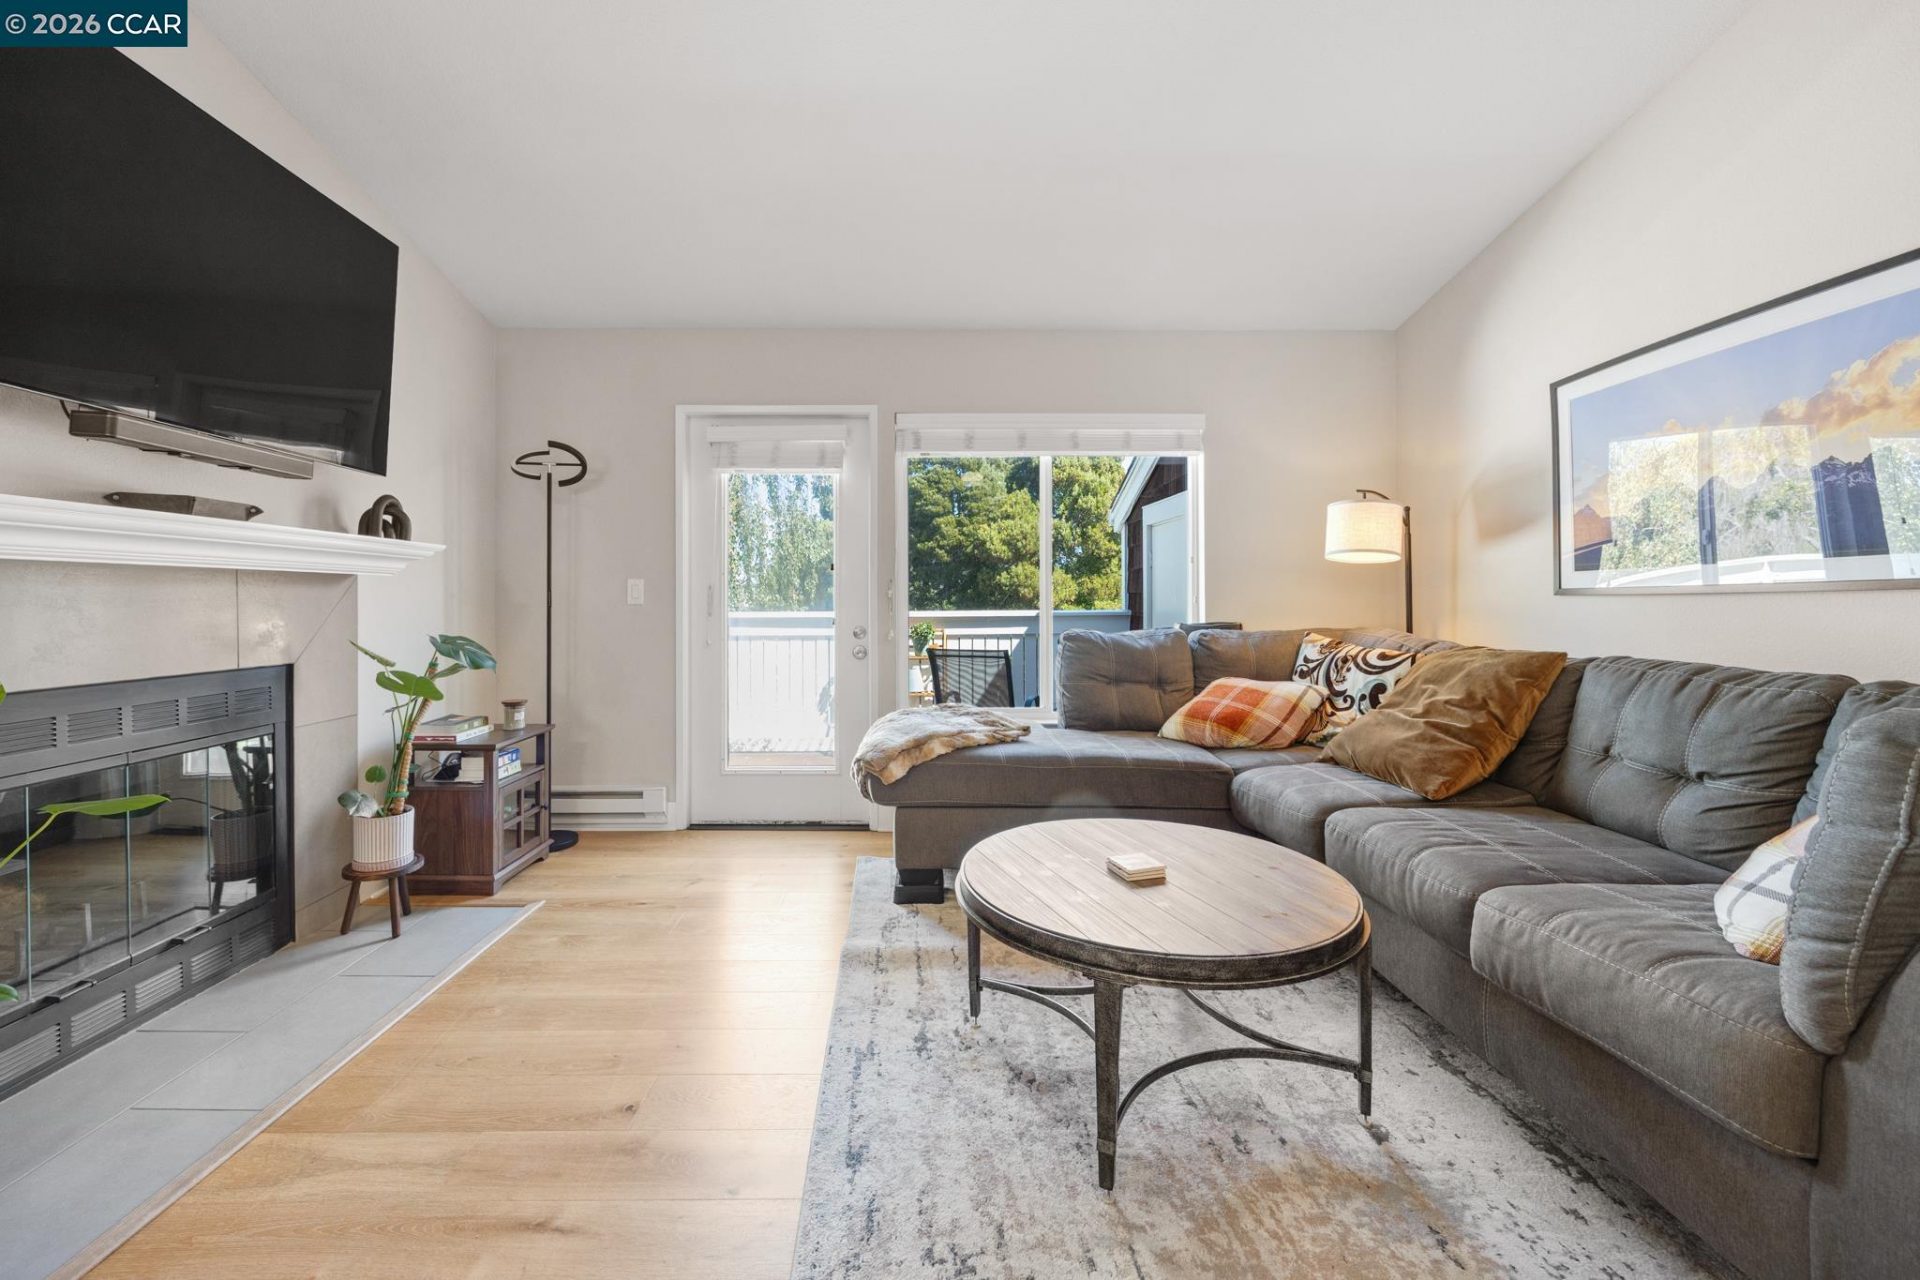
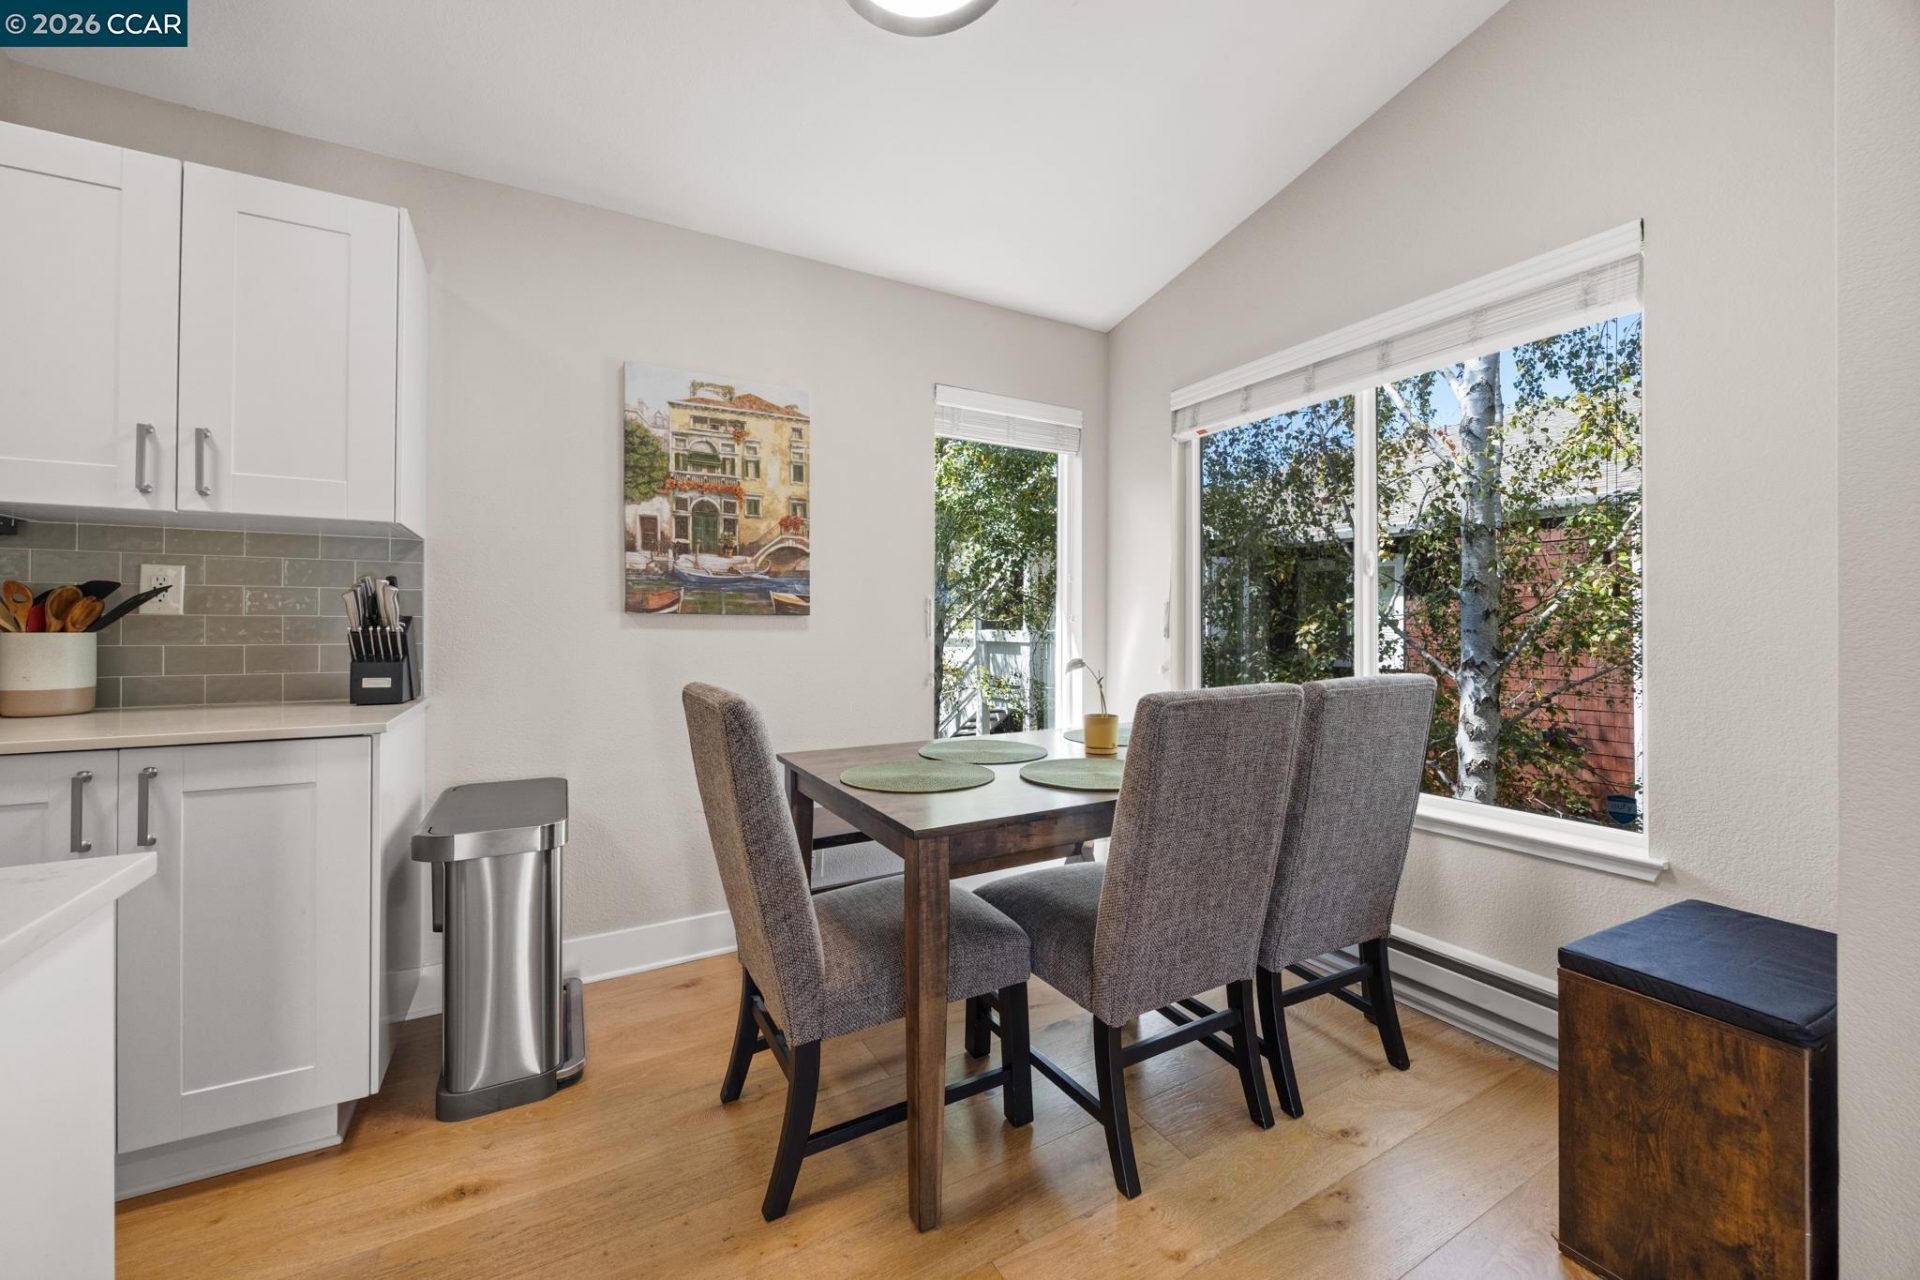
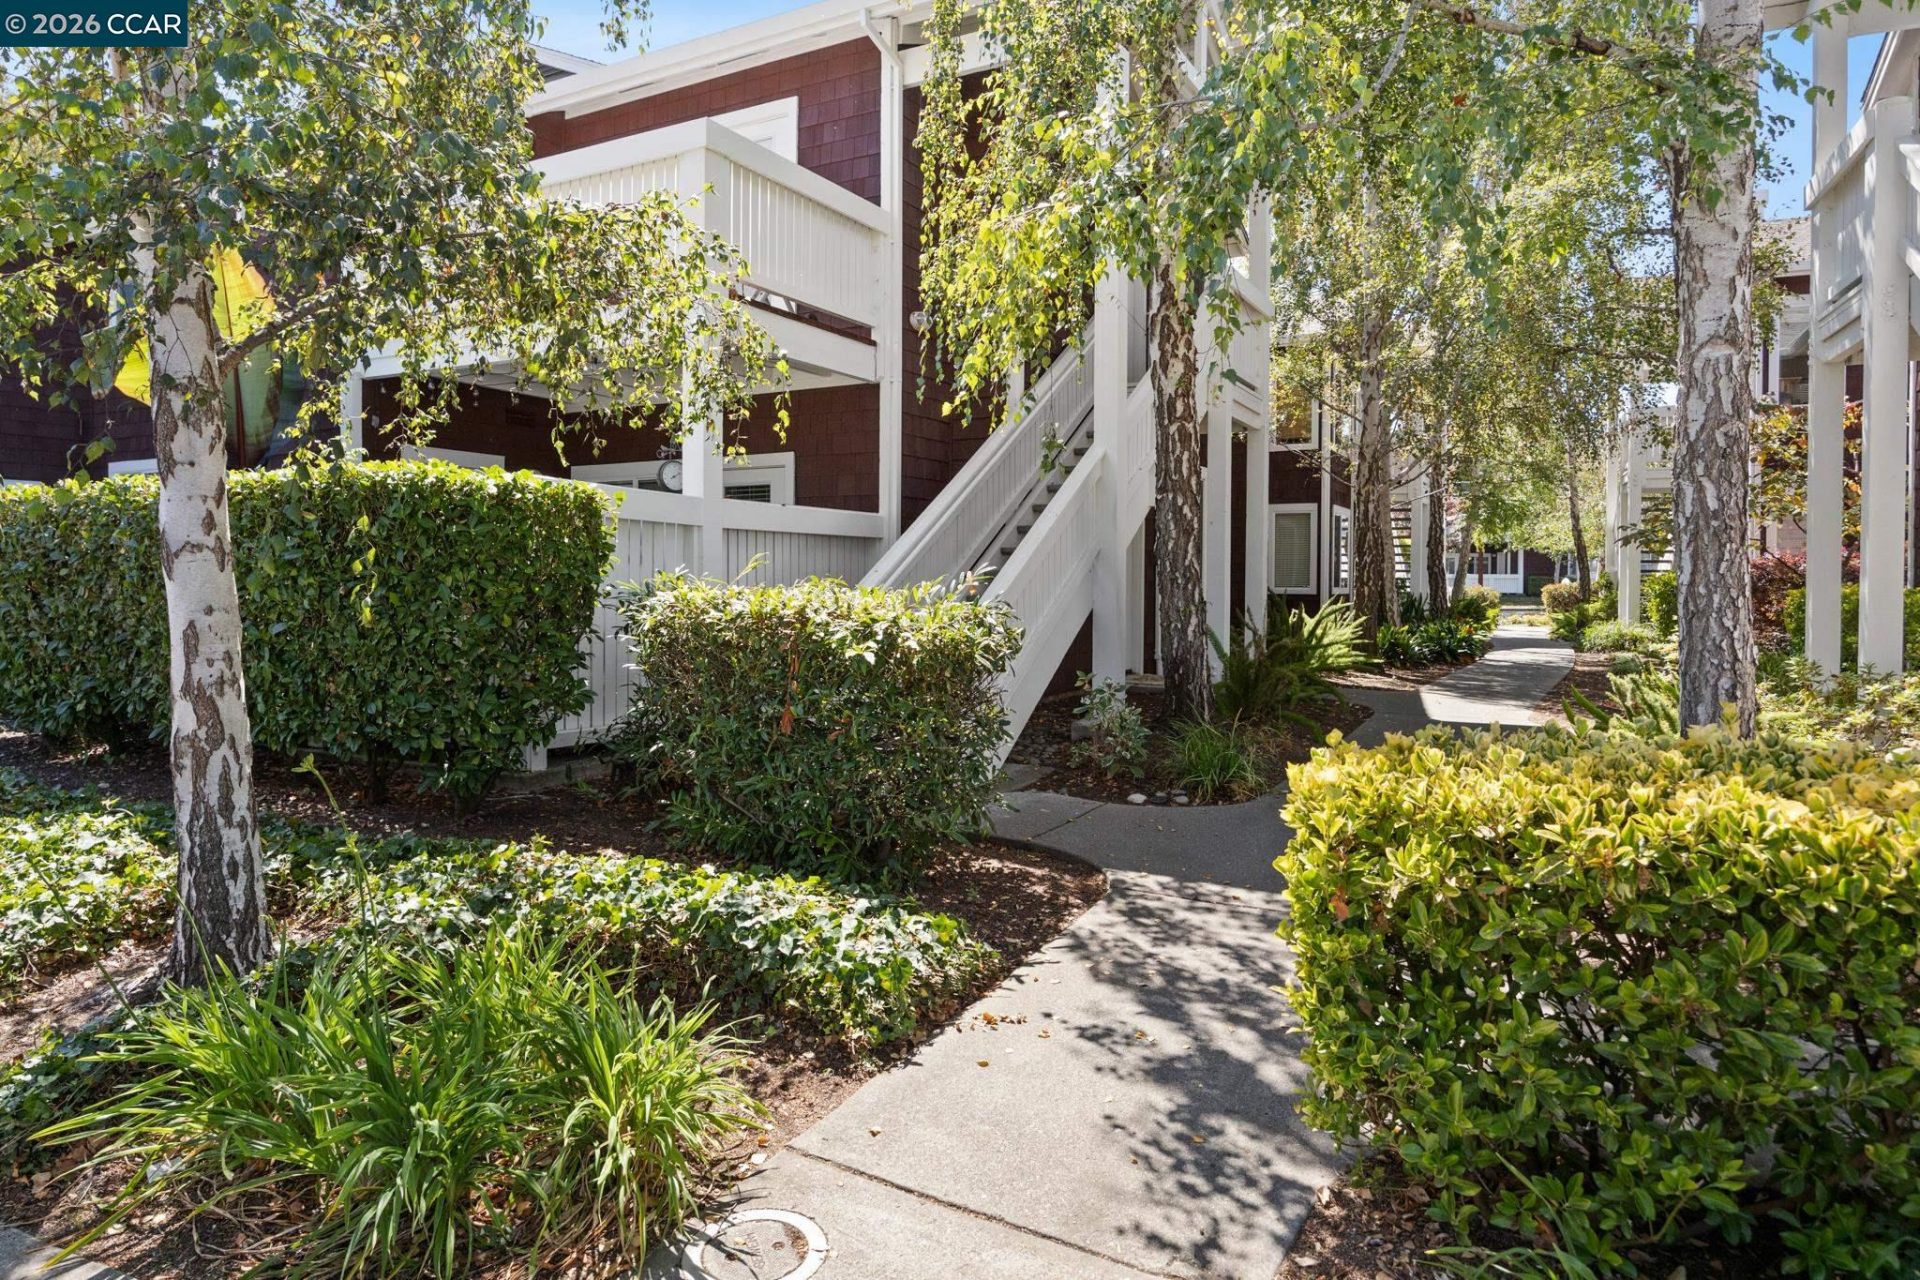
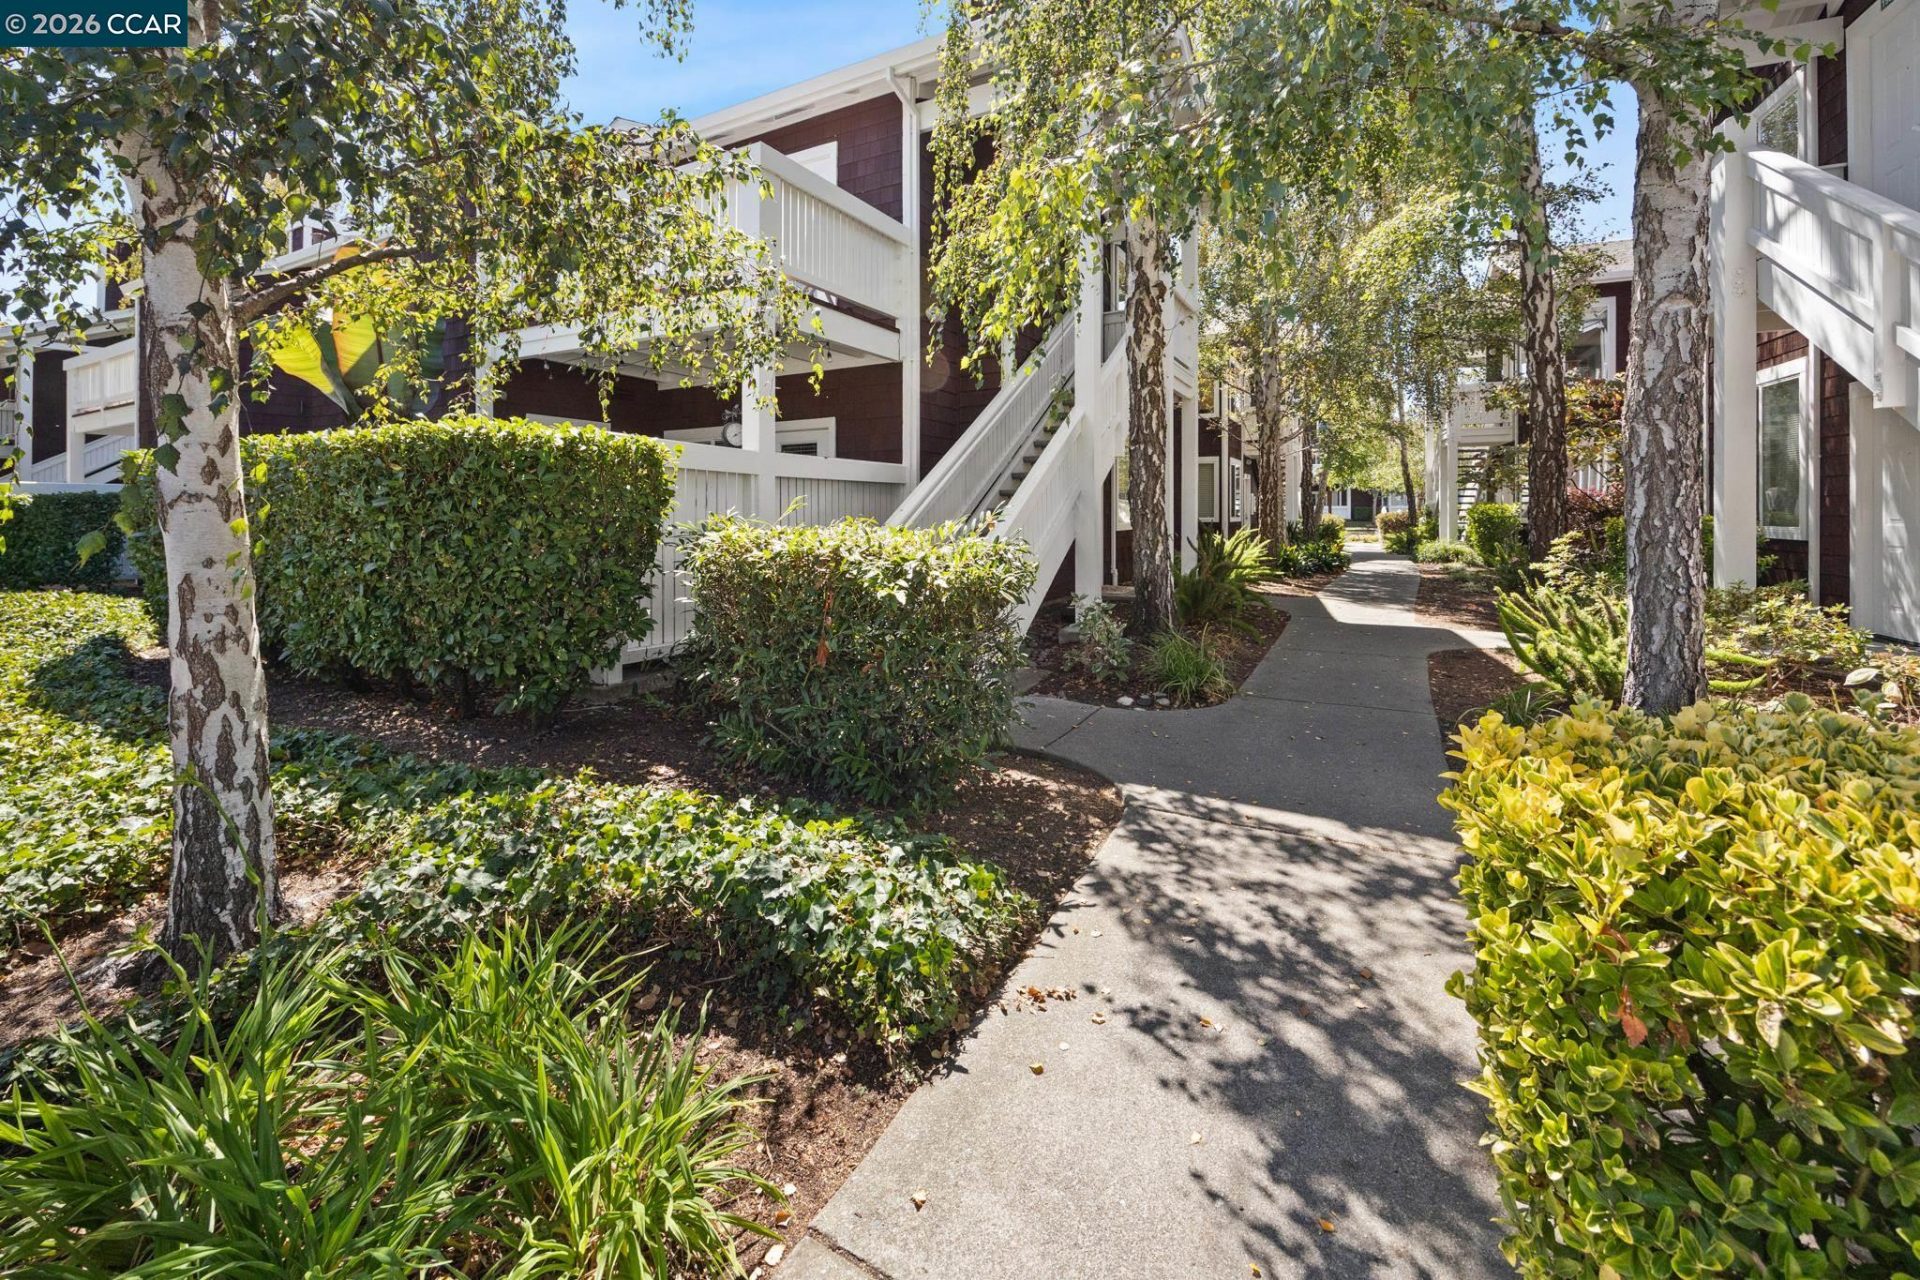
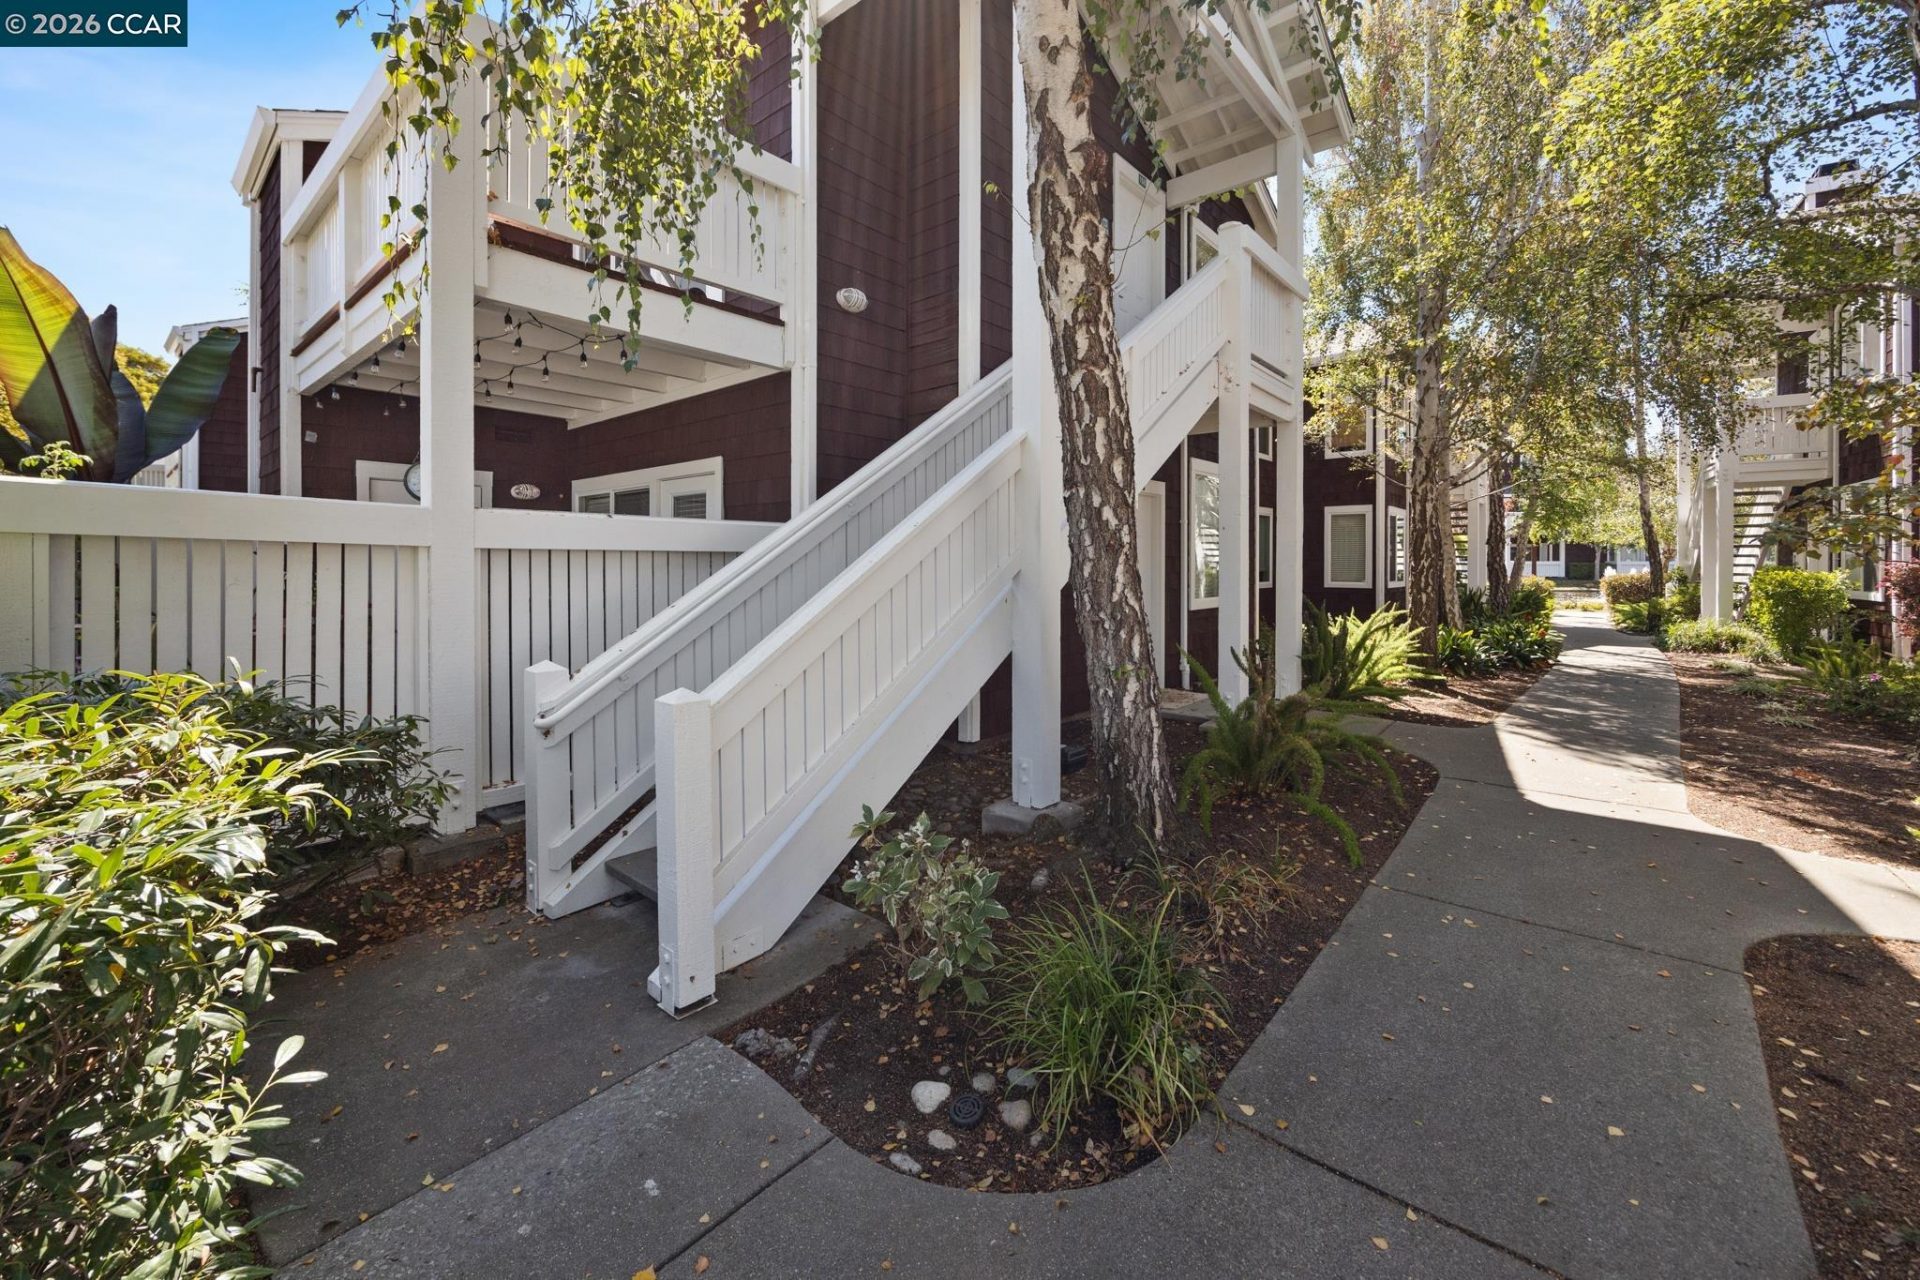
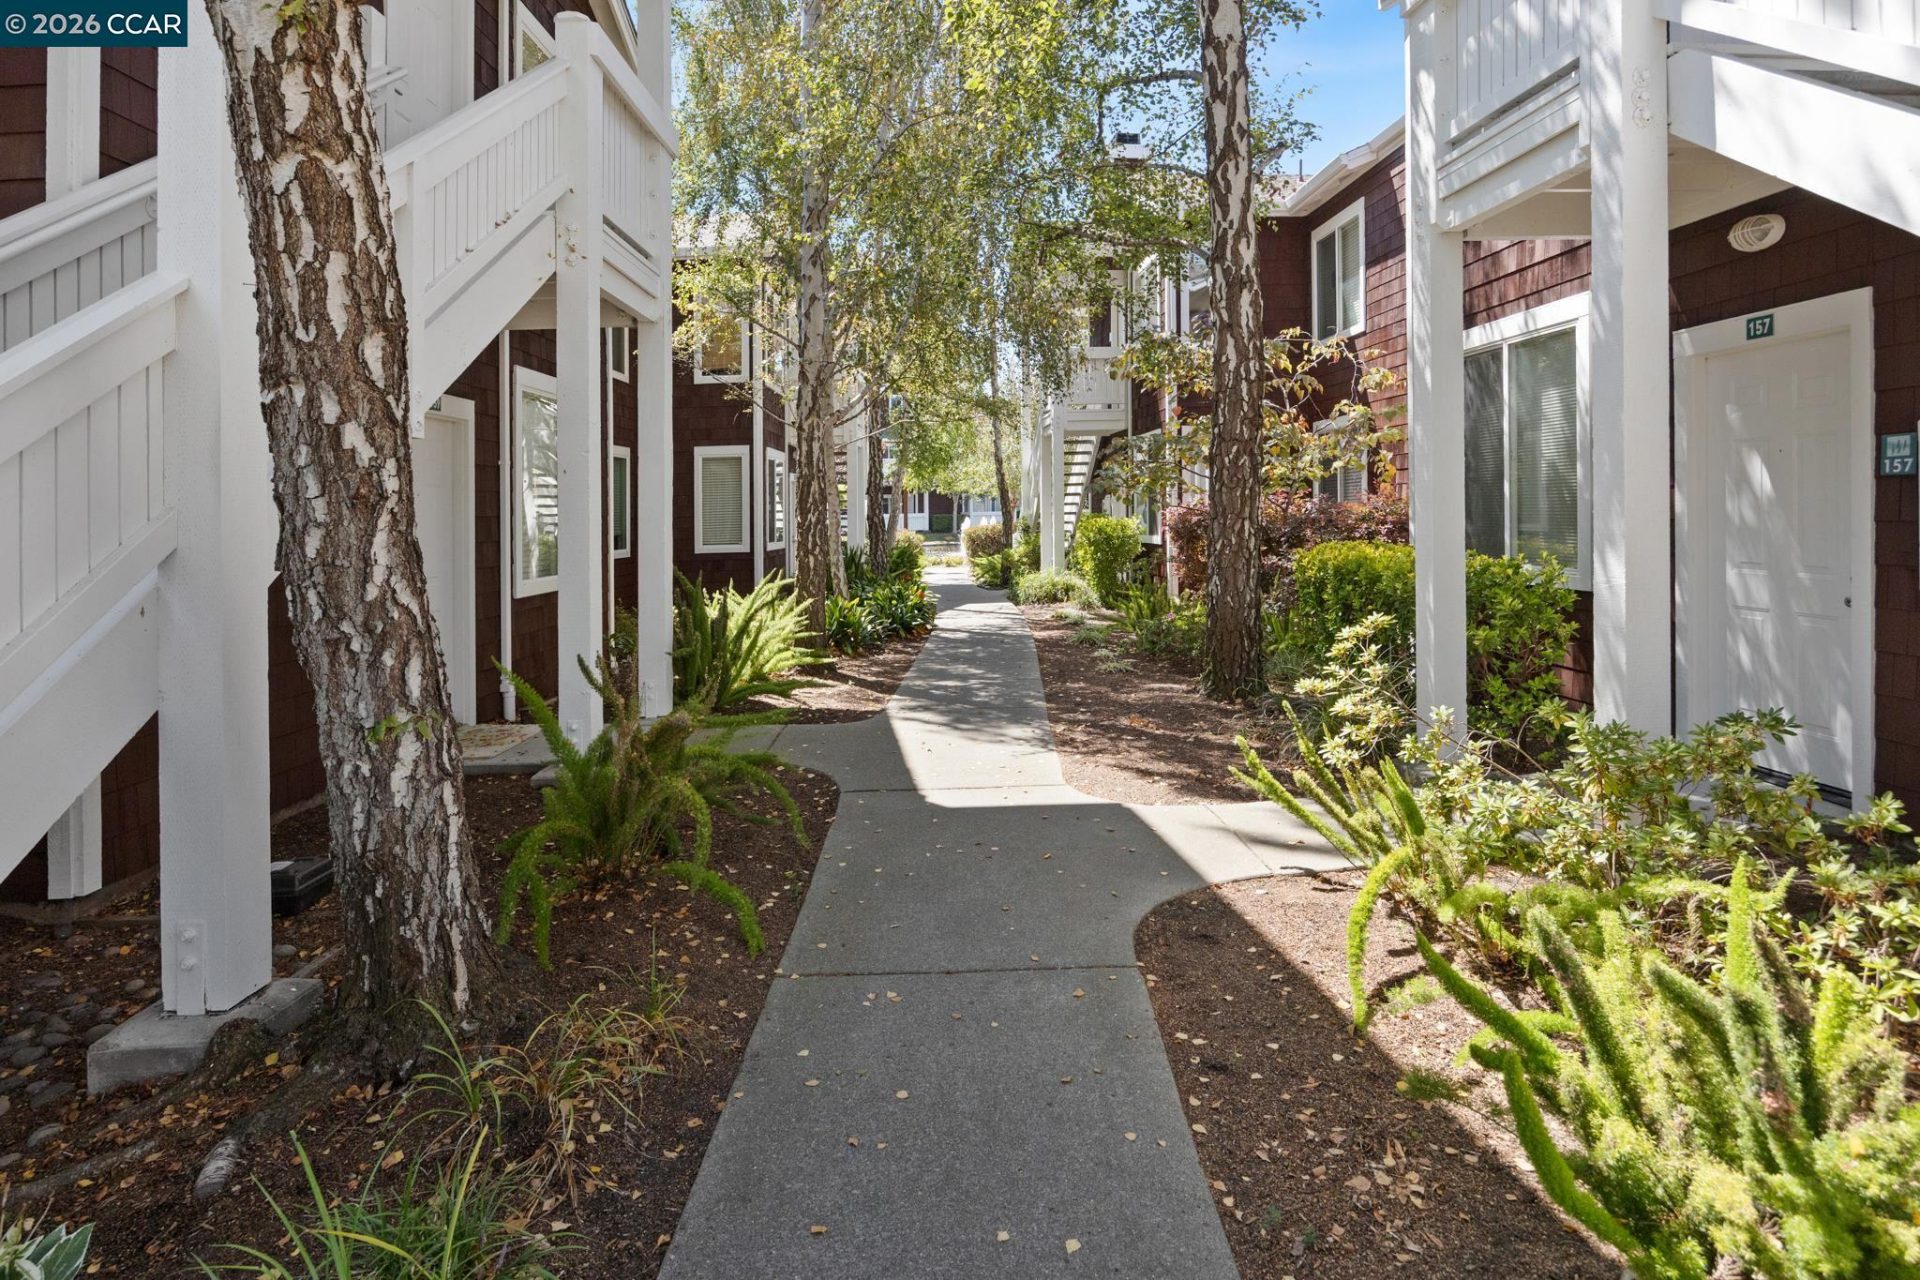
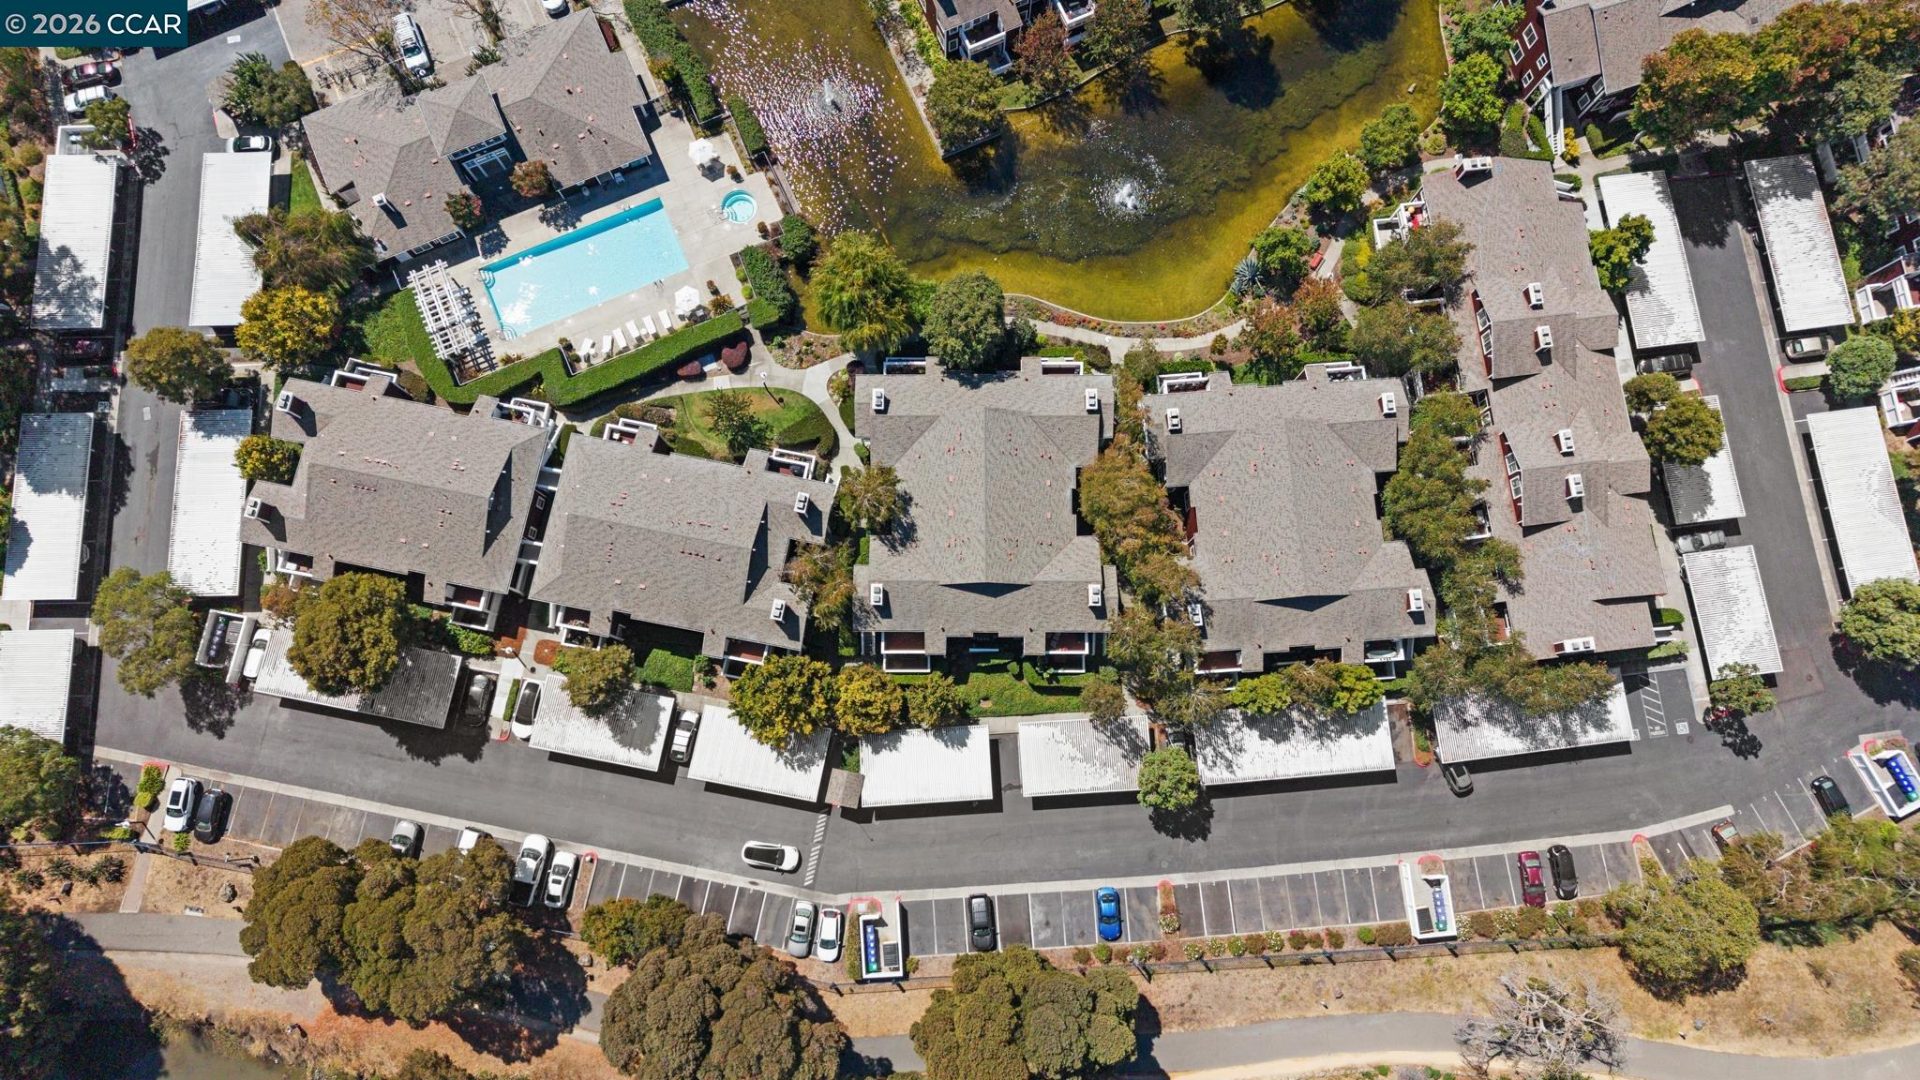
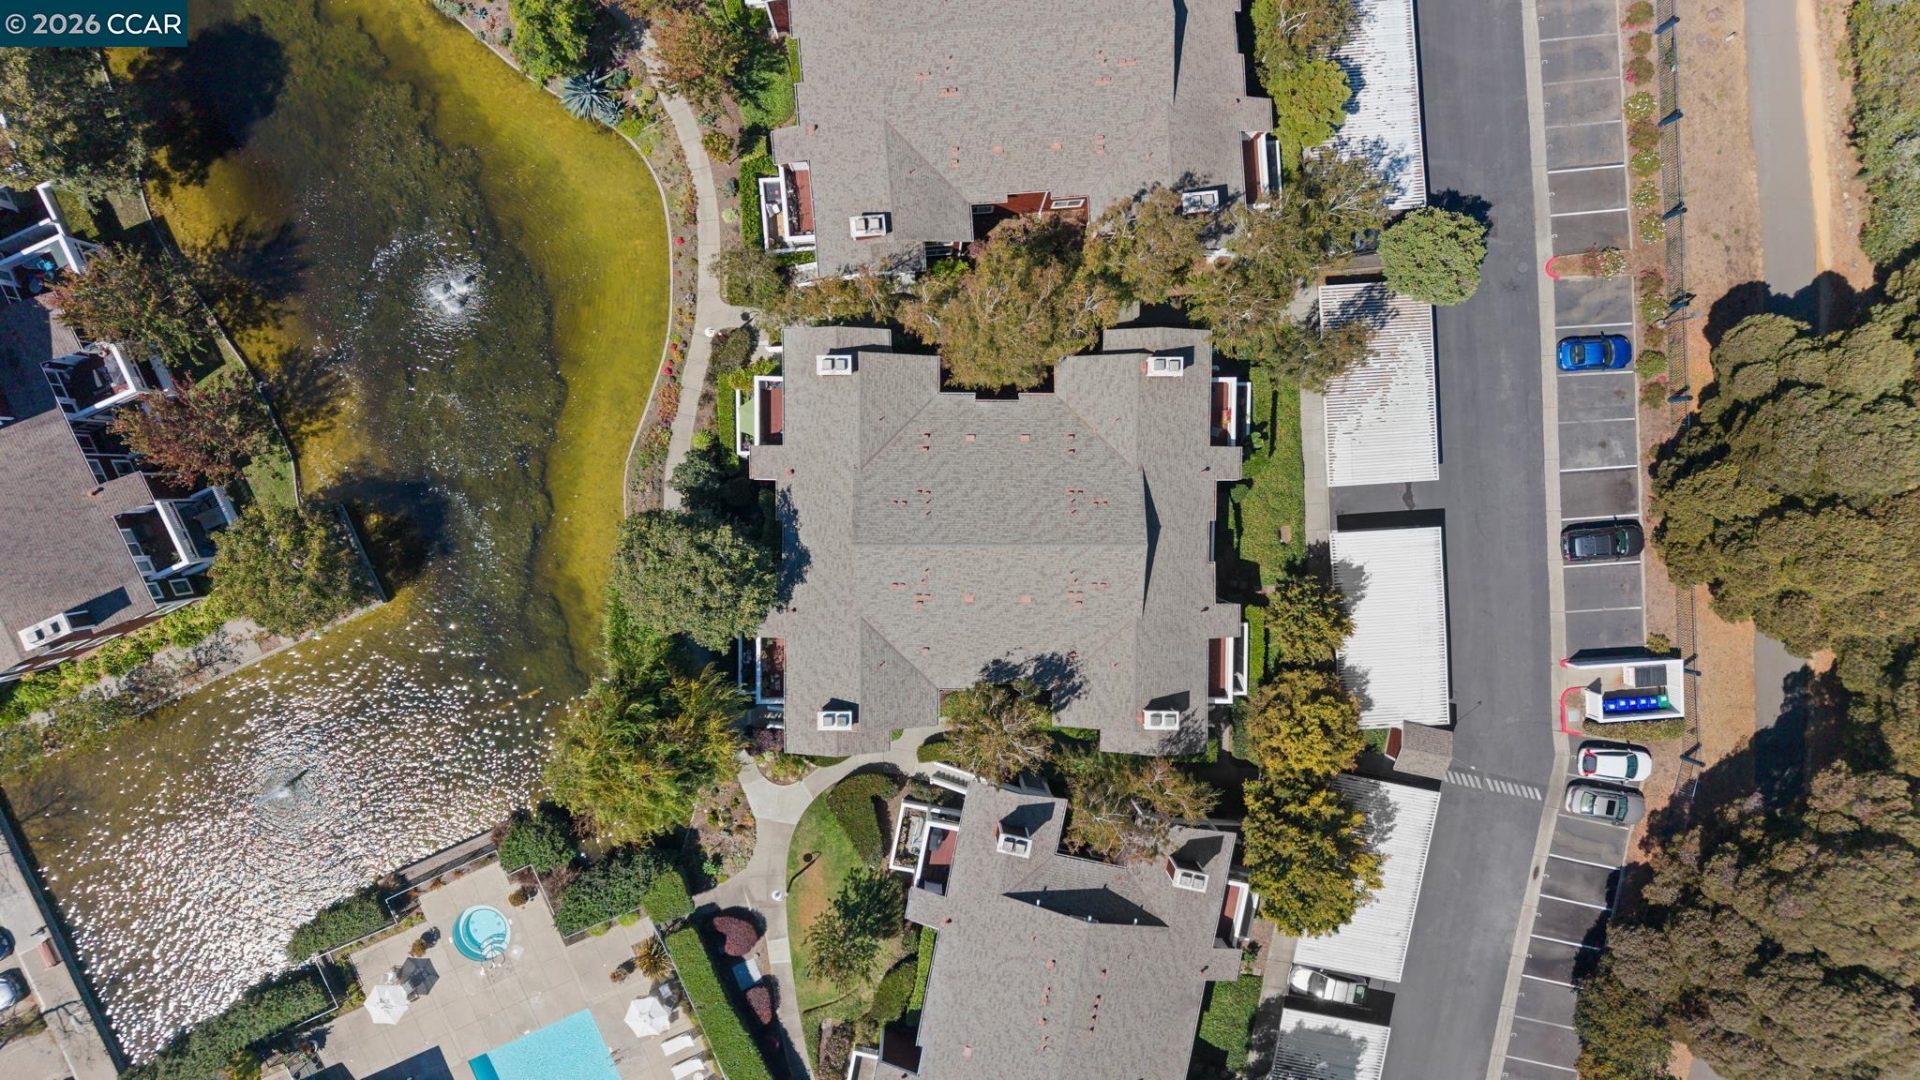
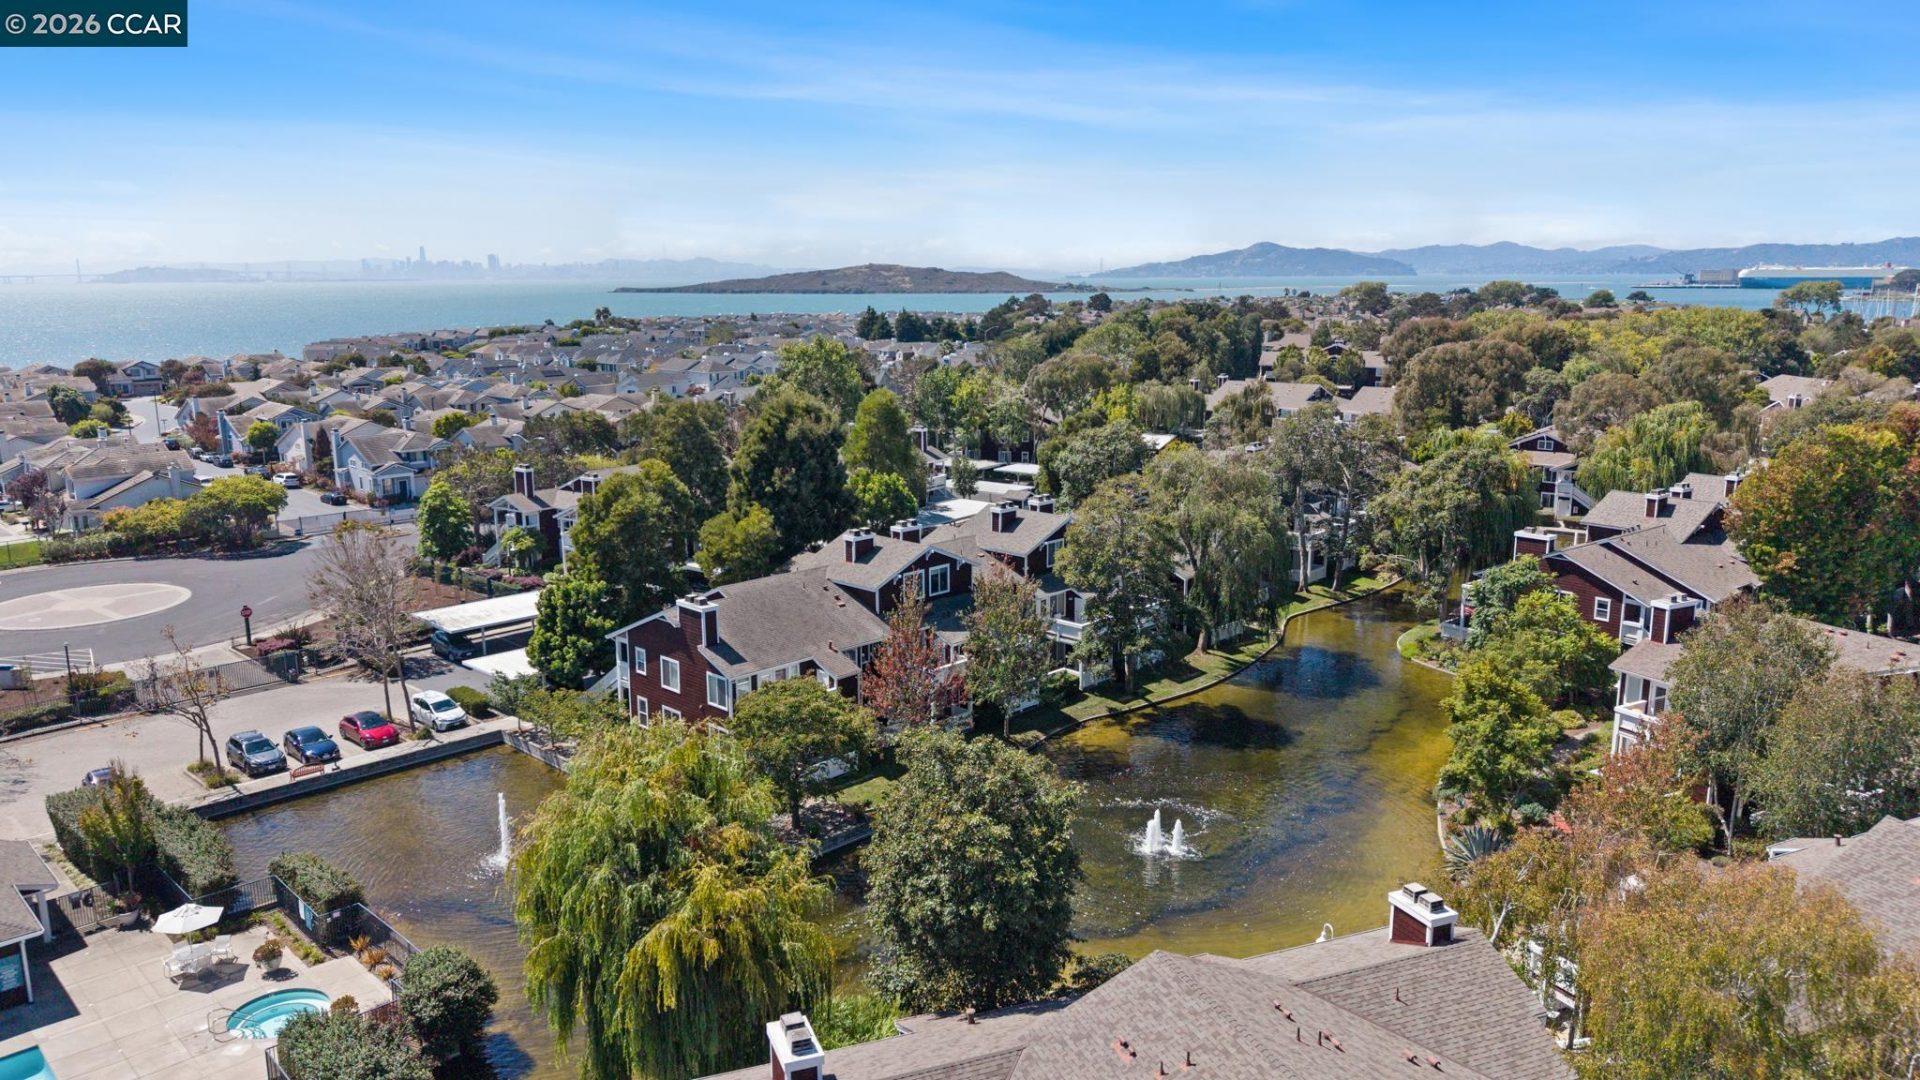
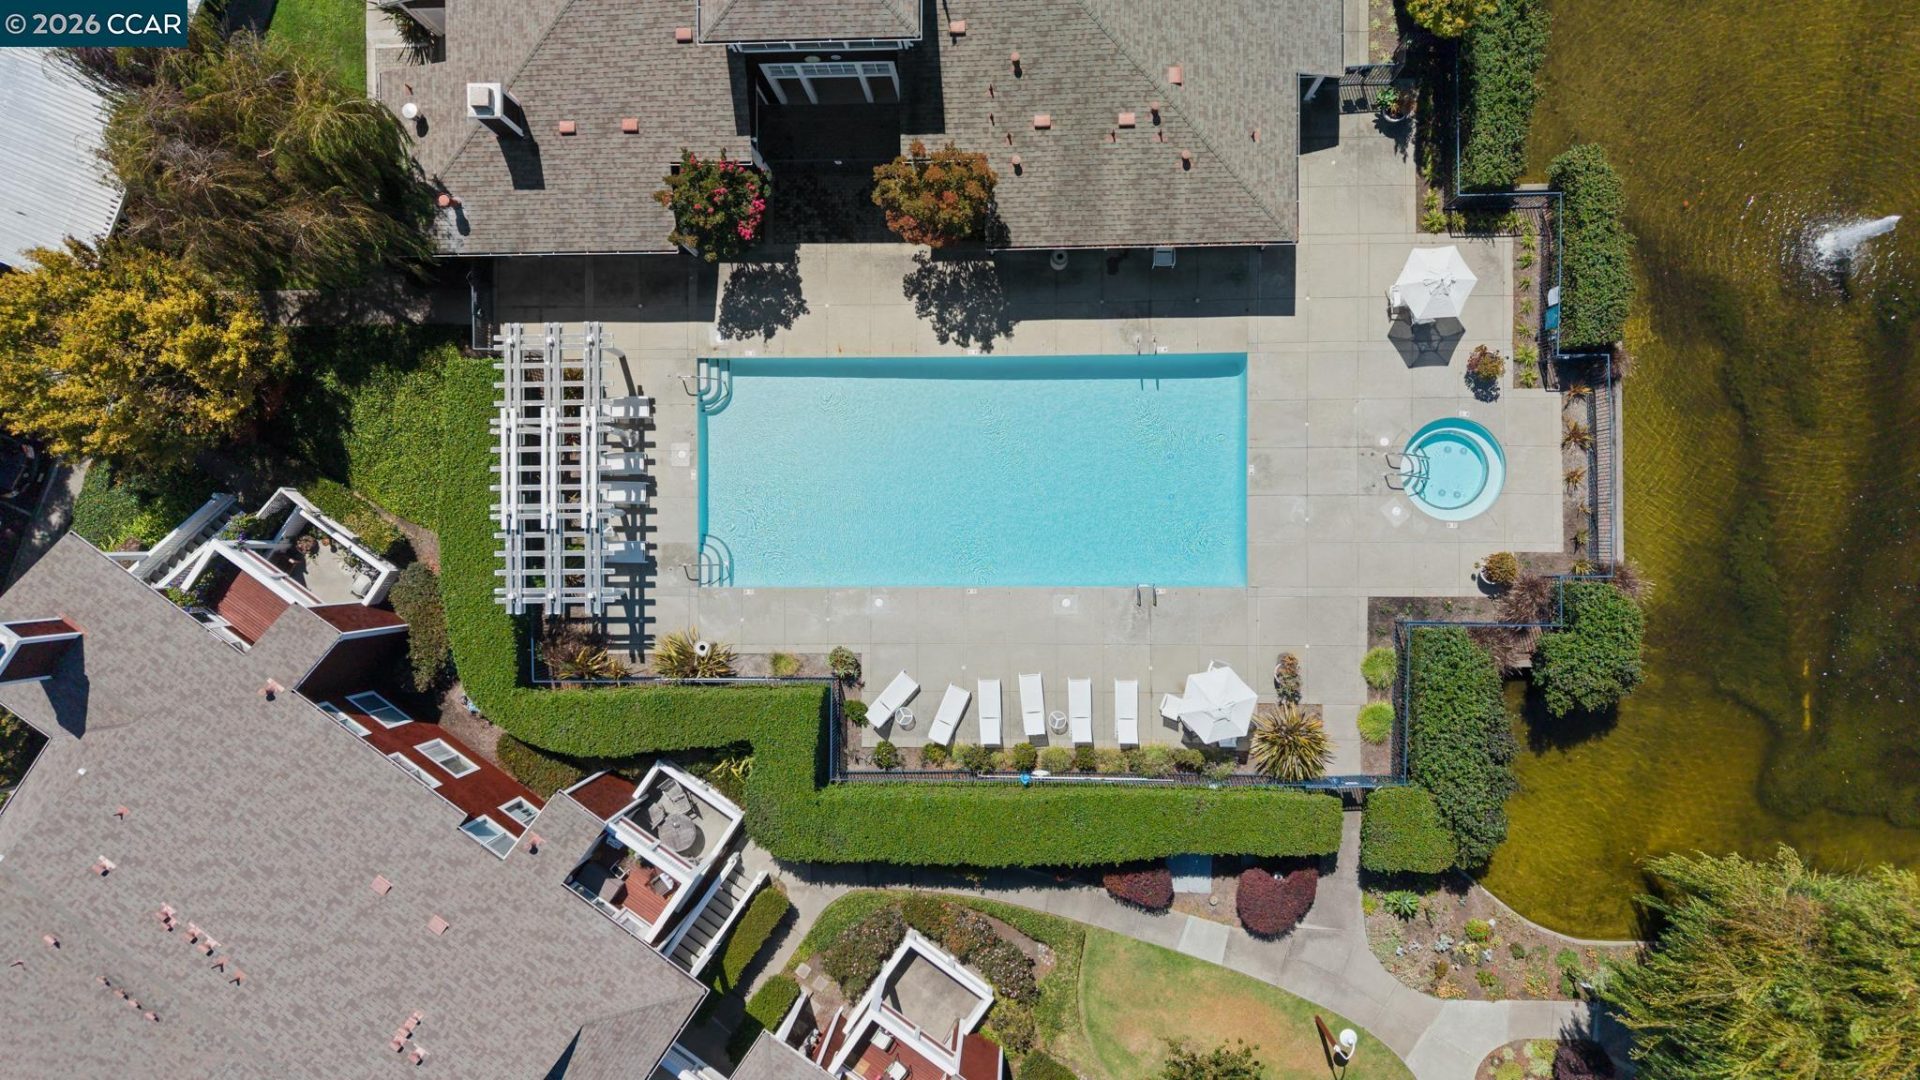
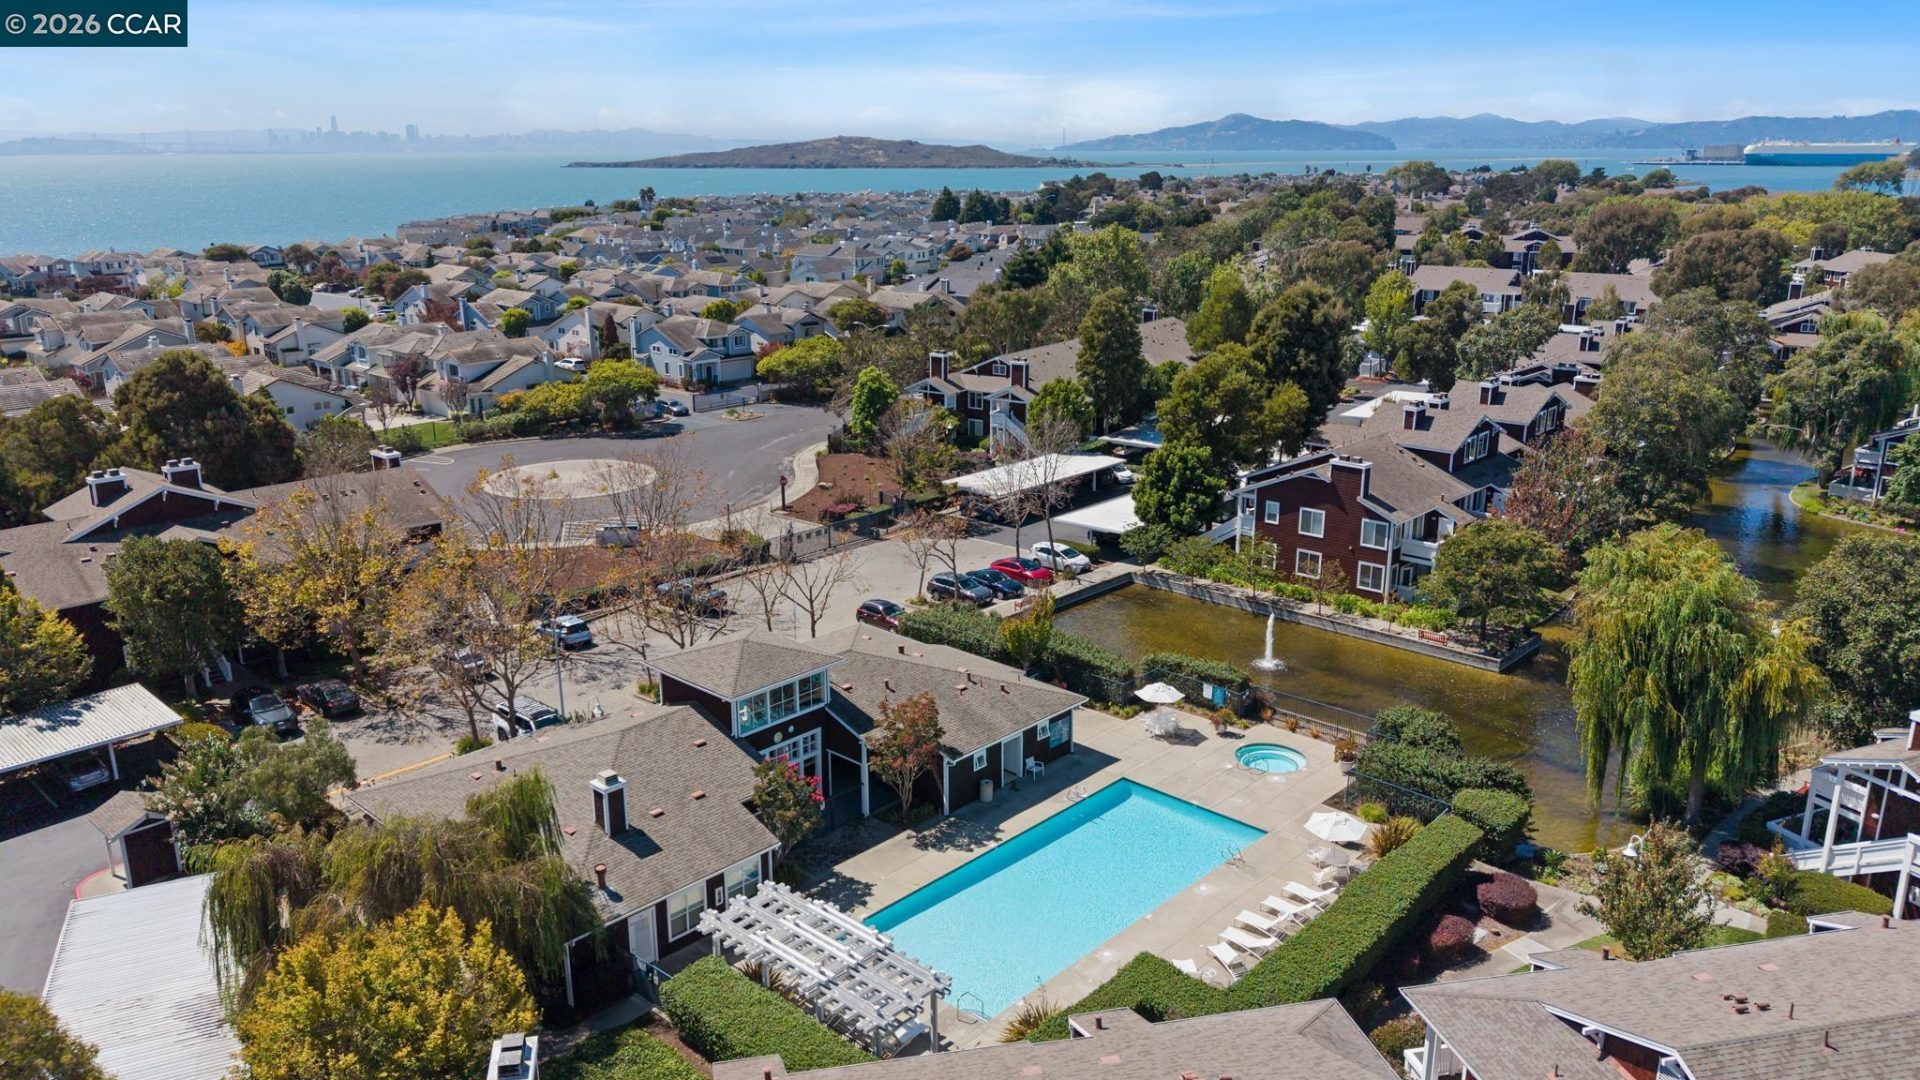
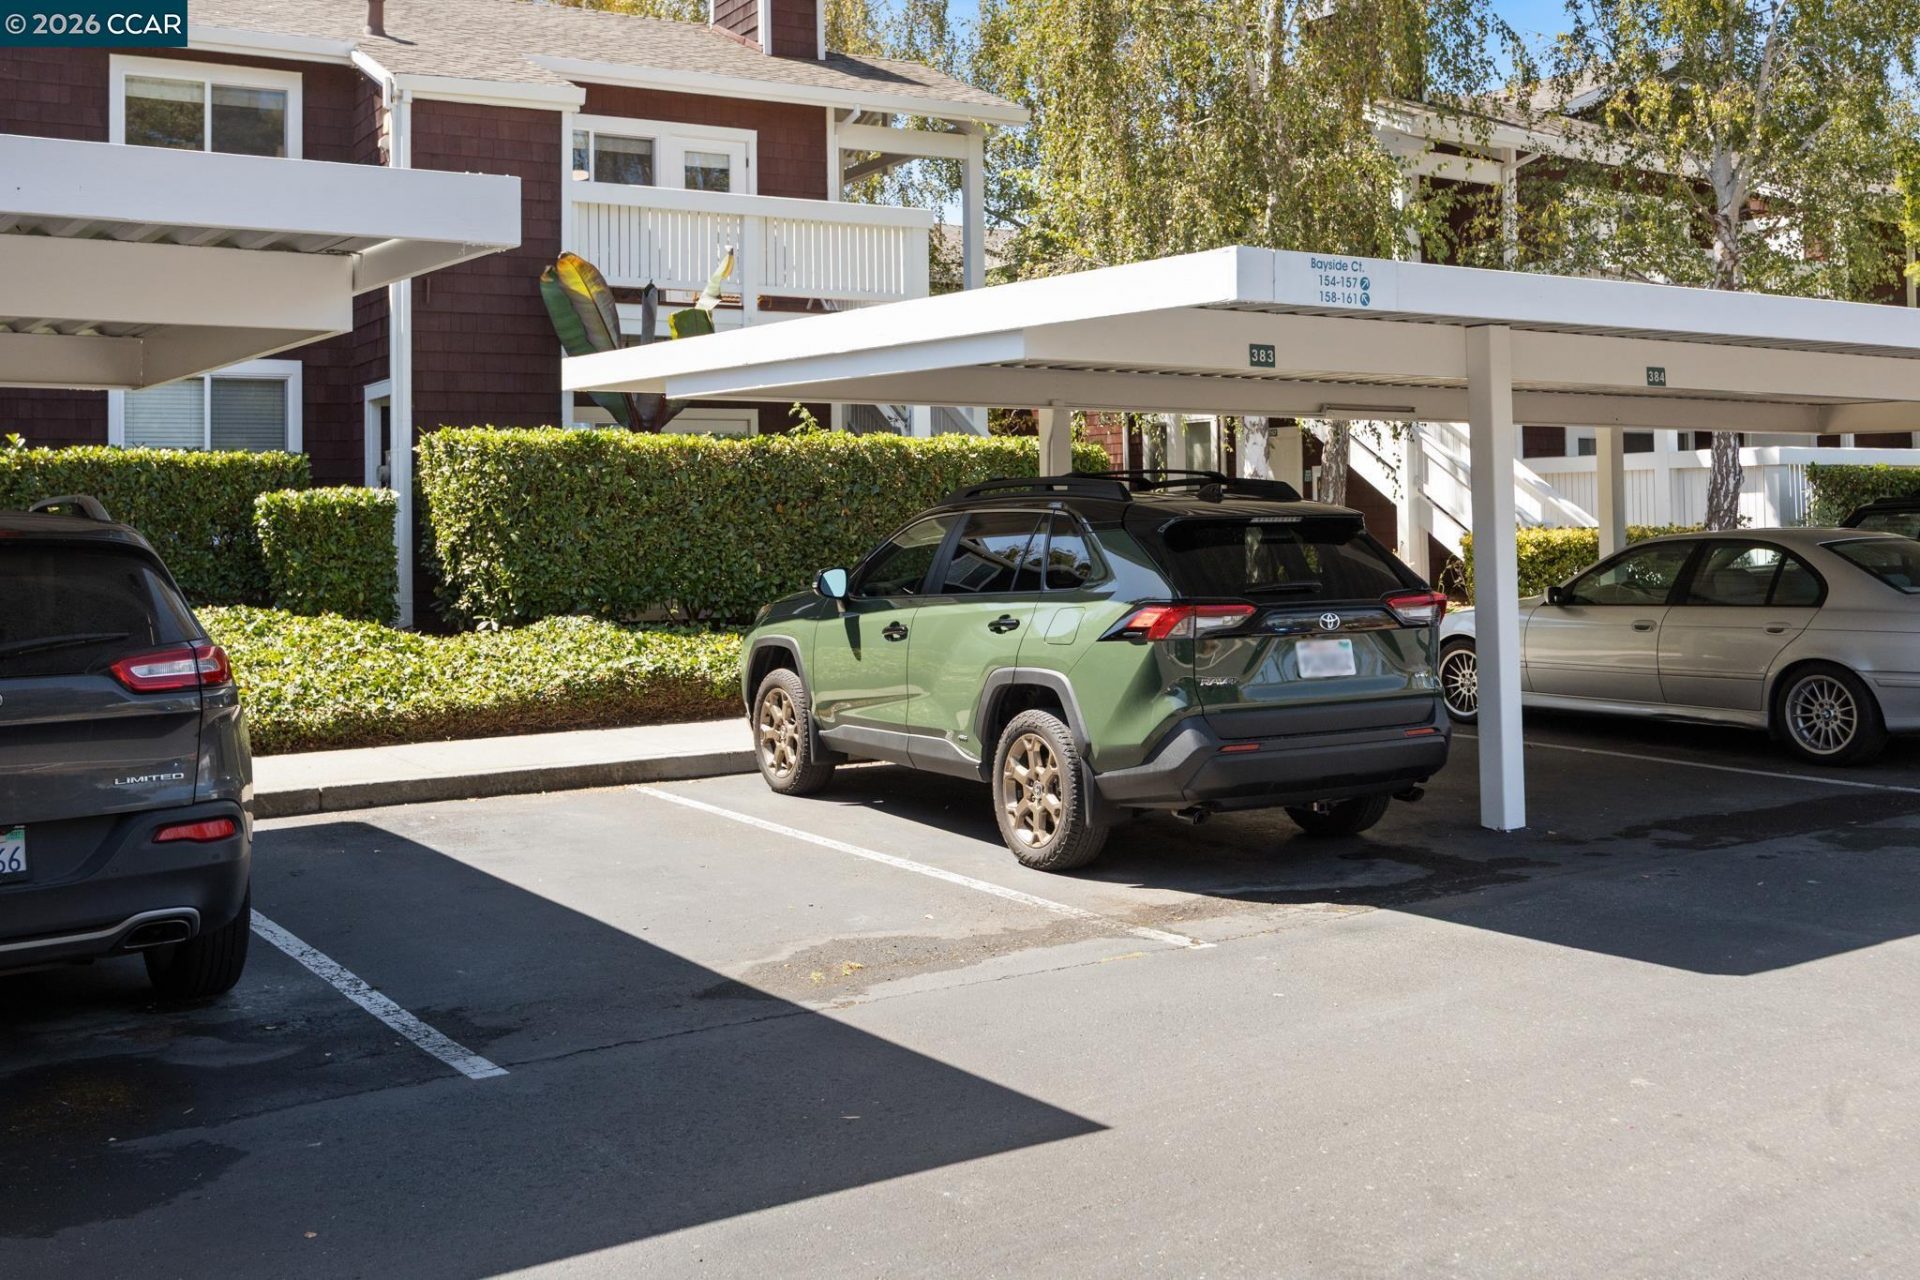
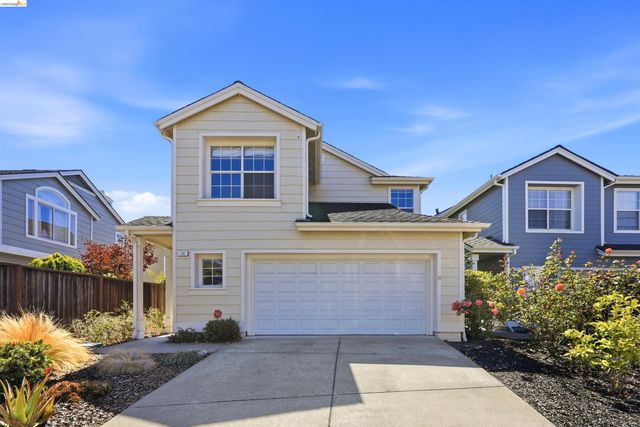
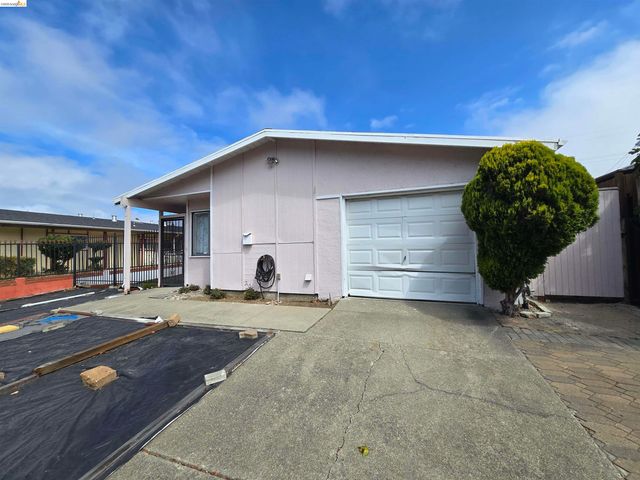
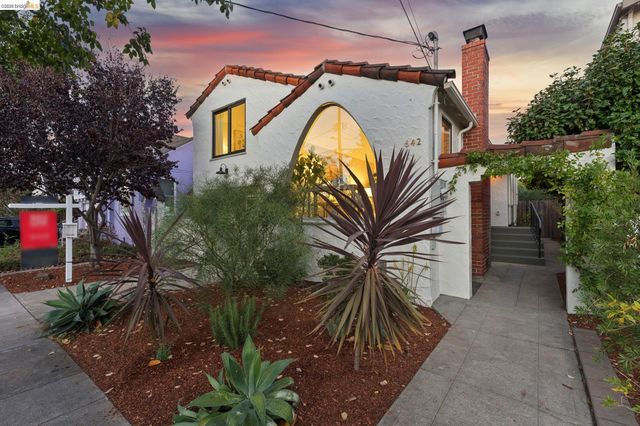
158 Bayside Ct, Richmond, CA 94804
$530,000Price
119Bedrooms
5Bathrooms
1,006Sq Ft
158 Bayside Ct, Richmond, CA 94804
$530,000Price
119Bedrooms
5Bathrooms
1,006Sq Ft
158 Bayside Ct, Richmond, CA 94804
$530,000Price
119Bedrooms
5Bathrooms
1,006Sq Ft
158 Bayside Ct, Richmond, CA 94804
$530,000Price
119Bedrooms
5Bathrooms
1,006Sq Ft
158 Bayside Ct, Richmond, CA 94804
$530,000Price
119Bedrooms
5Bathrooms
1,006Sq Ft
158 Bayside Ct, Richmond, CA 94804
$530,000Price
119Bedrooms
5Bathrooms
1,006Sq Ft
158 Bayside Ct, Richmond, CA 94804
$530,000Price
119Bedrooms
5Bathrooms
1,006Sq Ft
158 Bayside Ct, Richmond, CA 94804
$530,000Price
119Bedrooms
5Bathrooms
1,006Sq Ft
158 Bayside Ct, Richmond, CA 94804
$530,000Price
119Bedrooms
5Bathrooms
1,006Sq Ft
158 Bayside Ct, Richmond, CA 94804
$530,000Price
119Bedrooms
5Bathrooms
1,006Sq Ft
158 Bayside Ct, Richmond, CA 94804
$530,000Price
119Bedrooms
5Bathrooms
1,006Sq Ft
158 Bayside Ct, Richmond, CA 94804
$530,000Price
119Bedrooms
5Bathrooms
1,006Sq Ft
158 Bayside Ct, Richmond, CA 94804
$530,000Price
119Bedrooms
5Bathrooms
1,006Sq Ft
158 Bayside Ct, Richmond, CA 94804
$530,000Price
119Bedrooms
5Bathrooms
1,006Sq Ft
158 Bayside Ct, Richmond, CA 94804
$530,000Price
119Bedrooms
5Bathrooms
1,006Sq Ft
158 Bayside Ct, Richmond, CA 94804
$530,000Price
119Bedrooms
5Bathrooms
1,006Sq Ft
158 Bayside Ct, Richmond, CA 94804
$530,000Price
119Bedrooms
5Bathrooms
1,006Sq Ft
158 Bayside Ct, Richmond, CA 94804
$530,000Price
119Bedrooms
5Bathrooms
1,006Sq Ft
158 Bayside Ct, Richmond, CA 94804
$530,000Price
119Bedrooms
5Bathrooms
1,006Sq Ft
158 Bayside Ct, Richmond, CA 94804
$530,000Price
119Bedrooms
5Bathrooms
1,006Sq Ft
158 Bayside Ct, Richmond, CA 94804
$530,000Price
119Bedrooms
5Bathrooms
1,006Sq Ft
158 Bayside Ct, Richmond, CA 94804
$530,000Price
119Bedrooms
5Bathrooms
1,006Sq Ft
158 Bayside Ct, Richmond, CA 94804
$530,000Price
119Bedrooms
5Bathrooms
1,006Sq Ft
158 Bayside Ct, Richmond, CA 94804
$530,000Price
119Bedrooms
5Bathrooms
1,006Sq Ft
158 Bayside Ct, Richmond, CA 94804
$530,000Price
119Bedrooms
5Bathrooms
1,006Sq Ft
158 Bayside Ct, Richmond, CA 94804
$530,000Price
119Bedrooms
5Bathrooms
1,006Sq Ft
158 Bayside Ct, Richmond, CA 94804
$530,000Price
119Bedrooms
5Bathrooms
1,006Sq Ft
158 Bayside Ct, Richmond, CA 94804
$530,000Price
119Bedrooms
5Bathrooms
1,006Sq Ft
158 Bayside Ct, Richmond, CA 94804
$530,000Price
119Bedrooms
5Bathrooms
1,006Sq Ft
158 Bayside Ct, Richmond, CA 94804
$530,000Price
119Bedrooms
5Bathrooms
1,006Sq Ft
158 Bayside Ct, Richmond, CA 94804
$530,000Price
119Bedrooms
5Bathrooms
1,006Sq Ft
158 Bayside Ct, Richmond, CA 94804
$530,000Price
119Bedrooms
5Bathrooms
1,006Sq Ft
158 Bayside Ct, Richmond, CA 94804
$530,000Price
119Bedrooms
5Bathrooms
1,006Sq Ft
158 Bayside Ct, Richmond, CA 94804
$530,000Price
119Bedrooms
5Bathrooms
1,006Sq Ft
158 Bayside Ct, Richmond, CA 94804
$530,000Price
119Bedrooms
5Bathrooms
1,006Sq Ft
158 Bayside Ct, Richmond, CA 94804
$530,000Price
119Bedrooms
5Bathrooms
1,006Sq Ft
158 Bayside Ct, Richmond, CA 94804
$530,000Price
119Bedrooms
5Bathrooms
1,006Sq Ft
158 Bayside Ct, Richmond, CA 94804
$530,000Price
119Bedrooms
5Bathrooms
1,006Sq Ft
158 Bayside Ct, Richmond, CA 94804
$530,000Price
119Bedrooms
5Bathrooms
1,006Sq Ft
158 Bayside Ct, Richmond, CA 94804
$530,000Price
119Bedrooms
5Bathrooms
1,006Sq Ft
158 Bayside Ct, Richmond, CA 94804
$530,000Price
119Bedrooms
5Bathrooms
1,006Sq Ft
158 Bayside Ct, Richmond, CA 94804
$530,000Price
119Bedrooms
5Bathrooms
1,006Sq Ft
158 Bayside Ct, Richmond, CA 94804
$530,000Price
119Bedrooms
5Bathrooms
1,006Sq Ft
158 Bayside Ct, Richmond, CA 94804
$530,000Price
119Bedrooms
5Bathrooms
1,006Sq Ft
158 Bayside Ct, Richmond, CA 94804
$530,000Price
119Bedrooms
5Bathrooms
1,006Sq Ft
158 Bayside Ct, Richmond, CA 94804
$530,000Price
119Bedrooms
5Bathrooms
1,006Sq Ft
158 Bayside Ct, Richmond, CA 94804
$530,000Price
119Bedrooms
5Bathrooms
1,006Sq Ft
158 Bayside Ct, Richmond, CA 94804
$530,000Price
119Bedrooms
5Bathrooms
1,006Sq Ft
158 Bayside Ct, Richmond, CA 94804
$530,000Price
119Bedrooms
5Bathrooms
1,006Sq Ft
158 Bayside Ct, Richmond, CA 94804
$530,000Price
119Bedrooms
5Bathrooms
1,006Sq Ft
158 Bayside Ct, Richmond, CA 94804
$530,000Price
119Bedrooms
5Bathrooms
1,006Sq Ft