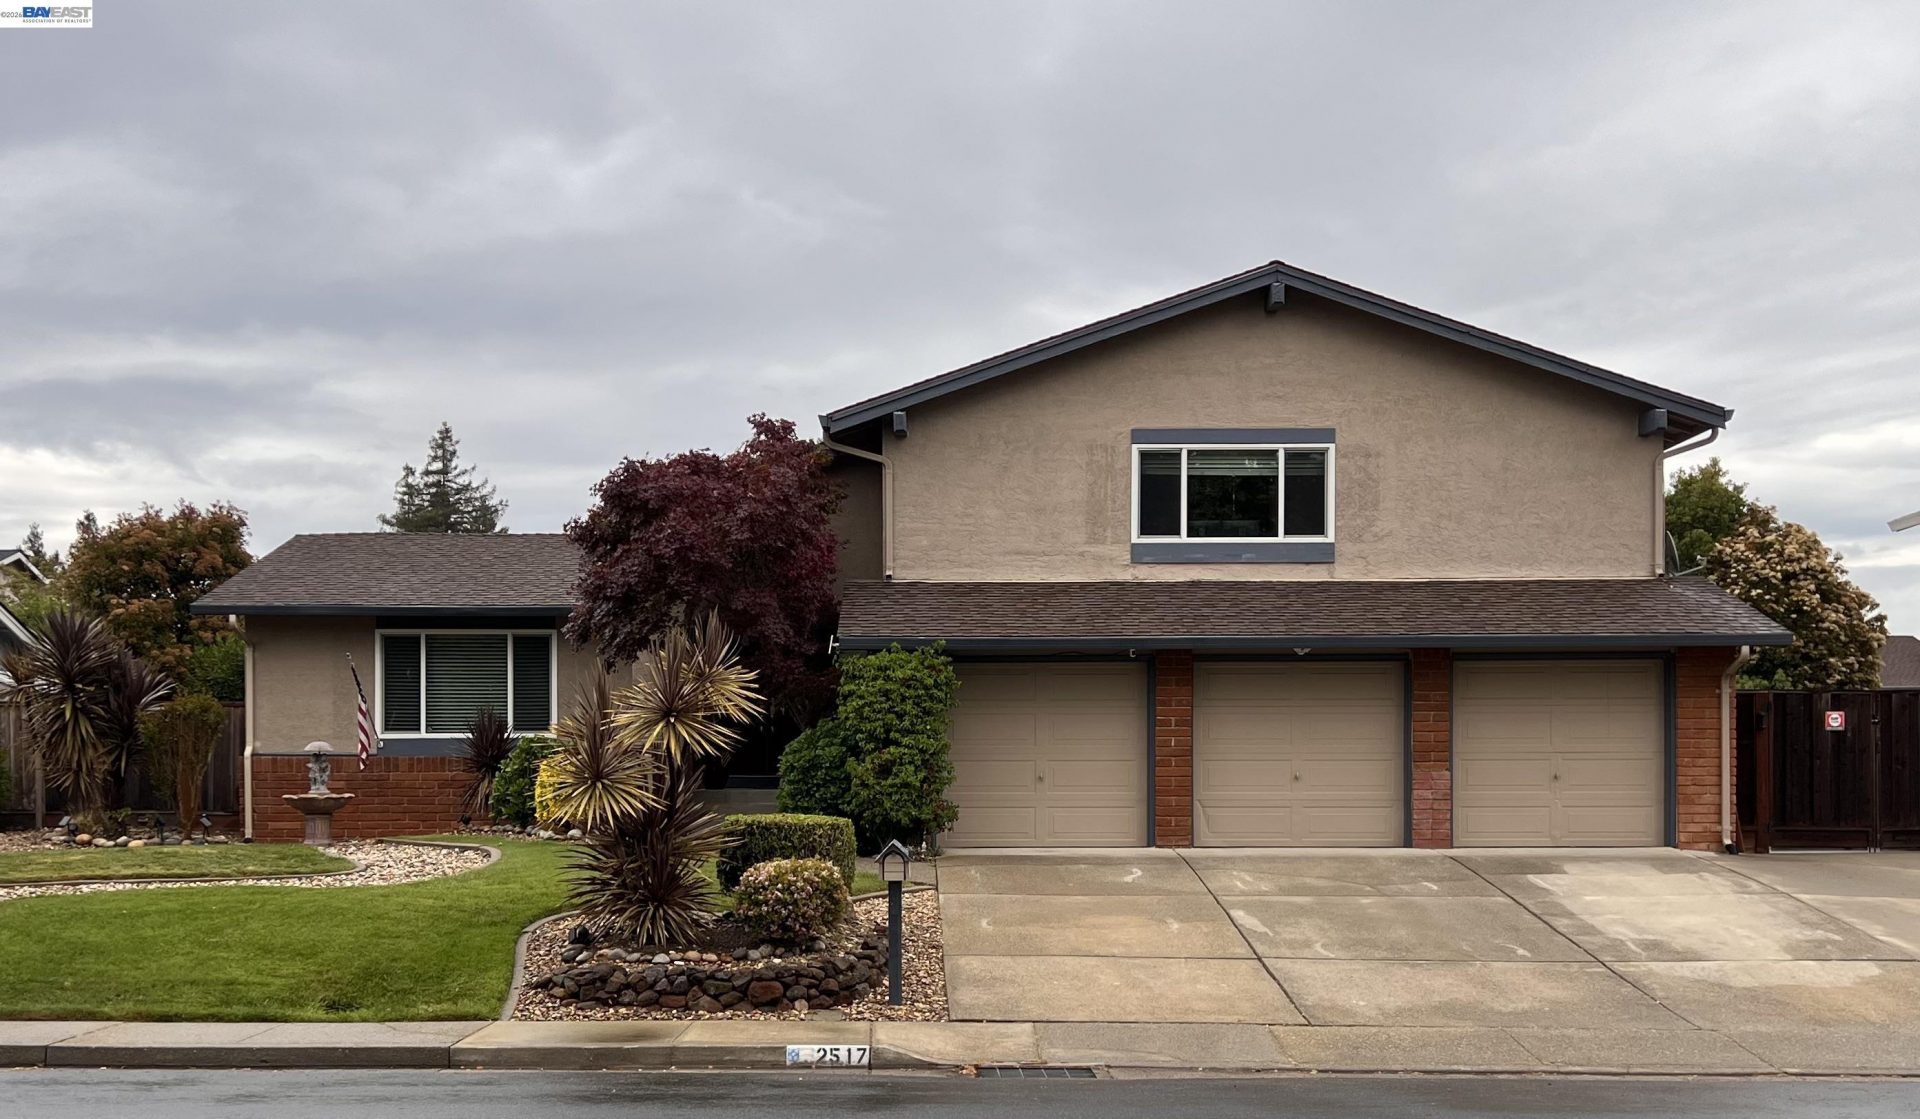
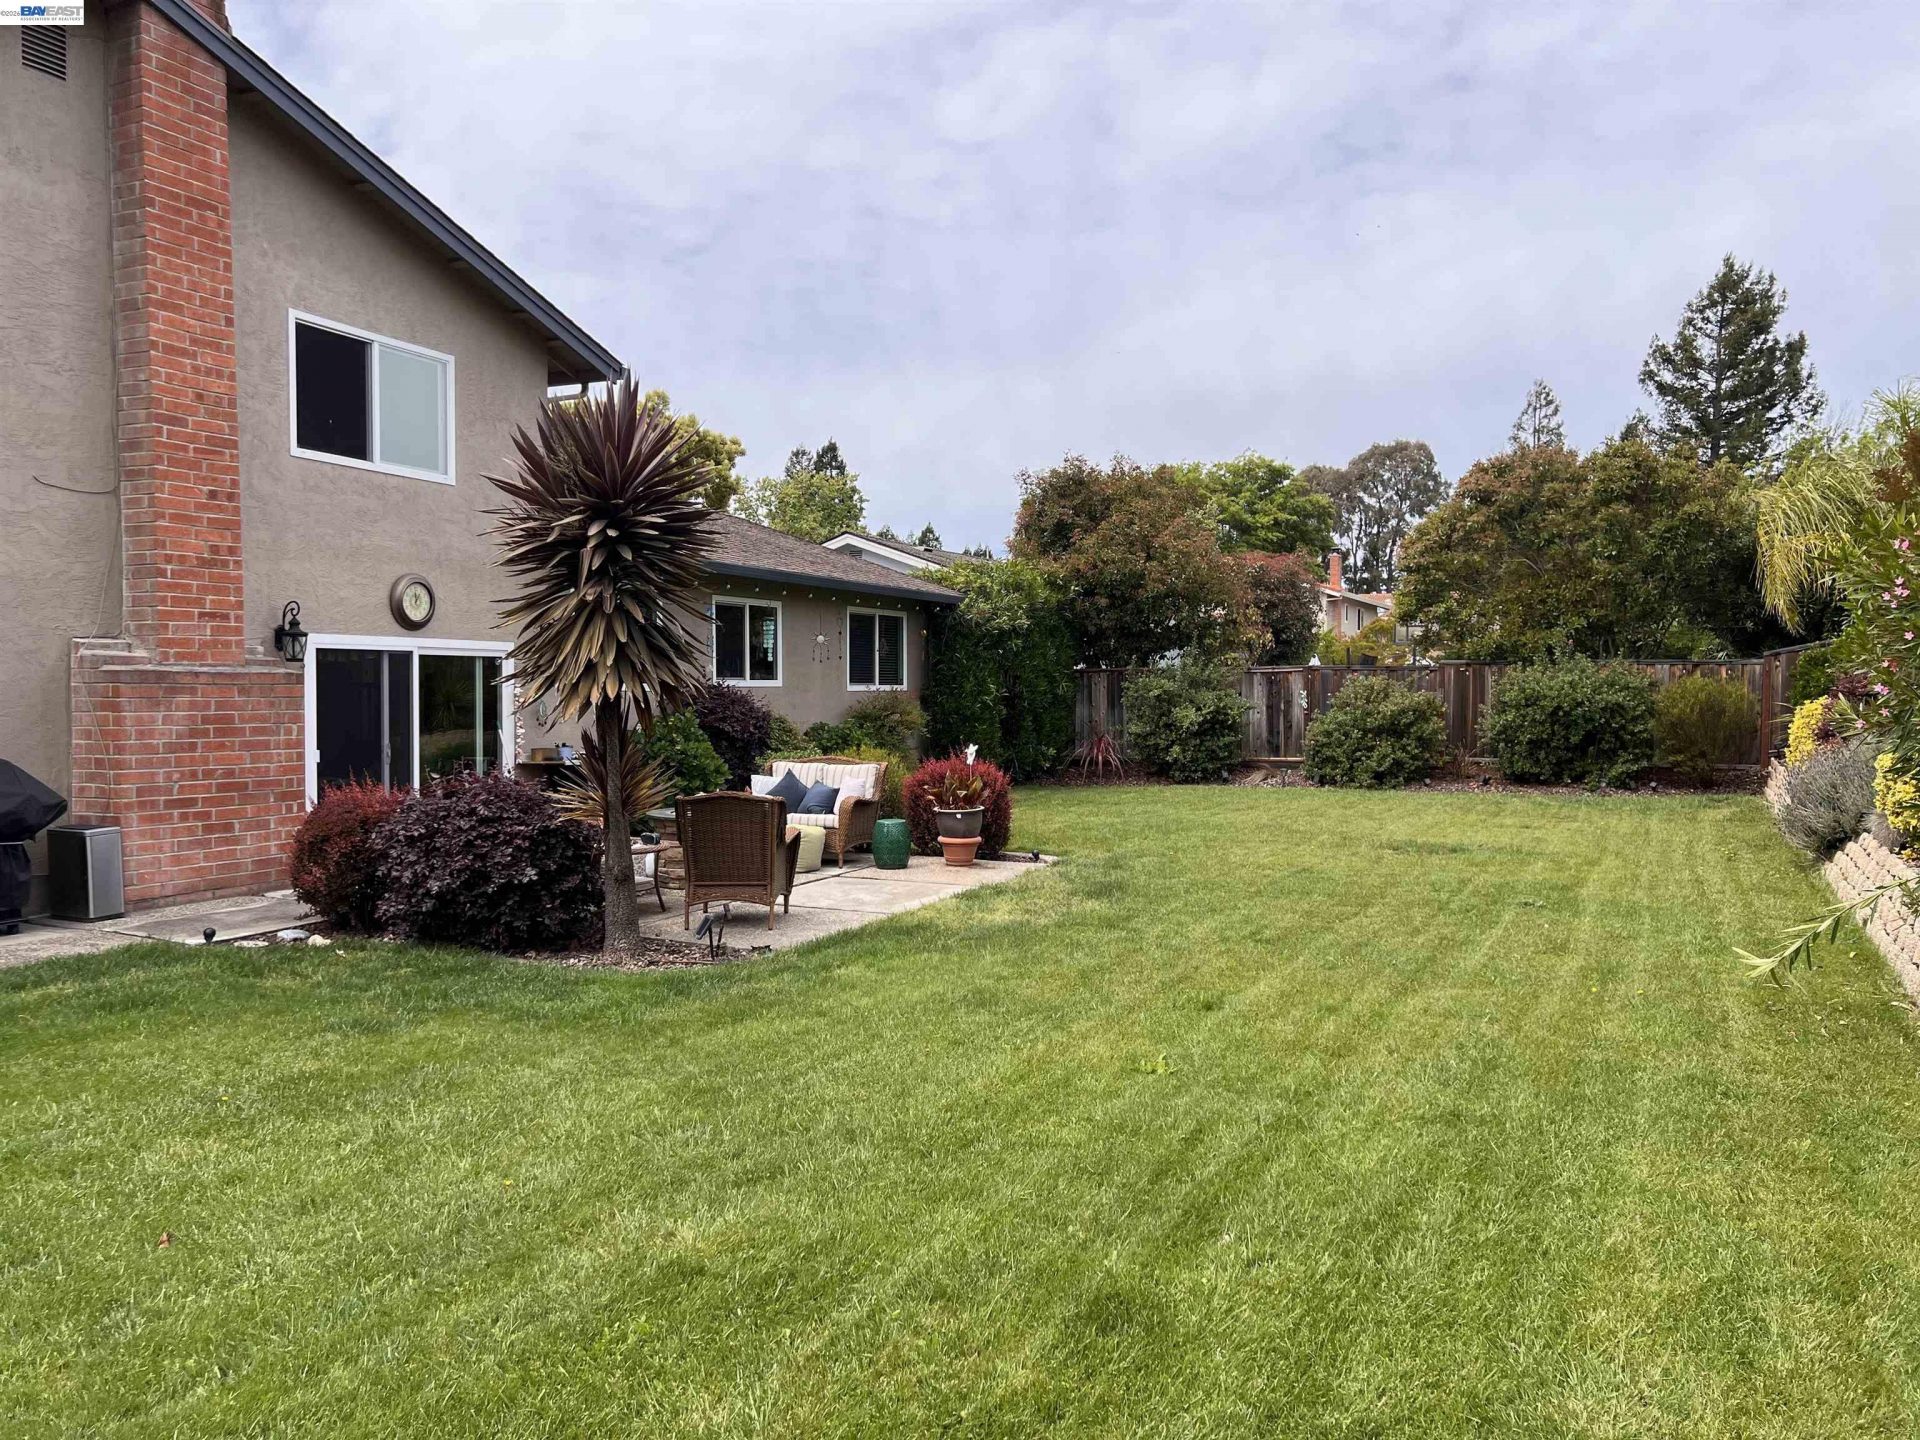
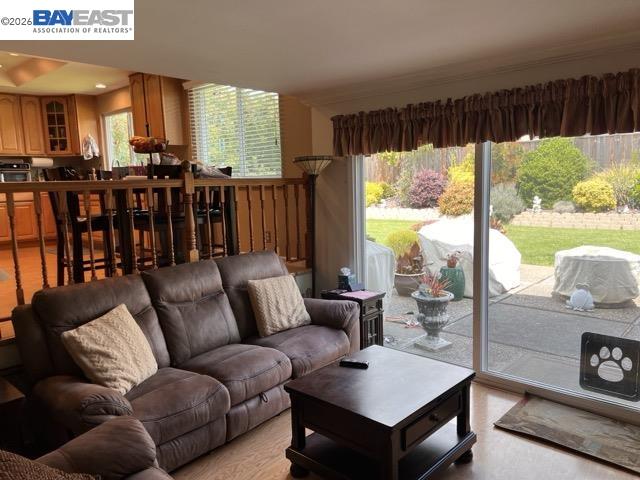
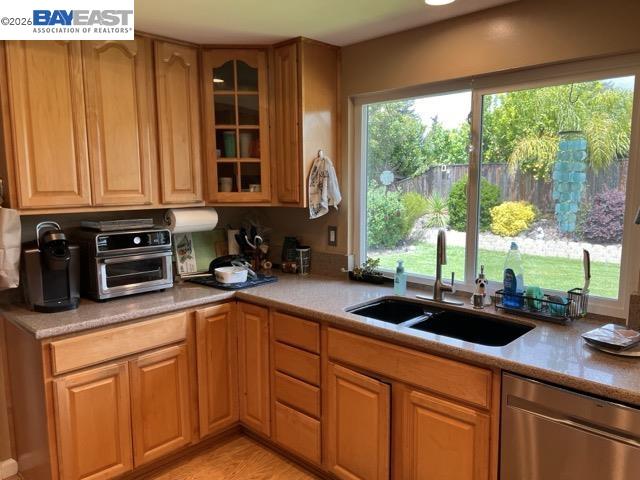
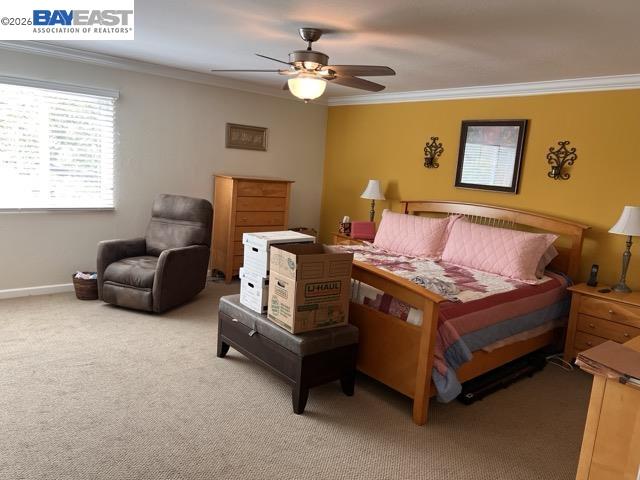
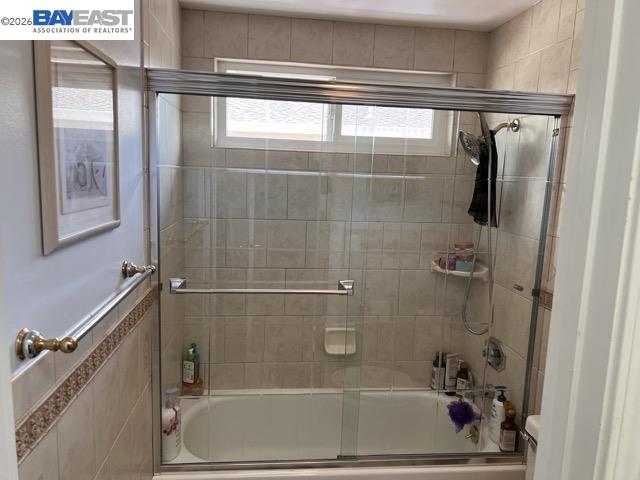
2517 Aranda Dr, San Ramon, CA 94583
$1,690,000Price
4Bedrooms
3Bathrooms
2,586Sq Ft
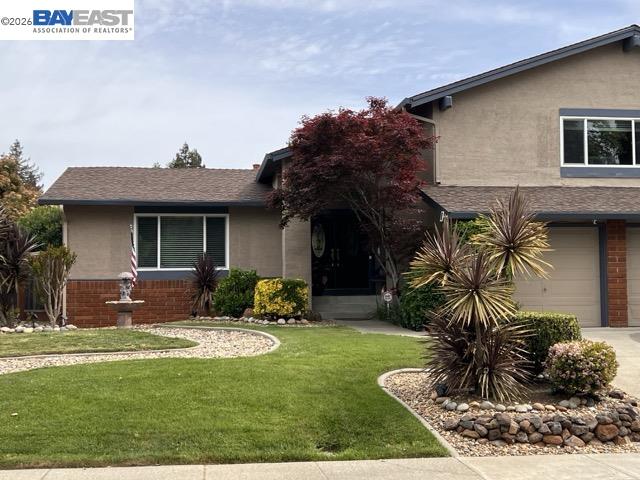
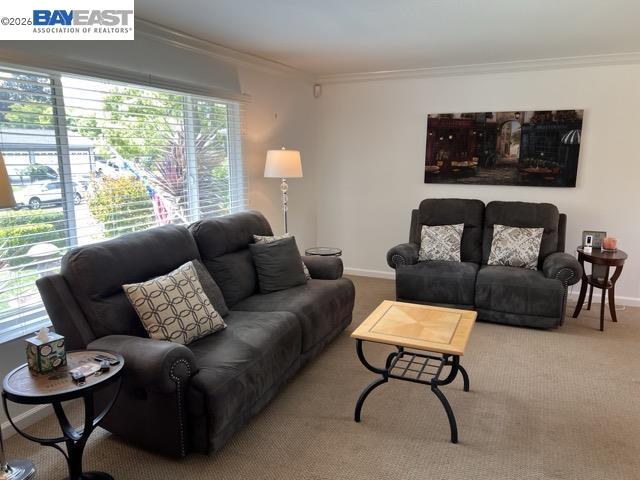
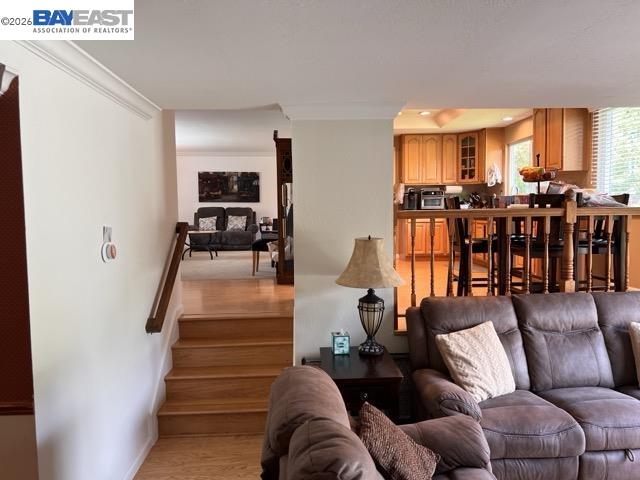
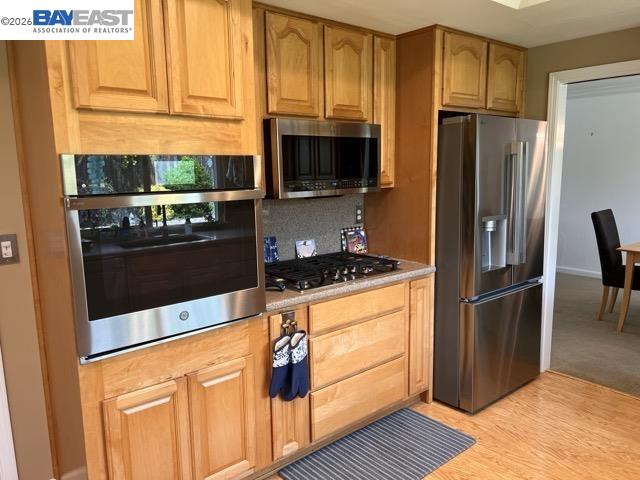
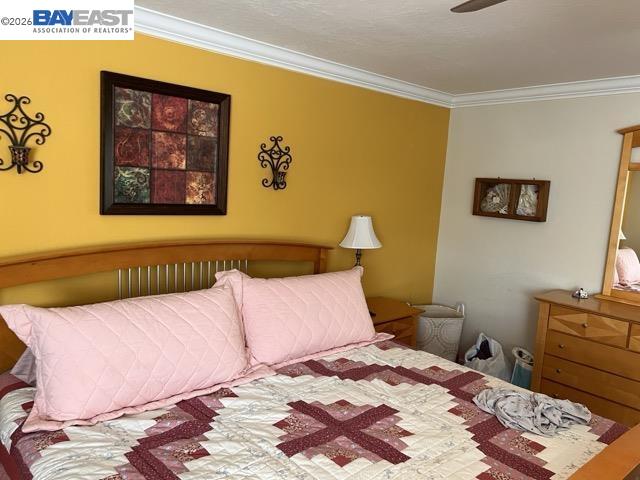
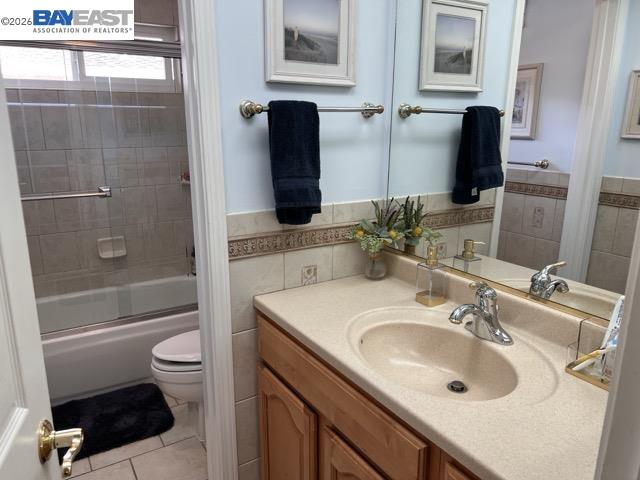
2517 Aranda Dr, San Ramon, CA 94583
$1,690,000Price
4Bedrooms
3Bathrooms
2,586Sq Ft
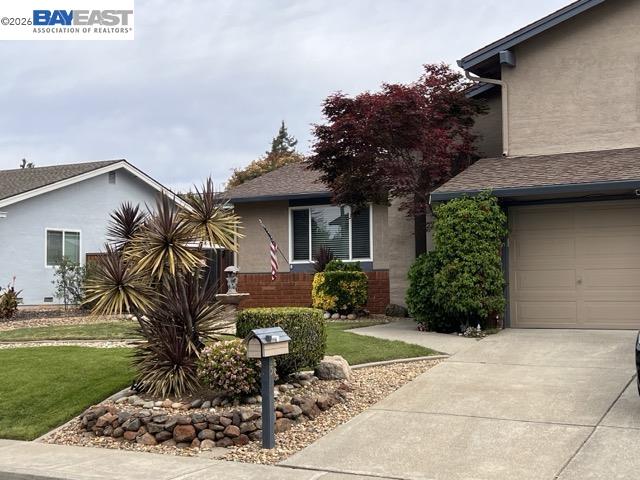
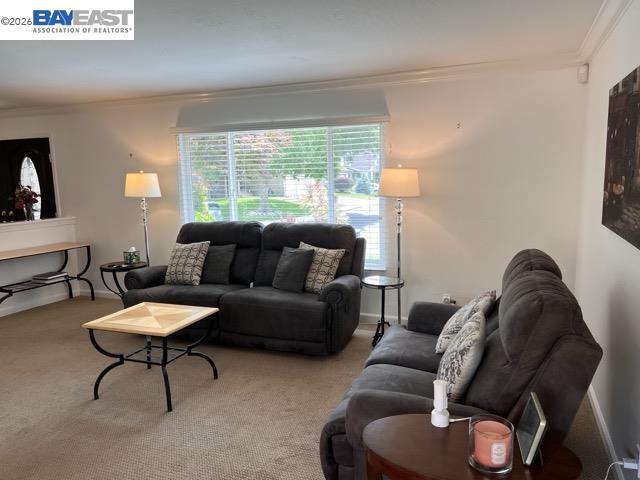
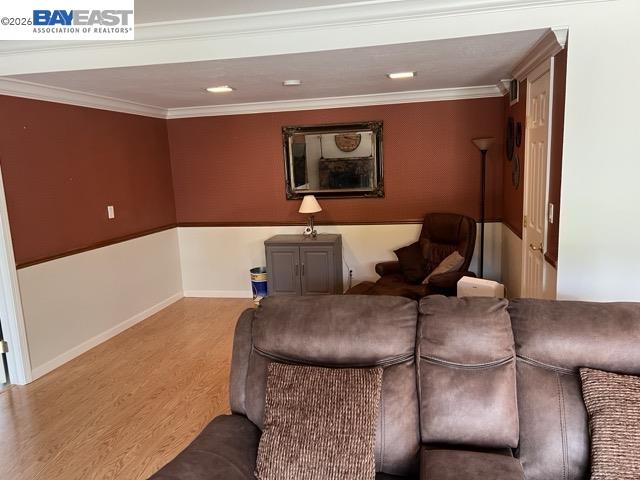
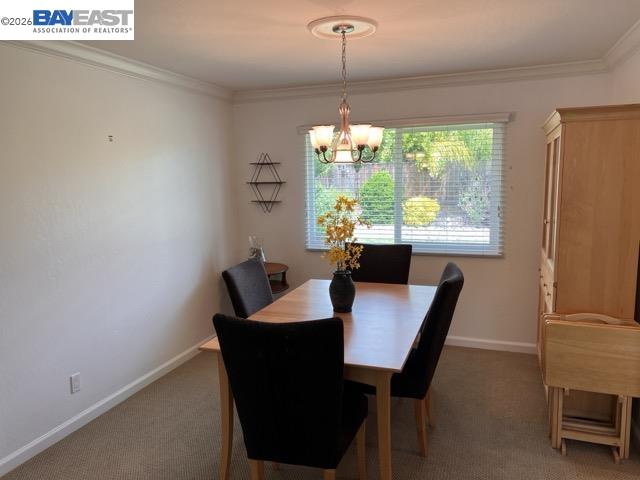
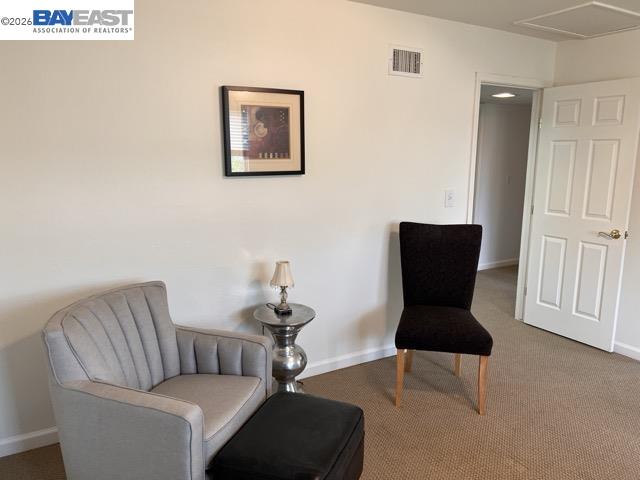
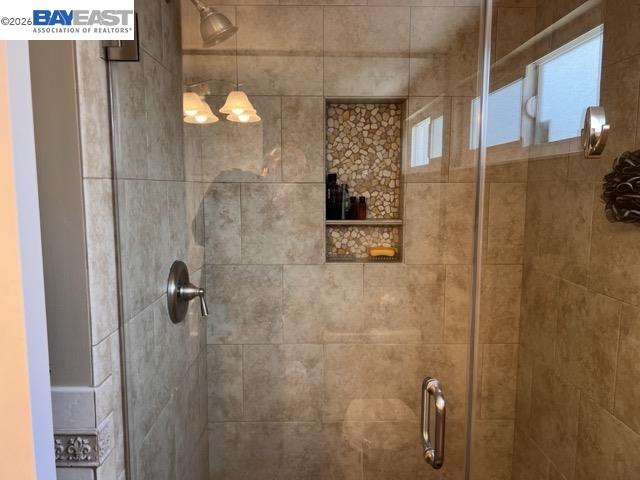
2517 Aranda Dr, San Ramon, CA 94583
$1,690,000Price
4Bedrooms
3Bathrooms
2,586Sq Ft
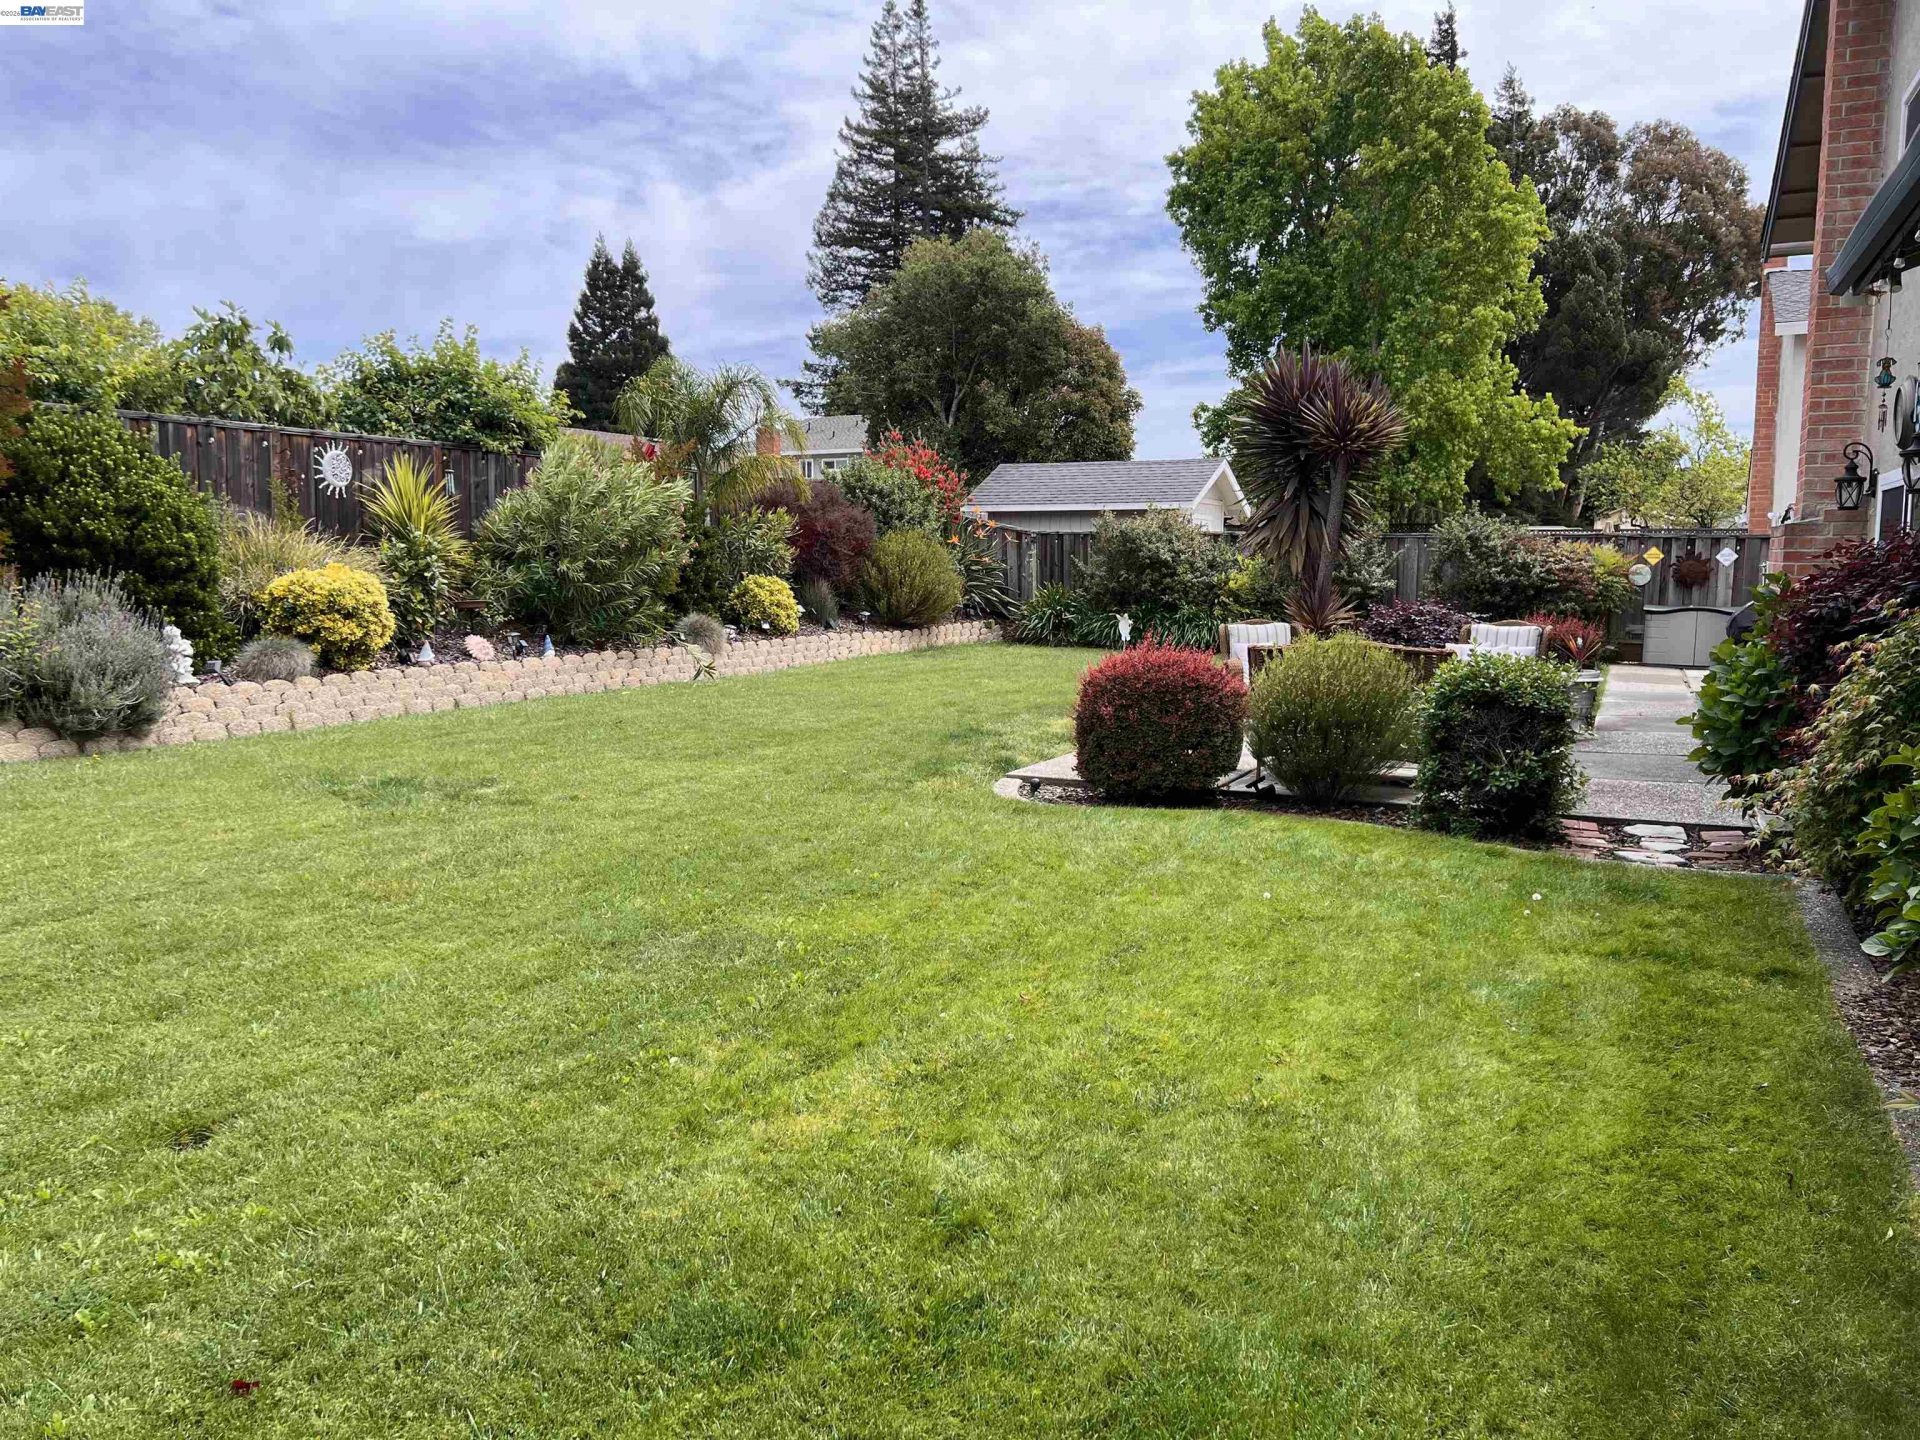
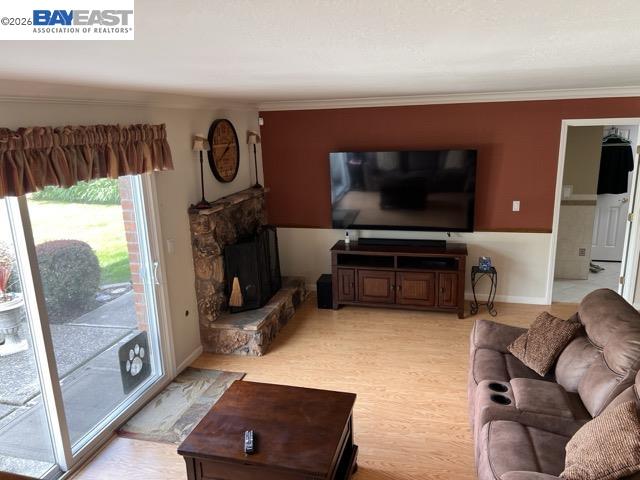
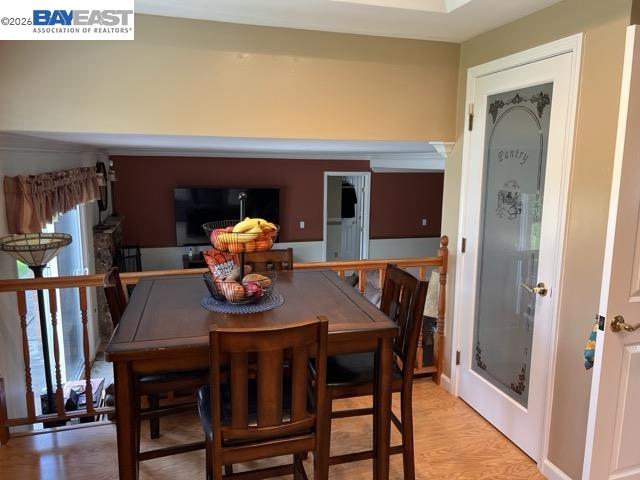
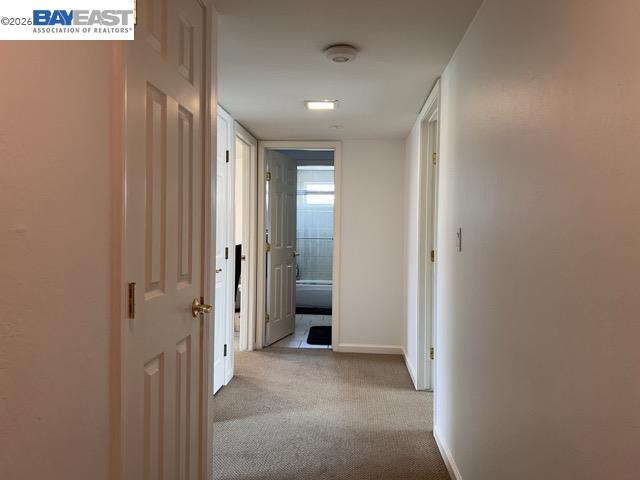
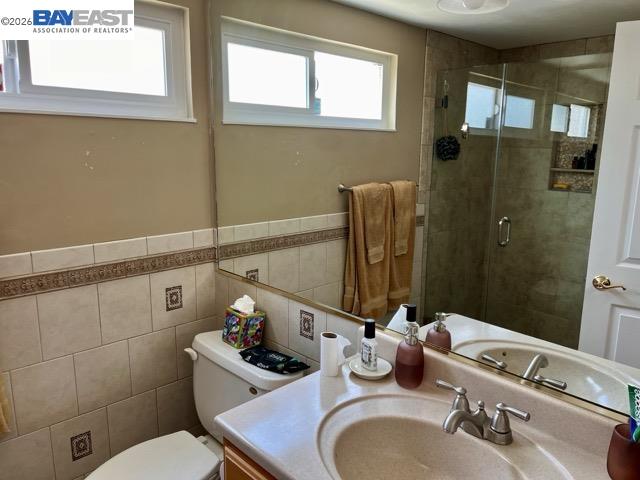
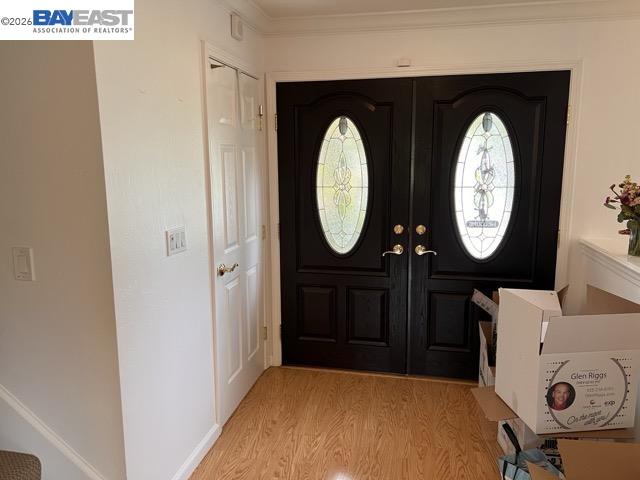
2517 Aranda Dr, San Ramon, CA 94583
$1,690,000Price
4Bedrooms
3Bathrooms
2,586Sq Ft
2517 Aranda Dr, San Ramon, CA 94583
$1,690,000Price
4Bedrooms
3Bathrooms
2,586Sq Ft
2517 Aranda Dr, San Ramon, CA 94583
$1,690,000Price
4Bedrooms
3Bathrooms
2,586Sq Ft
2517 Aranda Dr, San Ramon, CA 94583
$1,690,000Price
4Bedrooms
3Bathrooms
2,586Sq Ft
2517 Aranda Dr, San Ramon, CA 94583
$1,690,000Price
4Bedrooms
3Bathrooms
2,586Sq Ft
2517 Aranda Dr, San Ramon, CA 94583
$1,690,000Price
4Bedrooms
3Bathrooms
2,586Sq Ft
2517 Aranda Dr, San Ramon, CA 94583
$1,690,000Price
4Bedrooms
3Bathrooms
2,586Sq Ft
2517 Aranda Dr, San Ramon, CA 94583
$1,690,000Price
4Bedrooms
3Bathrooms
2,586Sq Ft
2517 Aranda Dr, San Ramon, CA 94583
$1,690,000Price
4Bedrooms
3Bathrooms
2,586Sq Ft
2517 Aranda Dr, San Ramon, CA 94583
$1,690,000Price
4Bedrooms
3Bathrooms
2,586Sq Ft
2517 Aranda Dr, San Ramon, CA 94583
$1,690,000Price
4Bedrooms
3Bathrooms
2,586Sq Ft
2517 Aranda Dr, San Ramon, CA 94583
$1,690,000Price
4Bedrooms
3Bathrooms
2,586Sq Ft
2517 Aranda Dr, San Ramon, CA 94583
$1,690,000Price
4Bedrooms
3Bathrooms
2,586Sq Ft
2517 Aranda Dr, San Ramon, CA 94583
$1,690,000Price
4Bedrooms
3Bathrooms
2,586Sq Ft
2517 Aranda Dr, San Ramon, CA 94583
$1,690,000Price
4Bedrooms
3Bathrooms
2,586Sq Ft
2517 Aranda Dr, San Ramon, CA 94583
$1,690,000Price
4Bedrooms
3Bathrooms
2,586Sq Ft
2517 Aranda Dr, San Ramon, CA 94583
$1,690,000Price
4Bedrooms
3Bathrooms
2,586Sq Ft
2517 Aranda Dr, San Ramon, CA 94583
$1,690,000Price
4Bedrooms
3Bathrooms
2,586Sq Ft
2517 Aranda Dr, San Ramon, CA 94583
$1,690,000Price
4Bedrooms
3Bathrooms
2,586Sq Ft
2517 Aranda Dr, San Ramon, CA 94583
$1,690,000Price
4Bedrooms
3Bathrooms
2,586Sq Ft
2517 Aranda Dr, San Ramon, CA 94583
$1,690,000Price
4Bedrooms
3Bathrooms
2,586Sq Ft
2517 Aranda Dr, San Ramon, CA 94583
$1,690,000Price
4Bedrooms
3Bathrooms
2,586Sq Ft
2517 Aranda Dr, San Ramon, CA 94583
$1,690,000Price
4Bedrooms
3Bathrooms
2,586Sq Ft
2517 Aranda Dr, San Ramon, CA 94583
$1,690,000Price
4Bedrooms
3Bathrooms
2,586Sq Ft
2517 Aranda Dr, San Ramon, CA 94583
$1,690,000Price
4Bedrooms
3Bathrooms
2,586Sq Ft
2517 Aranda Dr, San Ramon, CA 94583
$1,690,000Price
4Bedrooms
3Bathrooms
2,586Sq Ft
2517 Aranda Dr, San Ramon, CA 94583
$1,690,000Price
4Bedrooms
3Bathrooms
2,586Sq Ft
2517 Aranda Dr, San Ramon, CA 94583
$1,690,000Price
4Bedrooms
3Bathrooms
2,586Sq Ft
2517 Aranda Dr, San Ramon, CA 94583
$1,690,000Price
4Bedrooms
3Bathrooms
2,586Sq Ft