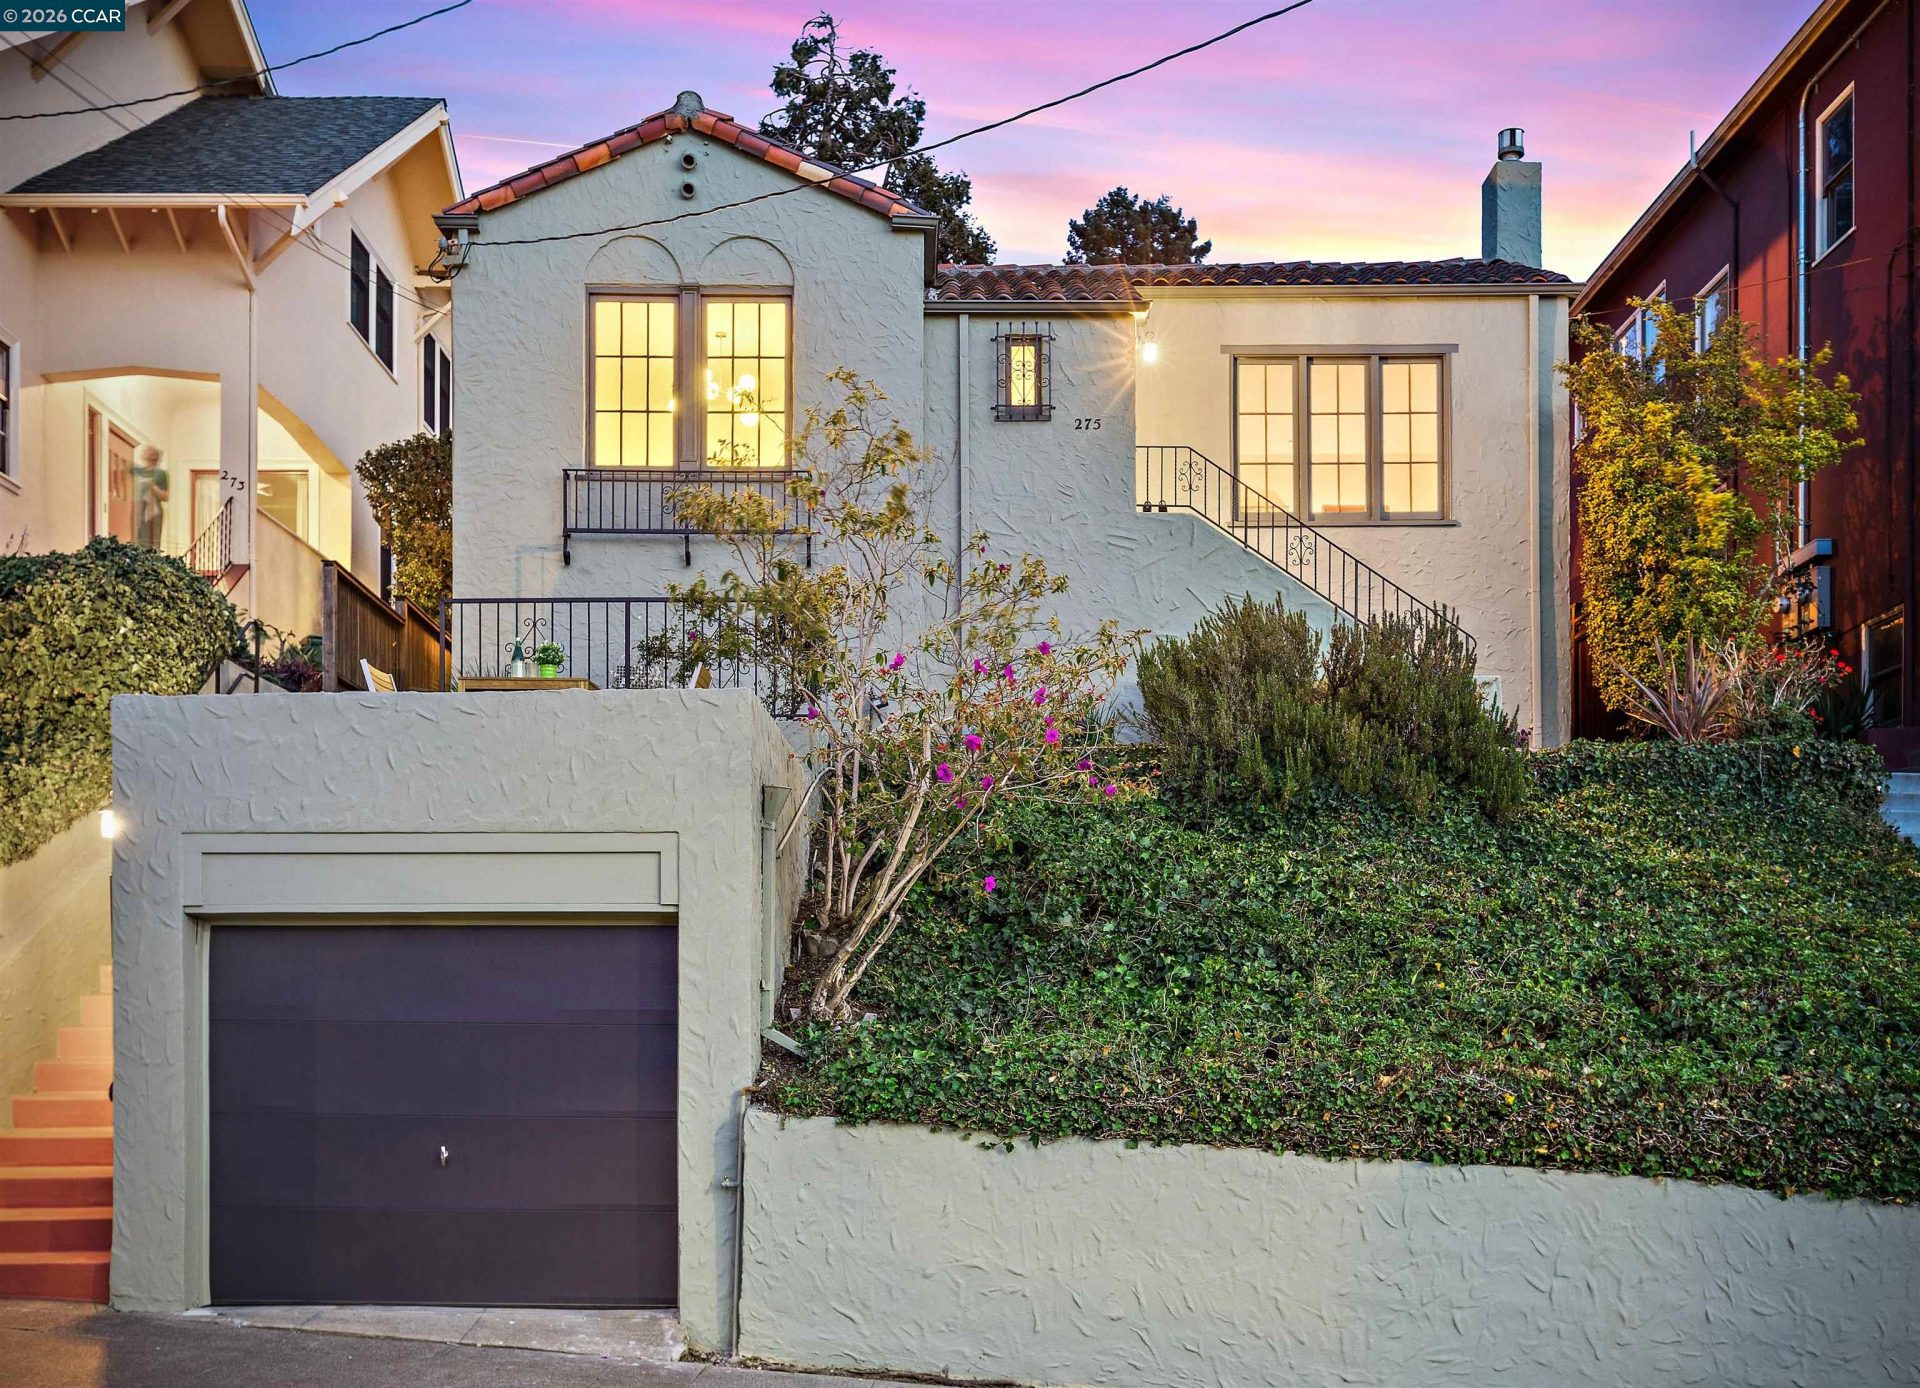
THE FEELING: Full of character and rich with 1930s charm, this Spanish Mediterranean pairs original architectural details with thoughtful updates and inviting indoor-outdoor spaces. THE HOME: 2+ bedrooms, 1 bathroom and 1,260± SQFT with bonus detached office. Beautifully refinished hardwood floors, graceful arched doorways, original built-ins, fresh interior and exterior paint, and new lighting throughout. THE HEART: A light-filled living room with large picture windows offers a glimpse across the rooftops toward the Oakland skyline. A fireplace with beautiful tilework anchors the space, while an arched doorway leads to a spacious dining room made for gathering. The updated kitchen features stone countertops, designer tile, stainless steel appliances, a Viking range and a sunny breakfast nook. THE DETAILS: Original built-ins and architectural details bring personality throughout, right down to the wonderfully unexpected drop-down ironing board. The shared bath continues the home’s period character with classic tilework, a pedestal sink and shower over tub. THE BONUS: Just beyond the main house, a charming studio offers a flexible space for a home office, art studio, workout room or creative escape. Downstairs, the basement provides dedicated laundry and additional storage. OUTSIDE: The backyard unfolds into a collection of spaces to enjoy. A brick pathway winds through drought-tolerant landscaping with echinacea, iris and an established fig tree. A deck beneath the pergola, hot tub, dedicated garden bed and detached one-car garage complete the outdoor space. EVERYDAY LIFE: Morning coffee in the breakfast nook. Dinner with friends around the table. A good book beneath the pergola. Fresh figs from the garden. An evening soak in the hot tub. This is a home made for enjoying the little moments. AROUND THE NEIGHBORHOOD: Lively Piedmont Avenue, eclectic Temescal and charming Rockridge are all close by. Grab coffee at Timeless, shop along the Avenue, visit the Temescal Far