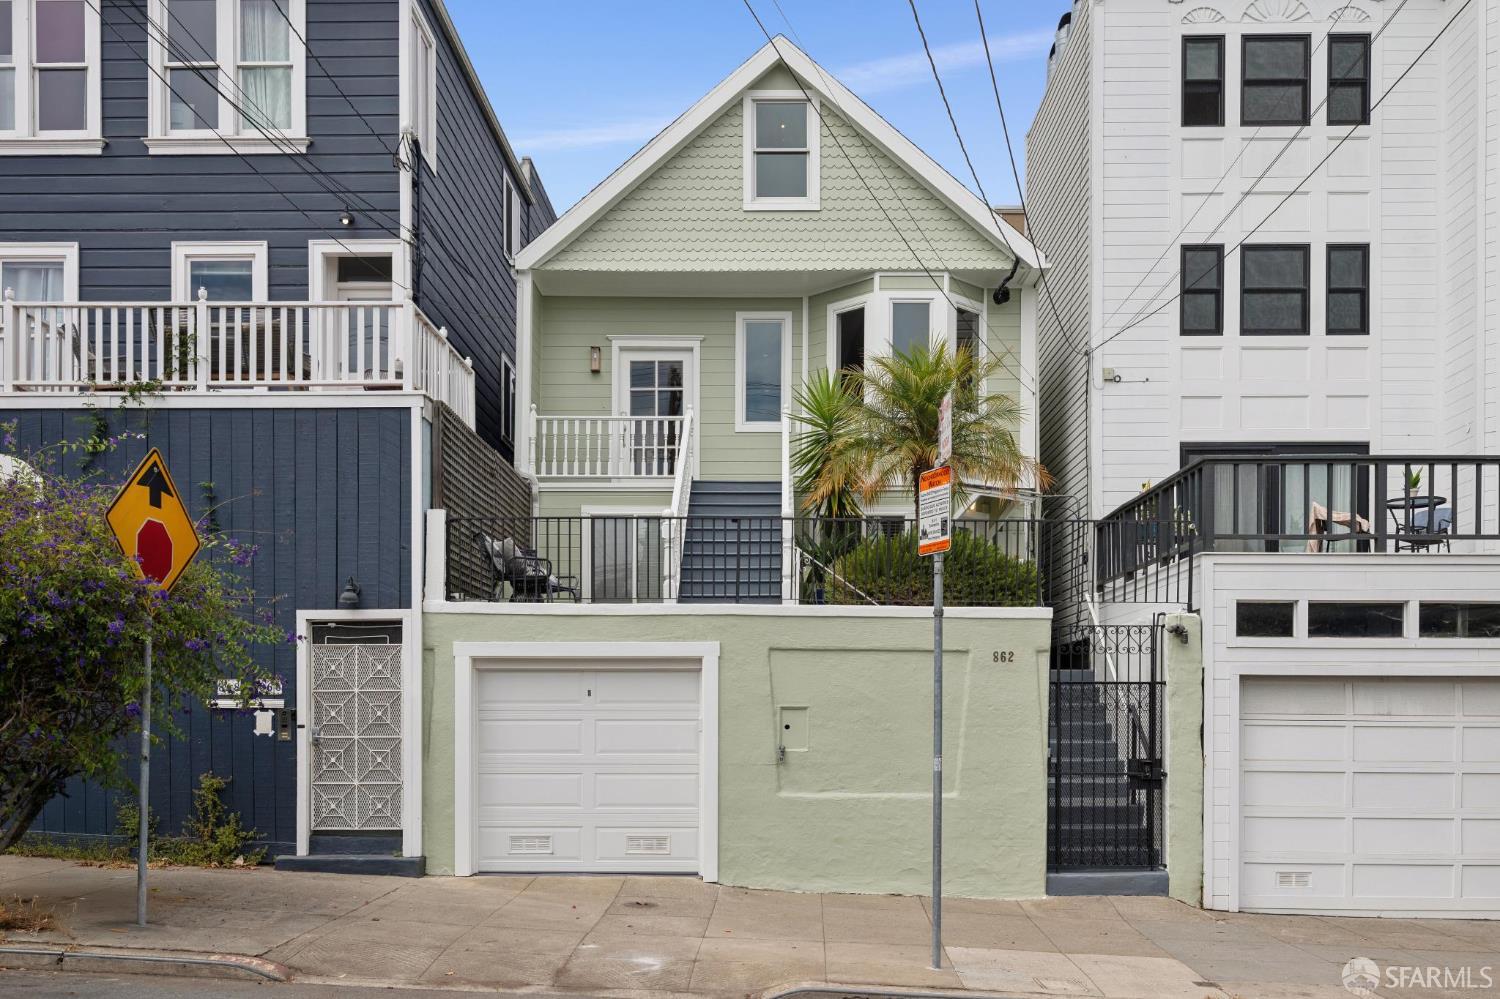
Perched on one of Potrero Hill's most desirable streets, 862 Wisconsin Street is a distinctive San Francisco home offering classic character, exceptional natural light, impressive east and west-facing views, and a versatile floor plan with significant potential for expansion. The main level features generously proportioned living and dining rooms with lovely full bay windows and eastern views, creating an inviting, light-filled setting that showcases the home's architectural character. The recently remodeled kitchen is a standout, featuring high-end finishes and upgrades designed for both everyday living and entertaining. A beautifully renovated bathroom further reflects the quality and attention to detail throughout. The flexible lower level offers an additional bedroom, family room, and full bathroom, providing excellent options for guests, extended family, a home office, or additional living space. Previously Airbnb'd by the owner, this private space generated significant supplemental income. Buyer to independently verify any short-term rental eligibility. The detached rear cottage adds another layer of versatility, ideal as a private office, creative studio, or guest quarters. The property also offers significant future expansion potential, with architectural plans developed by prior owners and additional plans available from the current owners. The rear yard is a private oasis featuring a spacious deck, beautifully landscaped grounds, a magnificent mature palm tree, and an outdoor shower. The home's elevated position provides wonderful east and west-facing views, abundant natural light, and an exceptional sense of openness. Located on a flat block with plentiful street parking and a garage, the property offers a rare combination of convenience and flexibility. Enjoy Potrero Hill's famously sunny weather and walkability to neighborhood favorites including Plow, Chez Maman East, Papito, Mochica, Goat Hill Pizza, and Bottom of the Hill. For commuters, the T Third