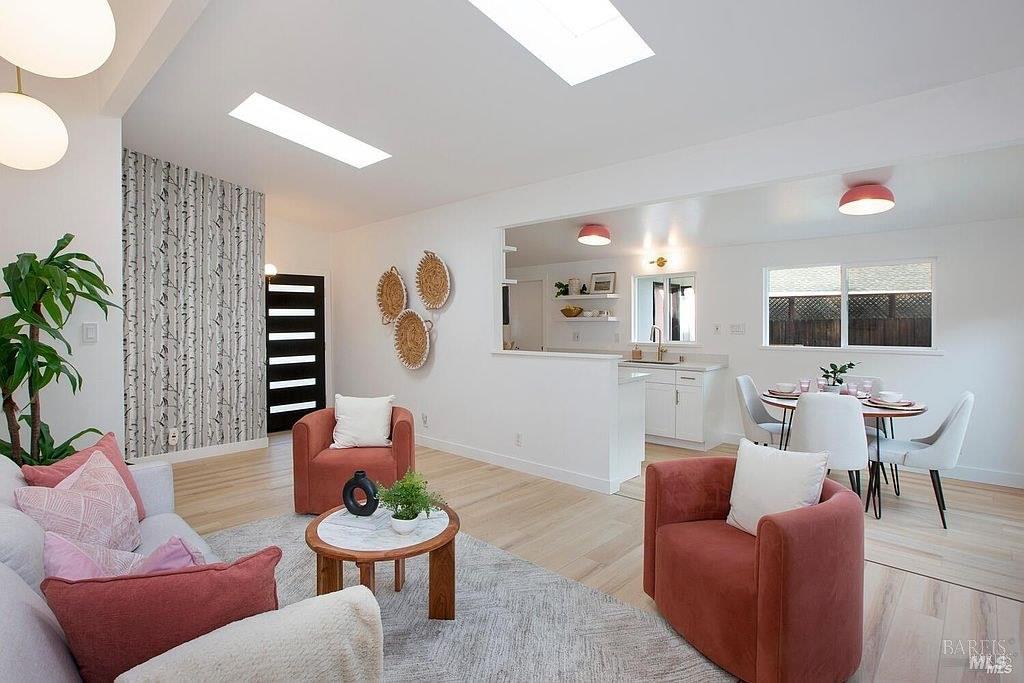
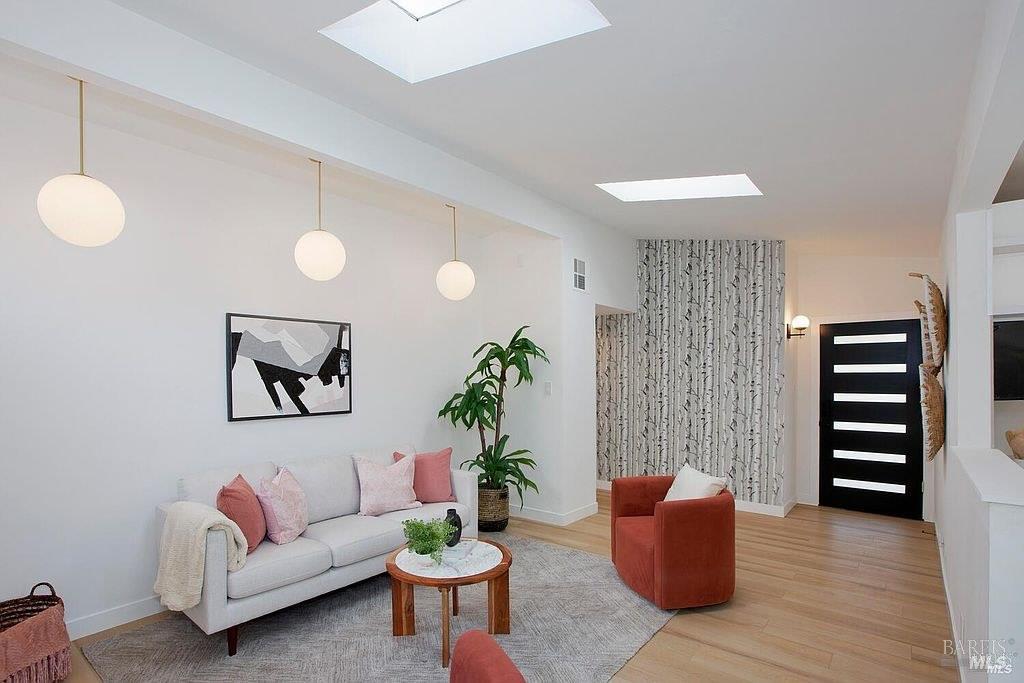
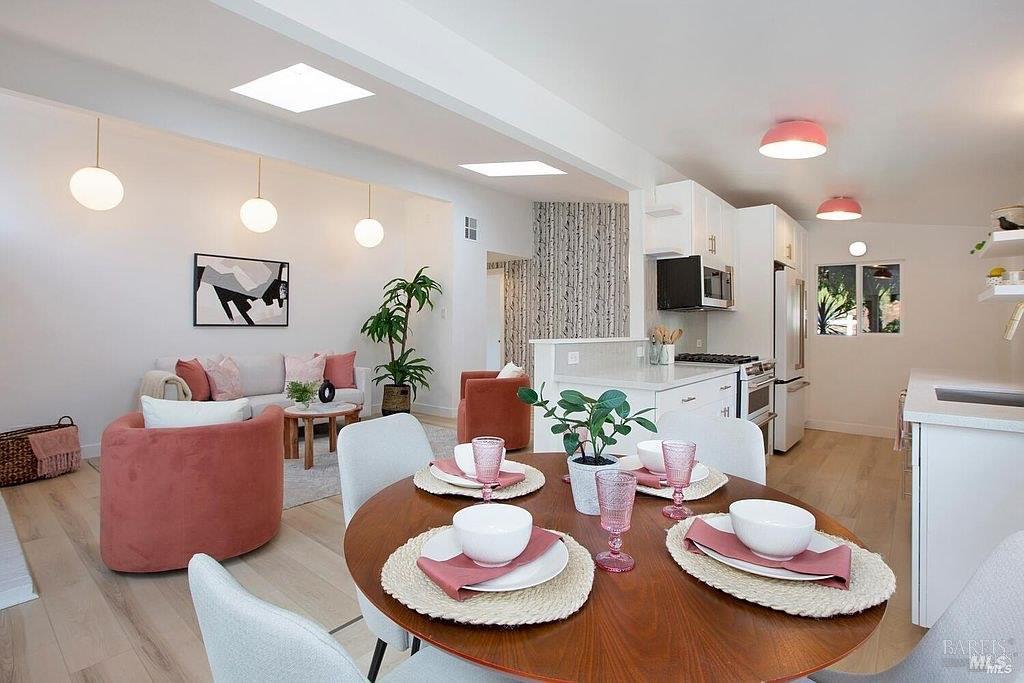
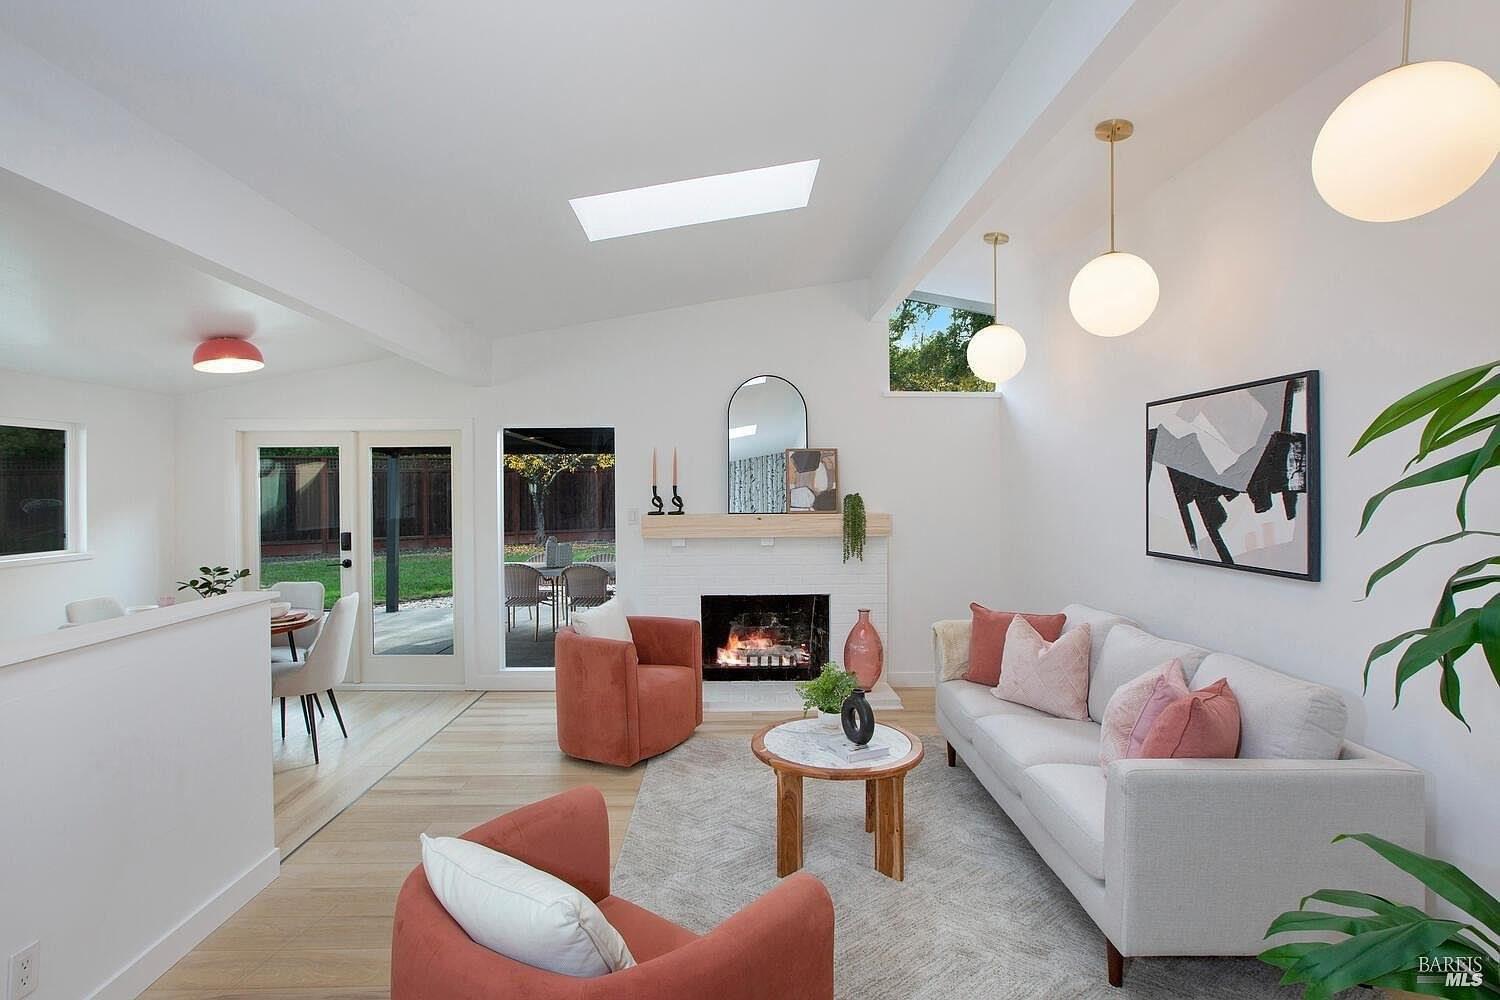
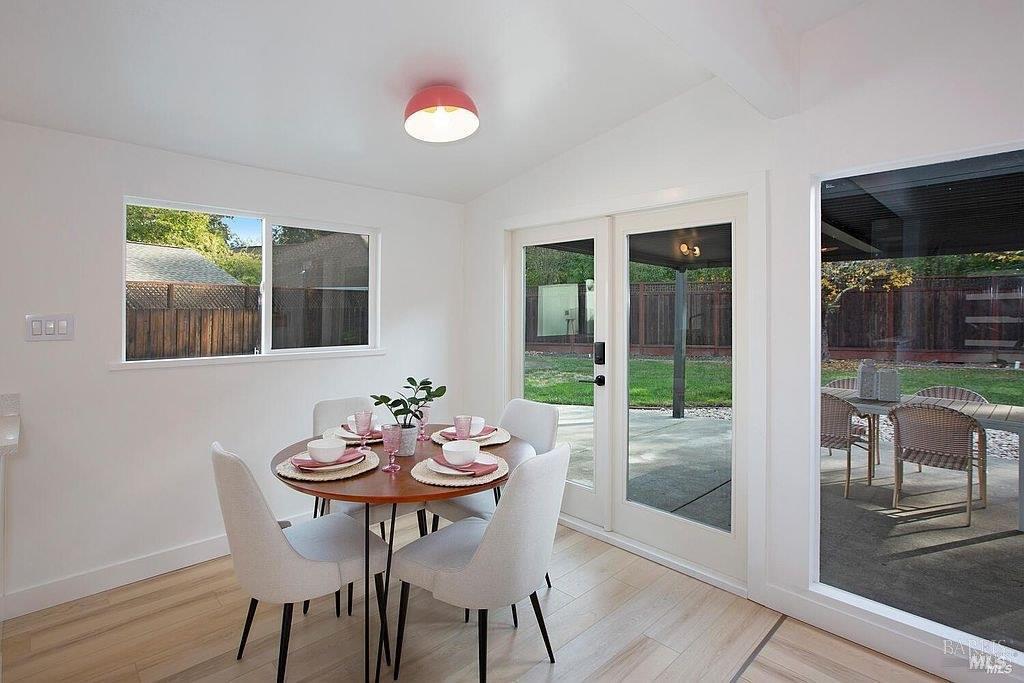
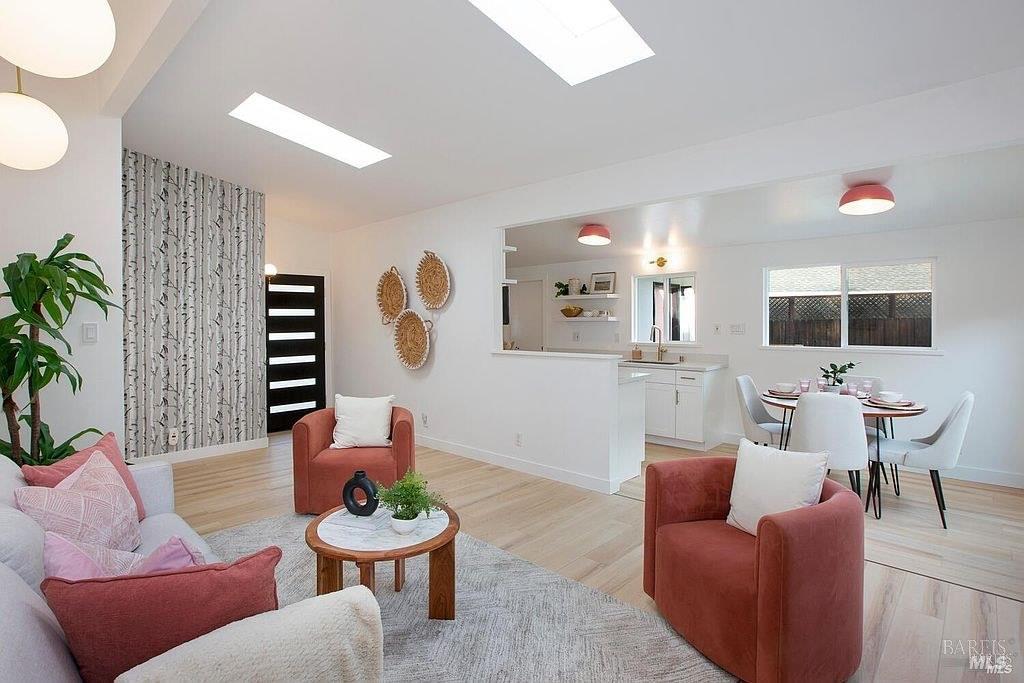
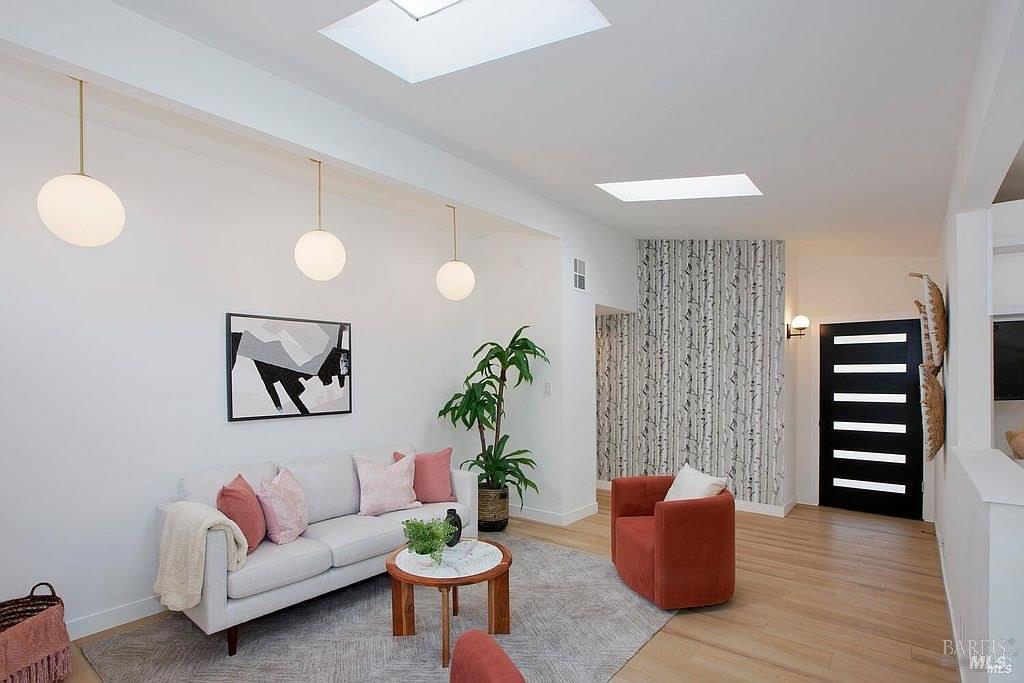
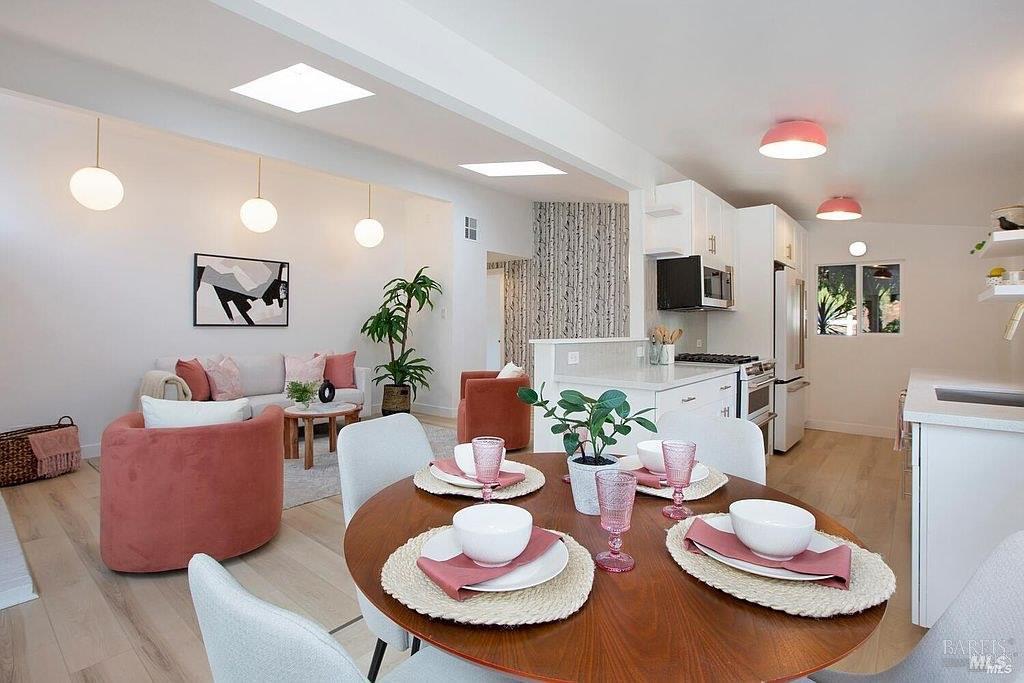
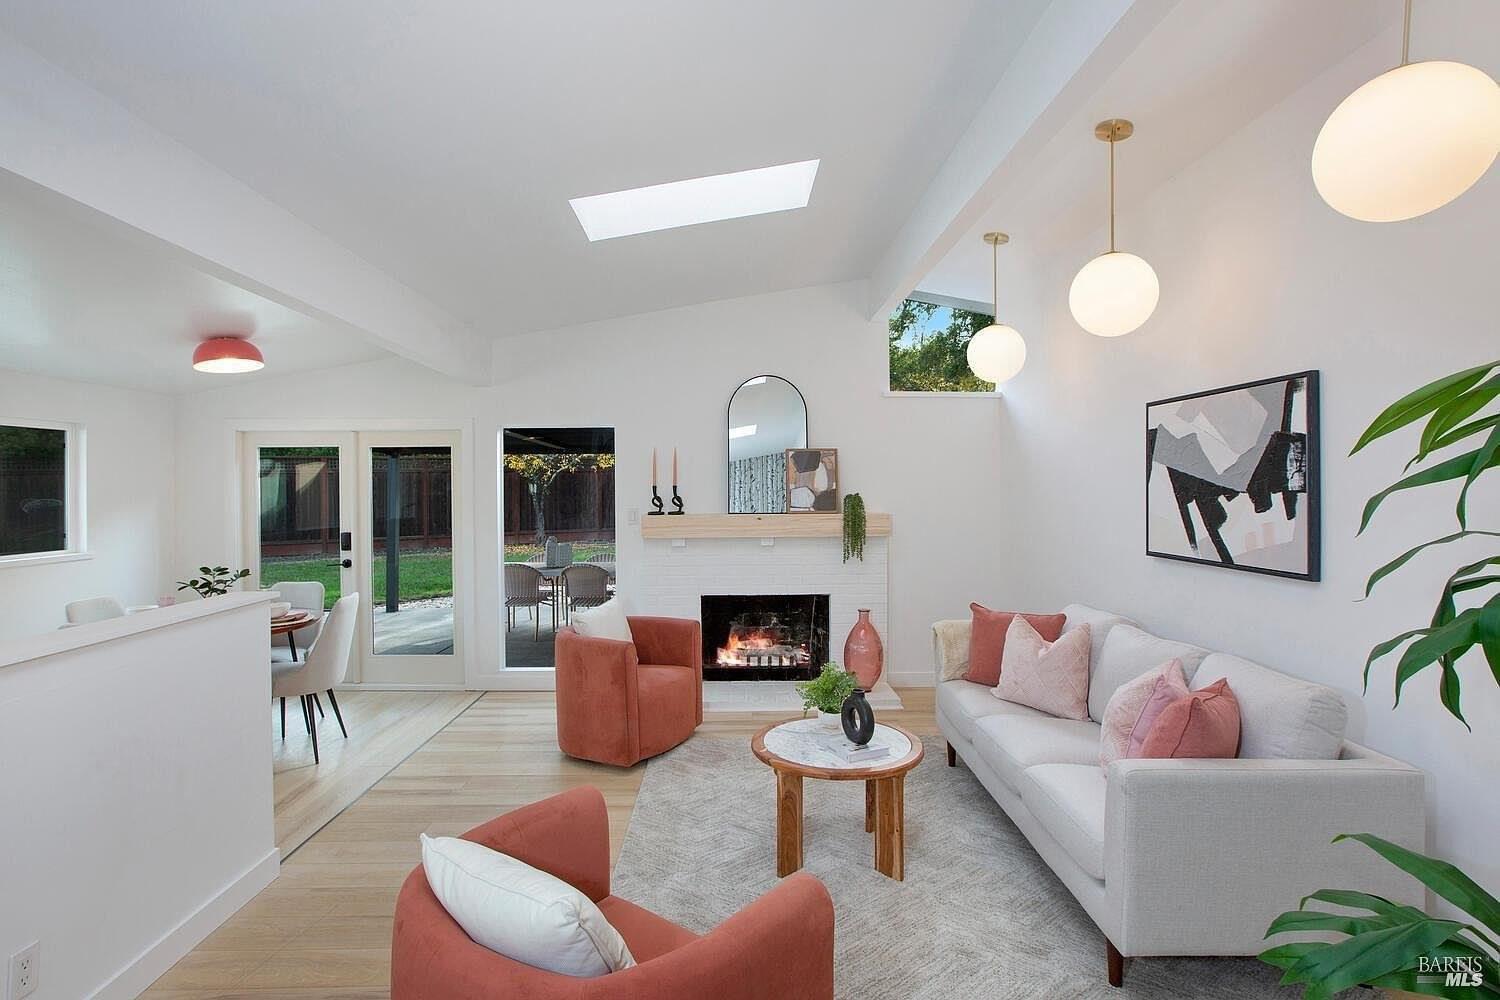
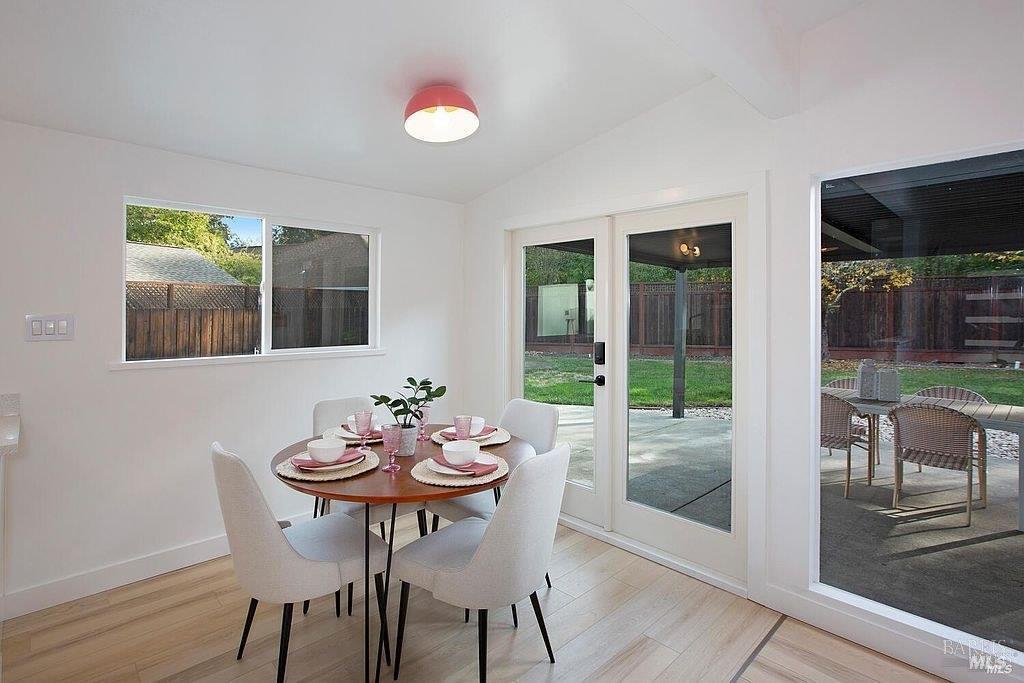
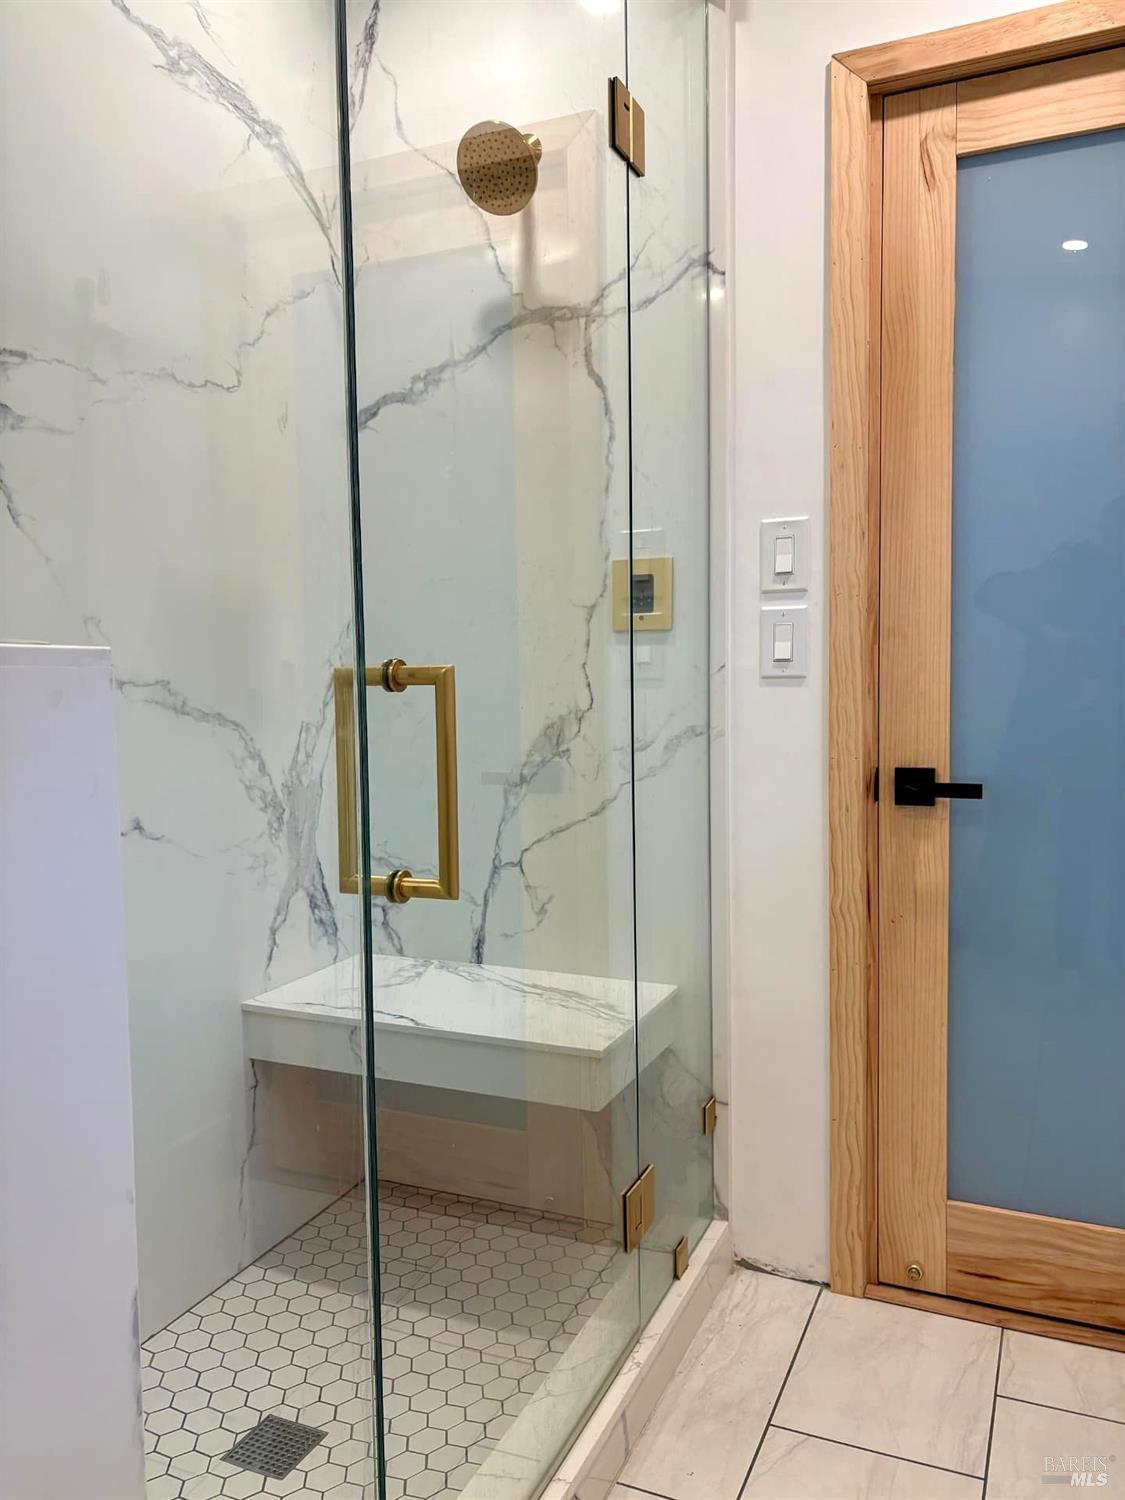
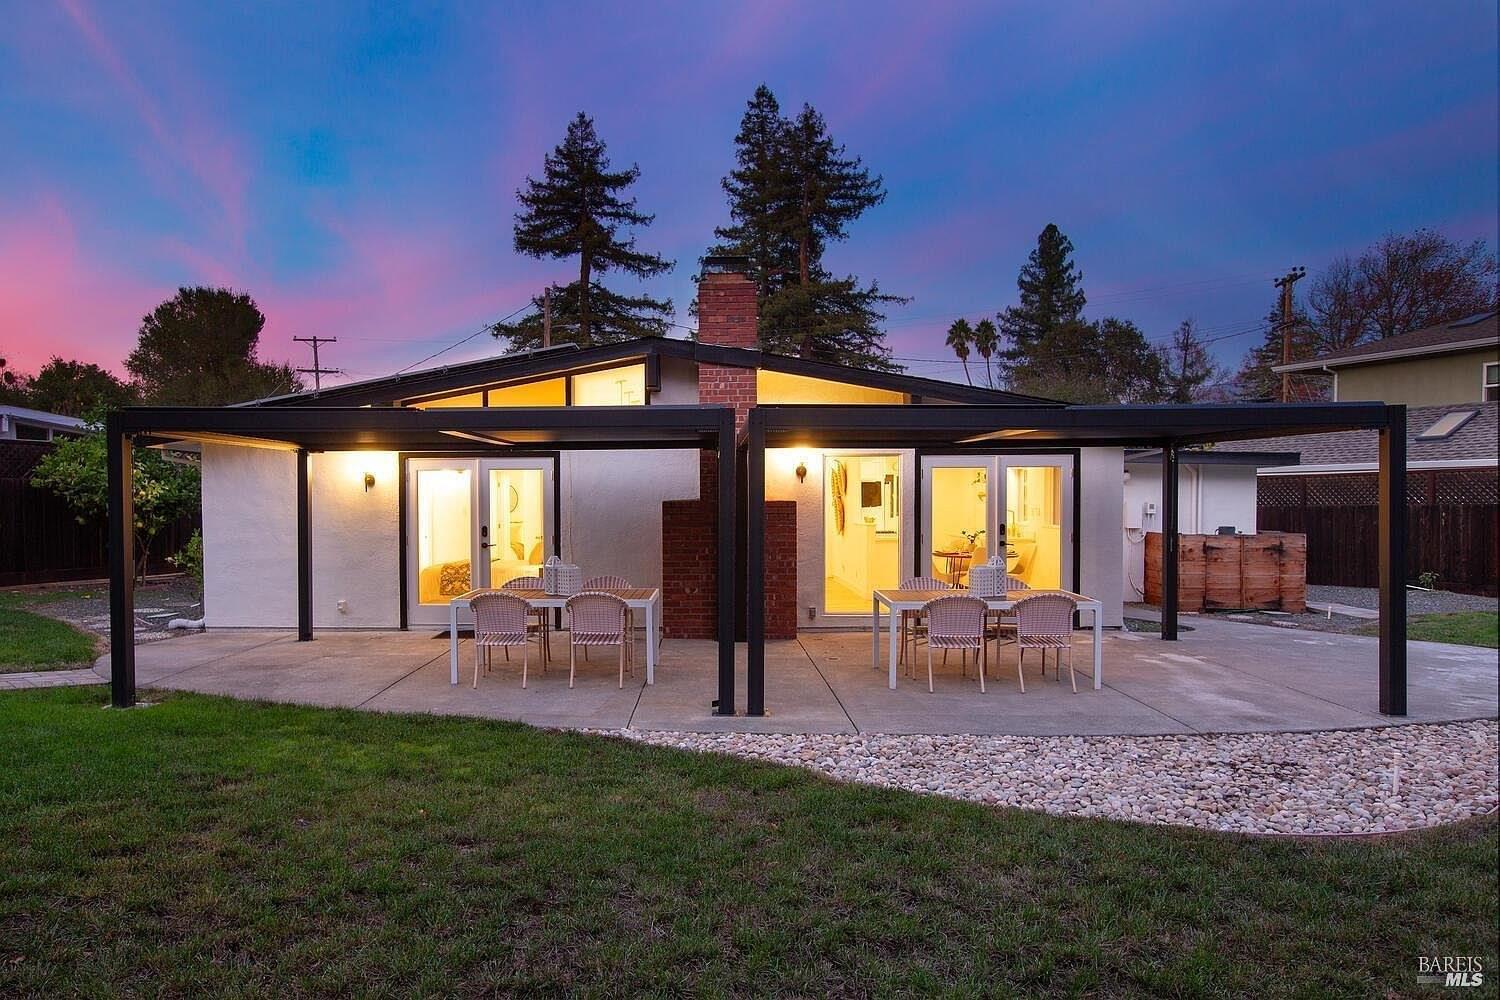
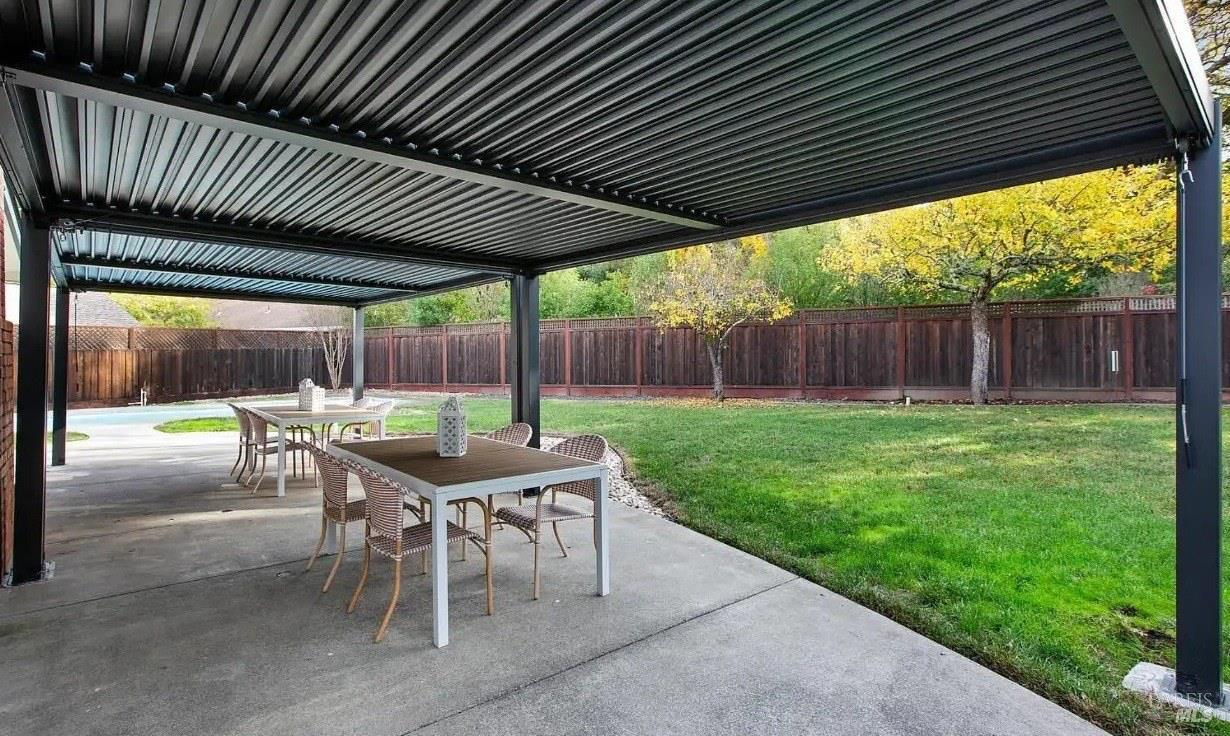
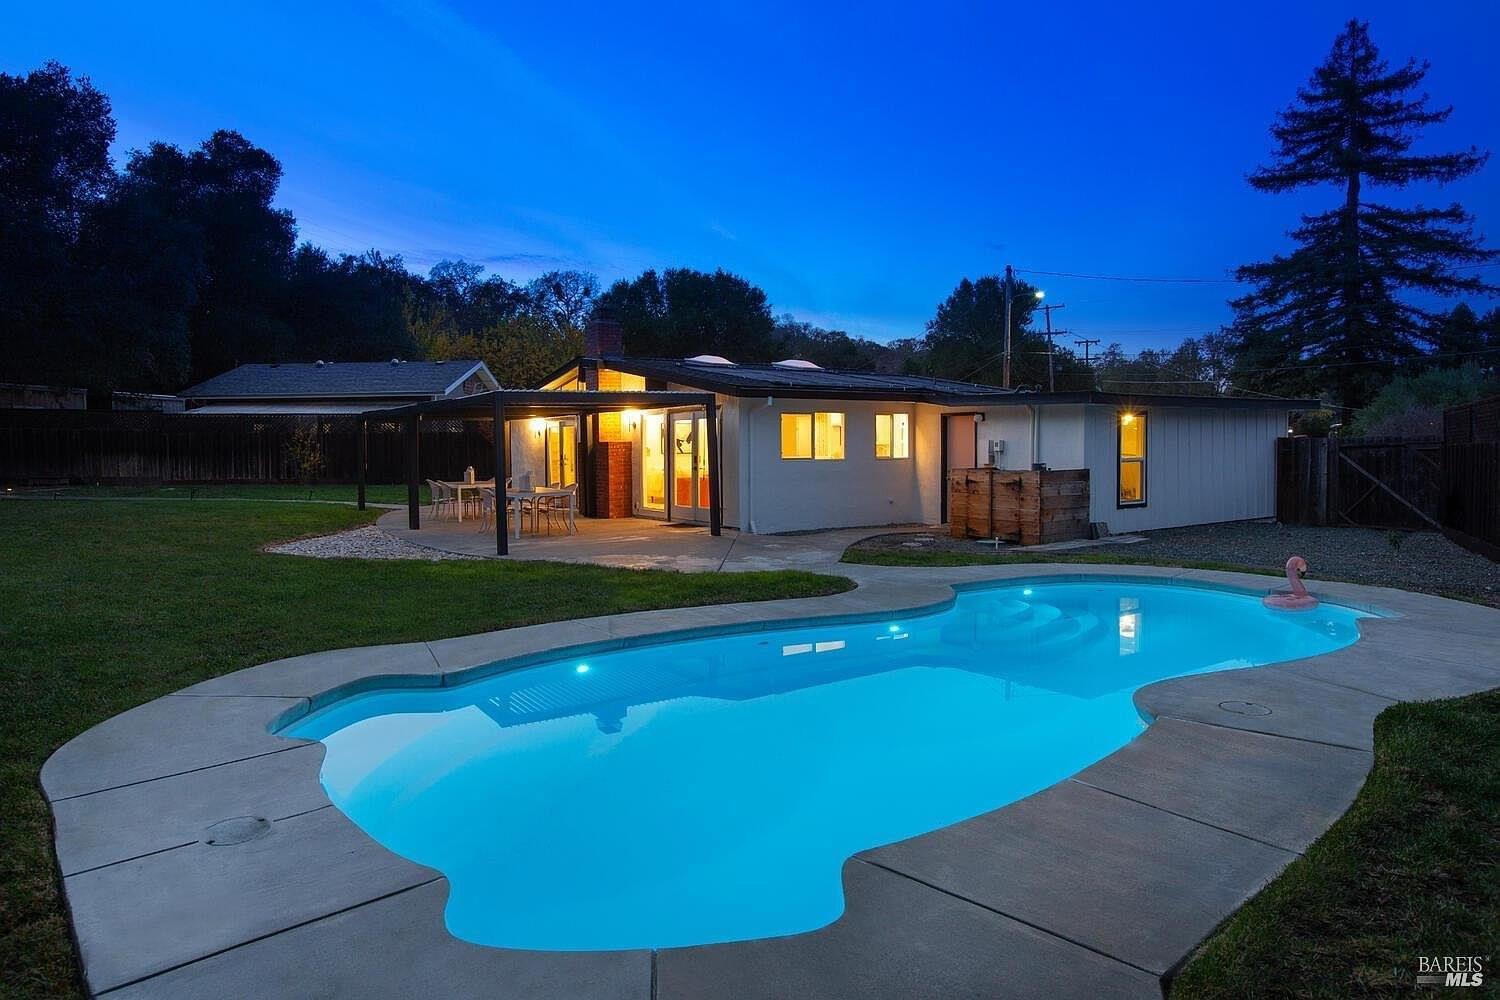
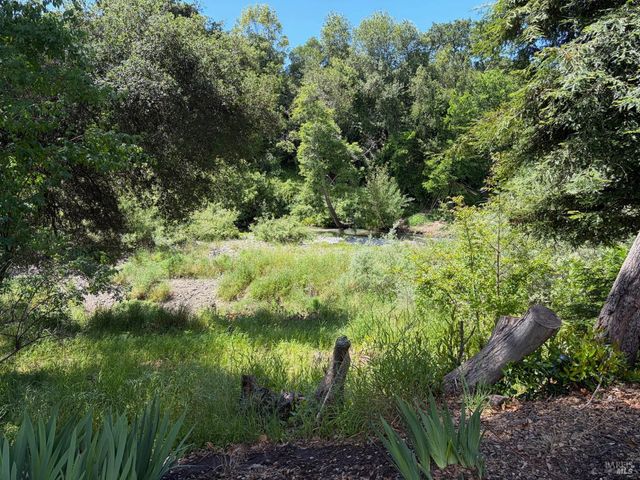
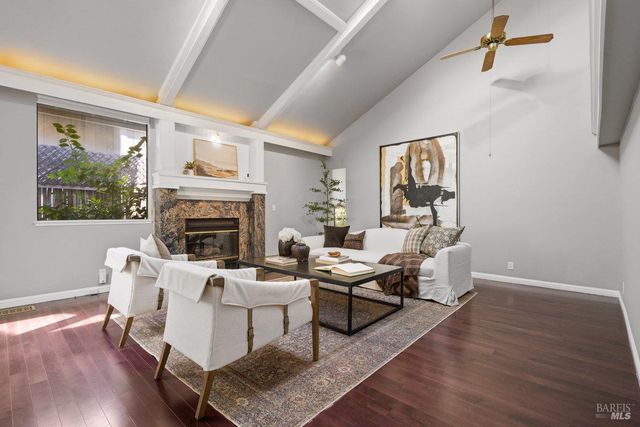
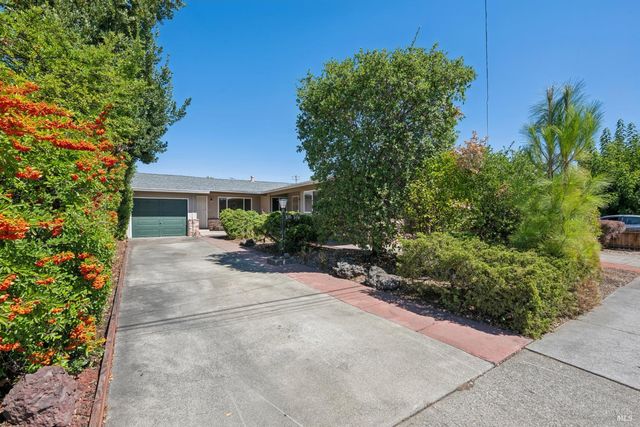
970 Glenwood Dr, Sonoma, CA 95476
$1,299,000Price
9Bedrooms
1Bathrooms
1,056Sq Ft
970 Glenwood Dr, Sonoma, CA 95476
$1,299,000Price
9Bedrooms
1Bathrooms
1,056Sq Ft
970 Glenwood Dr, Sonoma, CA 95476
$1,299,000Price
9Bedrooms
1Bathrooms
1,056Sq Ft
970 Glenwood Dr, Sonoma, CA 95476
$1,299,000Price
9Bedrooms
1Bathrooms
1,056Sq Ft
970 Glenwood Dr, Sonoma, CA 95476
$1,299,000Price
9Bedrooms
1Bathrooms
1,056Sq Ft
970 Glenwood Dr, Sonoma, CA 95476
$1,299,000Price
9Bedrooms
1Bathrooms
1,056Sq Ft
970 Glenwood Dr, Sonoma, CA 95476
$1,299,000Price
9Bedrooms
1Bathrooms
1,056Sq Ft
970 Glenwood Dr, Sonoma, CA 95476
$1,299,000Price
9Bedrooms
1Bathrooms
1,056Sq Ft
970 Glenwood Dr, Sonoma, CA 95476
$1,299,000Price
9Bedrooms
1Bathrooms
1,056Sq Ft
970 Glenwood Dr, Sonoma, CA 95476
$1,299,000Price
9Bedrooms
1Bathrooms
1,056Sq Ft
970 Glenwood Dr, Sonoma, CA 95476
$1,299,000Price
9Bedrooms
1Bathrooms
1,056Sq Ft
970 Glenwood Dr, Sonoma, CA 95476
$1,299,000Price
9Bedrooms
1Bathrooms
1,056Sq Ft
970 Glenwood Dr, Sonoma, CA 95476
$1,299,000Price
9Bedrooms
1Bathrooms
1,056Sq Ft
970 Glenwood Dr, Sonoma, CA 95476
$1,299,000Price
9Bedrooms
1Bathrooms
1,056Sq Ft
970 Glenwood Dr, Sonoma, CA 95476
$1,299,000Price
9Bedrooms
1Bathrooms
1,056Sq Ft
970 Glenwood Dr, Sonoma, CA 95476
$1,299,000Price
9Bedrooms
1Bathrooms
1,056Sq Ft
970 Glenwood Dr, Sonoma, CA 95476
$1,299,000Price
9Bedrooms
1Bathrooms
1,056Sq Ft
970 Glenwood Dr, Sonoma, CA 95476
$1,299,000Price
9Bedrooms
1Bathrooms
1,056Sq Ft
970 Glenwood Dr, Sonoma, CA 95476
$1,299,000Price
9Bedrooms
1Bathrooms
1,056Sq Ft
970 Glenwood Dr, Sonoma, CA 95476
$1,299,000Price
9Bedrooms
1Bathrooms
1,056Sq Ft
970 Glenwood Dr, Sonoma, CA 95476
$1,299,000Price
9Bedrooms
1Bathrooms
1,056Sq Ft
970 Glenwood Dr, Sonoma, CA 95476
$1,299,000Price
9Bedrooms
1Bathrooms
1,056Sq Ft
970 Glenwood Dr, Sonoma, CA 95476
$1,299,000Price
9Bedrooms
1Bathrooms
1,056Sq Ft
970 Glenwood Dr, Sonoma, CA 95476
$1,299,000Price
9Bedrooms
1Bathrooms
1,056Sq Ft
970 Glenwood Dr, Sonoma, CA 95476
$1,299,000Price
9Bedrooms
1Bathrooms
1,056Sq Ft
970 Glenwood Dr, Sonoma, CA 95476
$1,299,000Price
9Bedrooms
1Bathrooms
1,056Sq Ft
970 Glenwood Dr, Sonoma, CA 95476
$1,299,000Price
9Bedrooms
1Bathrooms
1,056Sq Ft
970 Glenwood Dr, Sonoma, CA 95476
$1,299,000Price
9Bedrooms
1Bathrooms
1,056Sq Ft
970 Glenwood Dr, Sonoma, CA 95476
$1,299,000Price
9Bedrooms
1Bathrooms
1,056Sq Ft
970 Glenwood Dr, Sonoma, CA 95476
$1,299,000Price
9Bedrooms
1Bathrooms
1,056Sq Ft
970 Glenwood Dr, Sonoma, CA 95476
$1,299,000Price
9Bedrooms
1Bathrooms
1,056Sq Ft
970 Glenwood Dr, Sonoma, CA 95476
$1,299,000Price
9Bedrooms
1Bathrooms
1,056Sq Ft
970 Glenwood Dr, Sonoma, CA 95476
$1,299,000Price
9Bedrooms
1Bathrooms
1,056Sq Ft
970 Glenwood Dr, Sonoma, CA 95476
$1,299,000Price
9Bedrooms
1Bathrooms
1,056Sq Ft
970 Glenwood Dr, Sonoma, CA 95476
$1,299,000Price
9Bedrooms
1Bathrooms
1,056Sq Ft
970 Glenwood Dr, Sonoma, CA 95476
$1,299,000Price
9Bedrooms
1Bathrooms
1,056Sq Ft
970 Glenwood Dr, Sonoma, CA 95476
$1,299,000Price
9Bedrooms
1Bathrooms
1,056Sq Ft
970 Glenwood Dr, Sonoma, CA 95476
$1,299,000Price
9Bedrooms
1Bathrooms
1,056Sq Ft
970 Glenwood Dr, Sonoma, CA 95476
$1,299,000Price
9Bedrooms
1Bathrooms
1,056Sq Ft
970 Glenwood Dr, Sonoma, CA 95476
$1,299,000Price
9Bedrooms
1Bathrooms
1,056Sq Ft
970 Glenwood Dr, Sonoma, CA 95476
$1,299,000Price
9Bedrooms
1Bathrooms
1,056Sq Ft
970 Glenwood Dr, Sonoma, CA 95476
$1,299,000Price
9Bedrooms
1Bathrooms
1,056Sq Ft
970 Glenwood Dr, Sonoma, CA 95476
$1,299,000Price
9Bedrooms
1Bathrooms
1,056Sq Ft
970 Glenwood Dr, Sonoma, CA 95476
$1,299,000Price
9Bedrooms
1Bathrooms
1,056Sq Ft
970 Glenwood Dr, Sonoma, CA 95476
$1,299,000Price
9Bedrooms
1Bathrooms
1,056Sq Ft
970 Glenwood Dr, Sonoma, CA 95476
$1,299,000Price
9Bedrooms
1Bathrooms
1,056Sq Ft
970 Glenwood Dr, Sonoma, CA 95476
$1,299,000Price
9Bedrooms
1Bathrooms
1,056Sq Ft
970 Glenwood Dr, Sonoma, CA 95476
$1,299,000Price
9Bedrooms
1Bathrooms
1,056Sq Ft
970 Glenwood Dr, Sonoma, CA 95476
$1,299,000Price
9Bedrooms
1Bathrooms
1,056Sq Ft
970 Glenwood Dr, Sonoma, CA 95476
$1,299,000Price
9Bedrooms
1Bathrooms
1,056Sq Ft
970 Glenwood Dr, Sonoma, CA 95476
$1,299,000Price
9Bedrooms
1Bathrooms
1,056Sq Ft